
The service portal in ServiceNow is generally used as a front page for IT, and allows users (even those without any permissive roles in ServiceNow) to submit tickets for IT (or other departments) to handle. The Service Portal is effectively a replacement for the CMS (used in Geneva and earlier), and includes many enhancements over the old Jelly-driven CMS application, but many companies will still be on a legacy CMS until they have a reason to convert/upgrade to the Service Portal for their self-service interface.
To create your own Service Portal, start by navigating to System Definition | Plugins to activate the Service Portal for Enterprise Service Management plugin (ID: com.glide.service-portal.esm) plugin by searching for it from the list, then right-clicking on it, and choosing Activate/Upgrade. Since this is your personal instance, go ahead and load demo data.
After activation, refresh the page again, and navigate to Service Portal | Portals in the Application Navigator. We'll use the existing default Service Portal as a starting point. Click on Service Portal to open the default built-in service portal, change the Title (or in earlier versions, Name) field to say My Service Portal, change the URL suffix field to say my_sp, and then right click in the header and click on Insert and Stay again. As before, this will create a duplicate record with the new values we've set, and redirect you to the newly created record.
There are a bunch of default values on this portal corresponding to pages in the Service Portal | Pages table [sp_pages]. Clicking on the reference icon for any of these, will take you to the page record. On these records, you'll see some CSS (if specified), and a link to open it in the Service Portal designer.
Note
Pages in the Service Portal can be used in multiple portals, not just one. Catalog, header menu, and knowledge information is referenced dynamically based on the relevant fields in the portal's record. If the HR portal uses the HR catalog and the IT portal uses the IT catalog, even if both portals have sc_home set as the catalog homepage, the HR portal will only display HR catalog categories, and the IT portal will only display the IT catalog categories.
Now let's do some branding! Navigate to Service Portal | Service Portal Configuration, and open up the Branding Editor:
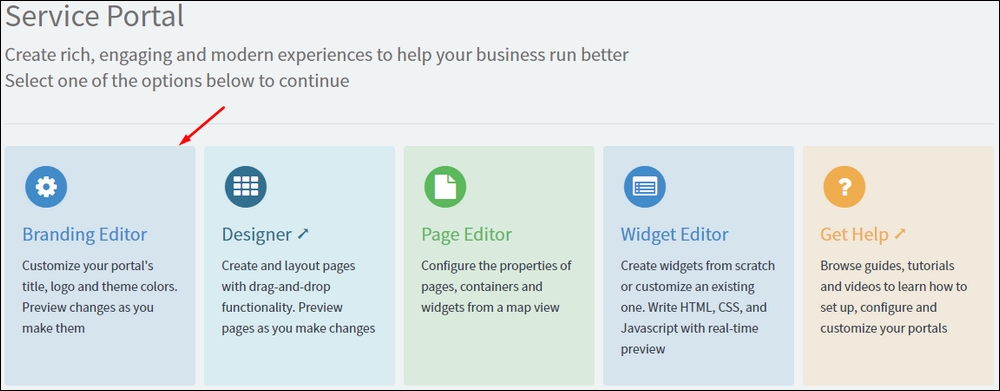
Here, you can set your portal title, company logo, homepage background color, background image, and more. In the Theme Colors tab on the left, you can even more granularly customize the colors of the UI elements displayed in your theme! Any changes made in the Branding Editor are automatically saved.
If, after making a few changes here, you navigate back to the My Service Portal record (from Service Portal | Portals), you can see that the logo and CSS variables fields will have updated to reflect the changes that you've made. You can also click the Try It button on the top right of the form to see the portal:
Congratulations! If you've followed the preceding steps, you now have a fully-functioning and branded Service Portal, completely connected to your catalog and knowledge base. No problem, right?