I have a confession to make: I’m one of those
people who has been making homemade bread
during the coronavirus lockdown. I even grew
my own sourdough starter.
In case you didn’t know, a starter is a yeasty
mixture used to make bread rise. (Here’s a basic
recipe: kingarthurflour.com/recipes/sourdough-
starter-recipe.) You make it out of flour and water,
but it needs to be kept at the right temperature
and regularly “fed” and partially discarded over
the course of a week or two before it’s activated
and ready. Using it requires you to get it to just
the right amount of rise before adding it to your
recipe, but in the end it’s definitely worth it.
I’m a software developer at Grafana Labs and
also really interested in learning more about
things that surround me, so when I heard it was
possible to make a sourdough starter monitoring
system, I had to try it. (Word is, it can improve the
quality of the starter and the taste of your bread.)
Sourdough monitoring systems help you track
your sourdough starter’s temperature, humidity,
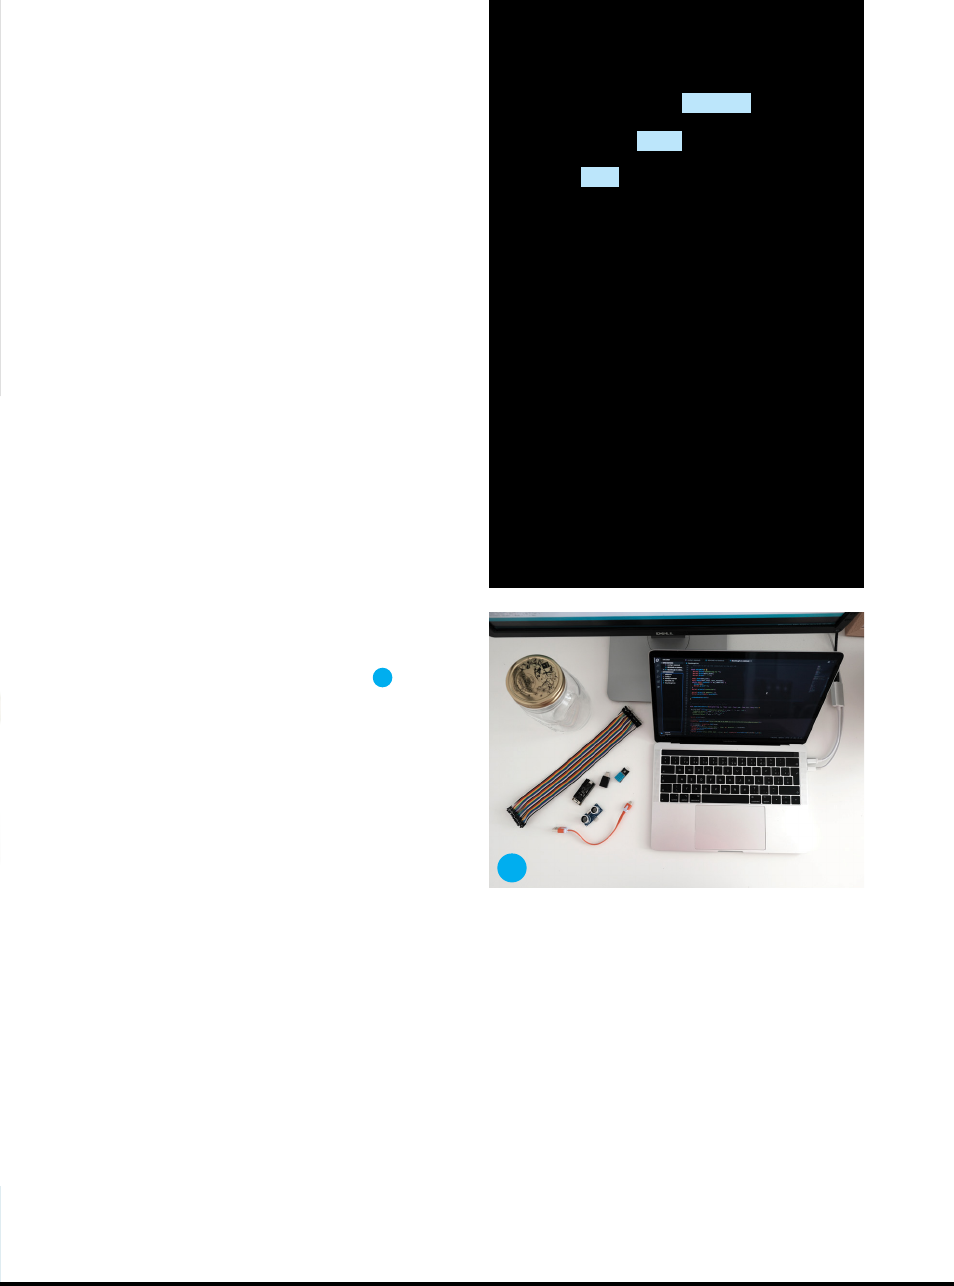
and height. Mine uses an ESP32 development
board, which collects data from sensors attached
to the lid of the sourdough jar (Figure
A
). To
measure the height of the sourdough starter, I
have used an ultrasonic distance sensor. For
temperature and humidity, I have used a DHT11
sensor. Produced data are then sent to the
Prometheus database and they are visualized in
beautiful graphs in Grafana. In Grafana, you can
track your metrics in time or even set up alerts
that will remind you when to feed your starter.
The system I made was inspired by sourd.io,
which was created by Christine Sunu, and it’s the
first IoT project I’ve ever worked on. I enjoyed the
process so much that I wanted to share it with
everyone — especially anyone who’d like to dip
their toe in IoT development. The setup is really
easy, and I’m going to take you through the steps.
INSTALL SOFTWARE
First, install the Arduino IDE onto your computer.
I used IDE version 1.8.10, as newer versions were
throwing errors on MacOS Monterey. Version
1.8.10 was recommended as a solution on the
Arduino forums and it worked for me.
Secondly, you will probably need to install
CP210x USB to UART Bridge VCP Driver (silabs.
Smart and Sour
TIME REQUIRED:
2 Hours
DIFFICULTY:
Easy
COST:
$25
MATERIALS
» ESP32-PICO-KIT V4 development board
» DHT11 temperature/humidity sensor module
» HC-SR04 ultrasonic distance sensor
» HC-SR04 holders (2)
» Dupont cables, M–F (7)
» Micro-USB cable
» USB charger
» Jar, medium-sized for your sourdough starter,
witha lid that you can cut
TOOLS
» Snips or rotary tool or something to cut a hole
in the middle of the jar lid
» Glue and/or tape such as a glue gun, super
glue, or double-sided tape (ideally all of them)
» Computer with Arduino IDE (free from arduino.
cc/en/software) and internet access
A
com/products/development-tools/software/
usb-to-uart-bridge-vcp-drivers) if your OS won’t
recognise the USB Serial automatically. This
driver basically lets your computer communicate
with your ESP32 development board. Again, I am
on OS Monterey and I had to install this driver.
SET UP A PROMETHEUS DATABASE
The next very important thing is to set up a
database, where you are going to store the data
from your sensors. In this project, we’ll use
Grafana Cloud, which comes with a free hosted
Prometheus time-series database, and also
Grafana for data visualization. To start, visit
Grafana Cloud (grafana.com/auth/sign-up) to
79
make.co
M81_078-83_Sourdough_F1.indd 79M81_078-83_Sourdough_F1.indd 79 4/11/22 12:27 PM4/11/22 12:27 PM
..................Content has been hidden....................
You can't read the all page of ebook, please click here login for view all page.
