
3
Measuring
Probably the tip of all tips, the ur-tip, if you will, is “Measure twice; cut once.” Measuring is such an important part of nearly every form of making. Measurement can spell the success (or failure) of most projects. Remember the US$125 million Mars orbiter that crashed on the red planet because there was some imperial-to-metric measurement mishap? Measuring is critical to project success and it can prove very expensive (and embarrassing) when you get your measurements wrong. Here are some tips that makers have discovered to help keep their projects from a spectacular crash.
 Your Hand Rules!
Know the measurements of certain parts of your body (actual length of your foot, finger, or the span of your hand) for doing rough measurements when you don’t have a ruler handy. [JD]
 Measuring Sky Angles
One common trick from the world of astronomy is to use your hands to measure angles in the sky. Here’s how they describe it on One Minute Astronomer:
“. . . Your hands and fingers are a remarkably accurate (and convenient) measuring tool. When you hold your hand at arm’s length, you can estimate angles like this:
- Stretch your thumb and little finger as far from each other as you can. The span from tip to tip is about 25 degrees.
- Do the same with your index finger and little finger. The span is 15 degrees.
- Clench your fist at arm’s length and hold it with the back of your hand facing you. The width is 10 degrees.
- Hold your three middle fingers together; they span about 5 degrees.
- The width of your little finger at arm’s length is 1 degree.”

Measuring Distance with Your Thumb
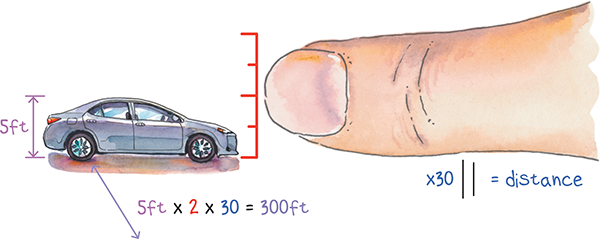
Here is one more body-part measuring trick: using your thumb to measure distance. This is taken from the old “Your Body Ruler—A User’s Manual,” a document that has been online since the web Jurassic:
“I hold out my arm, look at my thumb, and see a distant car half as high. Cars are about 5 feet (1.5 meters) high. So my thumb appears 10 feet (3 meters) wide. And since I know my thumb is 30 times as far as it seems tall . . . I know the car is something like 300 feet (90 meters) away!”
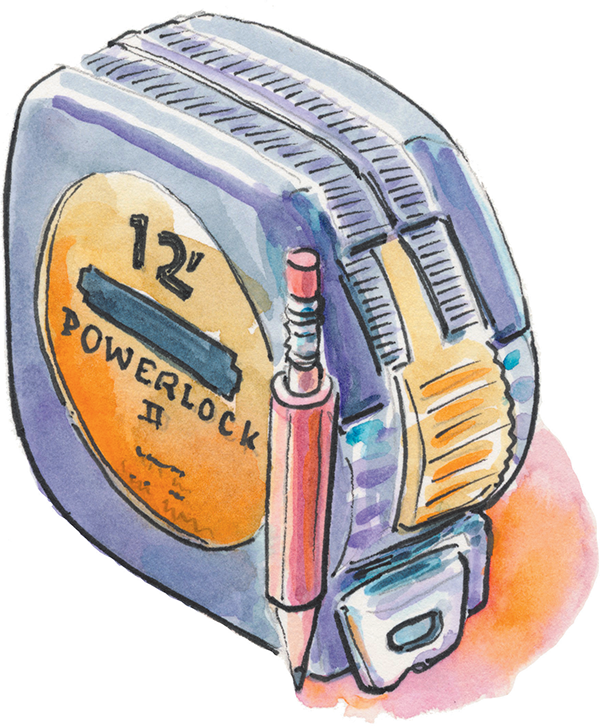
A Notepad on Your Tape Measure
Turn one of the faces of your measuring tape into a notepad. Simply sand off the shine on one side of the tape measure’s plastic casing and you have a writable and erasable surface to jot down measurements or other information. [CS]
Use the End Hook Slot on a Tape Measure for Unassisted Measuring
There is a small slot in the end hook of most tape measures. That slot is there to grab onto the head of a nail or screw. That way, if you’re by yourself and need to measure a set point on a flat surface that would normally require someone holding the tape, you can sink a screw or nail, hook the end of the tape measure into this slot, and securely and accurately measure from there. [LB]
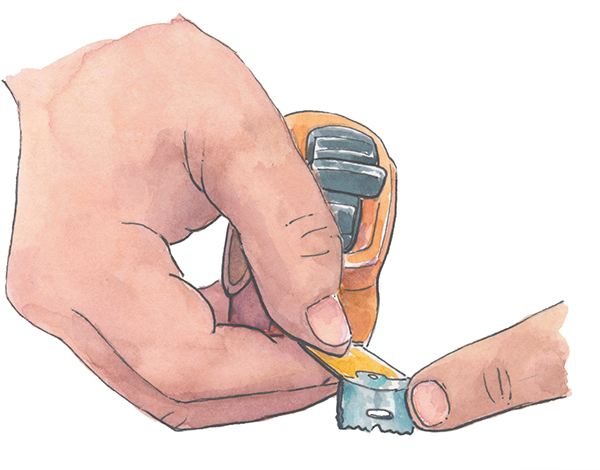
Use the Serrated Edge of Your Tape Measure to Scratch a Mark
Have you ever noticed the serrated bottom edge of the end hook on your tape measure? If you’re using the tape measure and don’t have a marking tool at hand, you can press this edge into your workpiece, scratch it back and forth, and make a mark. [LB]
Use a Tape Measure Nail Grab to Scribe a Line
If you sink a screw into the center of a circle you wish to scribe, you can use the slot on the measure’s end hook (called a nail grab) to help you scribe a circle. With the screw securely in the slot, hold a pencil steady at your desired radial distance and move the tape while keeping it taut, to scribe your circle. [LB]
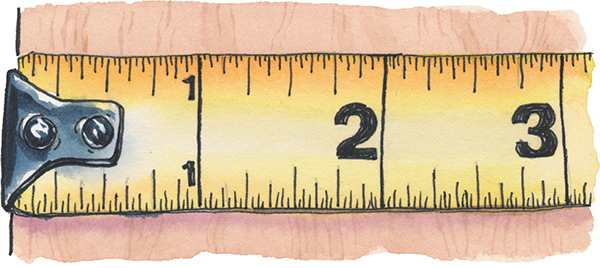
Understanding the True Zero Hook Feature
That riveted metal tab that holds the end hook on the tape has travel in it for a reason. If you’ll notice, the inch marks on the tape actually start 1/16″ short. That’s because the thickness of the hook itself is 1/16″. So, if you take an inside measurement (pressing the hook end against the workpiece you’re measuring), you will get an accurate measurement. But also, if you hook the end onto a workpiece, the play in the rivets will move the hook out to compensate for hooking onto the material, creating a 1/16″ gap between the hook and the tape, allowing for an accurate measurement. Always make sure to pull the tape taut when making an outside measurement to make sure the end hook is fully extended. [LB]
Create Quick Measuring Sticks
If you do a lot of woodworking and make many of the same cuts over and over, create some measuring sticks for the common lengths that you cut. Attach a large washer on one end that overhangs the edge to form a stop for holding the stick in place while you are scribing off the length. [DFJ]
Playing Cards in the Shop
YouTube maker Nick Ferry swears by using playing cards in the shop. Because playing cards are reasonably thick, coated card stock of a known thickness (11.5 pt stock or 0.0115″), you can use them, singly or in stacks, to raise and shim a workpiece to a specific distance when drilling or cutting. [NF]
Use the Case of the Tape Measure to Measure
You are likely already aware of this, but the base of a tape measure’s plastic or metal case always has a number on it indicating its exact length. Knowing this, you can use the case itself when doing inside measurements where you would otherwise have to bend the tape into a 90-degree angle and sort of guess the exact mark where the tape would hit the mark. Instead, you can use the case itself to measure all the way to the corner, adding the length of the case itself to the number you get with the tape measurement.
Quick-Drawing Lines Close to the Edge
To draw a straight line close to the edge of a workpiece, hold your pencil in your hand and keep your fingers in exactly the same position while you follow the edge with the tip of your finger along the workpiece as you mark the line. [JD]
Quick-Drawing Lines Farther from the Edge
If you need to draw a series of parallel lines farther from the edge of your workpiece, use a yardstick, ruler, or a piece of wood. Hold your pencil to the ruler at the desired distance from the edge and use your other hand to hold the ruler against the edge of the workpiece as you run the line. A tape measure works for this, too, but it gets more difficult the farther away you get from the edge. [JD]
Finding the Center
If you can find the balancing point in the middle of a piece of dimensional lumber, you have also found its rough center. Hold your hands parallel under the board and move them toward the center. When the board stays level, you have found the rough center. This technique comes in handy if you don’t have anything to measure with. [JD]
Magnetize Your Tape Head
Want to create a hands-free end to your tape measure? Glue a neodymium (rare earth) magnet to the outside of the hook on your tape measure so that you can attach the hook to metal surfaces for single-person measuring, picking up dropped tools, and similar tasks.
Adding a Marking Tool to Your Tape
If you want to add hands-free marking capability to your tape measure, glue a piece of plastic tubing to the measuring line of your tape measure so that it can fit a small length of pencil.
Retrieving a Tool with a Tape Measure
Here’s one from master maker Izzy Swan. When he needs to pick up a tool, or some hardware or other metal-based object that he dropped from a ladder, behind a cabinet, or otherwise out of reach, he keeps a rare earth magnet attached to the side of his tape measure. If he drops the object, he places the magnet on the hook of his tape measure, extends it, and retrieves the item. The magnet and the tape are even strong enough to pick up something as heavy as a hammer. [IS]
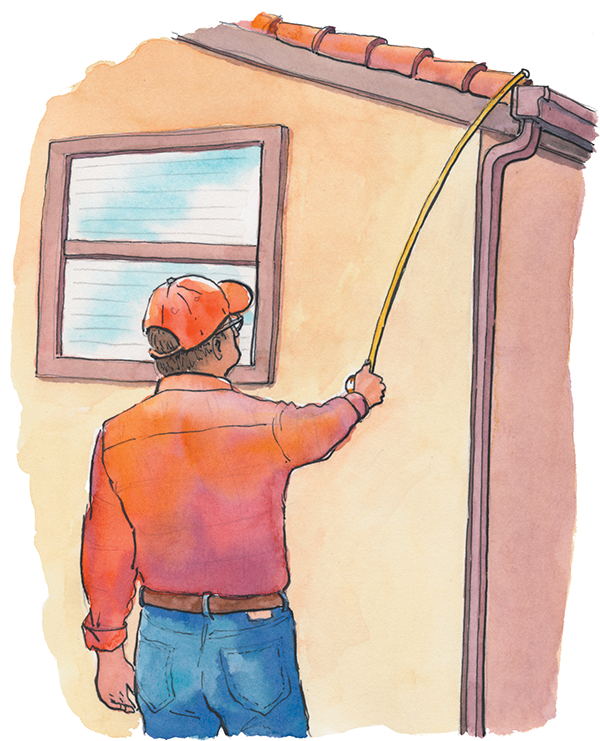
Long Distance Measuring and Pointing with a Tape Measure
On Stanley FatMax series tape measures, you can extend the tape for up to 11 feet and it will stay rigid. This allows you to use the tape measure as a giant pointer—for example to indicate features on a roof, trusses, gutters, and so on.
Use a Digital Scale for Measuring Multi-Part Epoxies
The ever-clever Andy Birkey weighs in with this great tip. When measuring multi-part epoxies, resins, and the like in very small batches, supplier-provided measuring cups can become inaccurate. At these quantities, a little bit more or less can make a big difference in the quality of the resulting mix. For such small-batch measuring, use a digital scale. Pour the first part in to the desired weight, zero it out, and add the second part. Perfect. [AB]