
With an increasing number of smartphone users in recent years, mobile application development has become one of the major areas to focus on other than big data and Cloud computing. Most of the companies are coming up with mobile apps for their products such as games, social networking, e-commerce, and so on. And this trend is surely going to increase in next few years. So, in the last chapter, we will cover the topic related to mobile technology.
In this chapter, we will discuss how to create a basic Android application with Android Studio as IDE and how to build the application with Gradle. We already know that the Gradle philosophy is based on conventions rather than configurations, and it is much easier to write a build automation infrastructure with Gradle in comparison to other build tools available in the market. This is one of the reasons why Gradle is the official build tool for Android. You just write few lines of code in the build file and the application is ready for different platforms and versions, such as free or paid. It also provides support to sign application before release. With Gradle, you can run the application on an emulator or physical devices to run unit and function tests.
In this chapter, we will primarily focus on two areas: a quick overview of Android application development with Android Studio and various aspects of Gradle as a build tool for Android. As this is a Gradle book, our discussion will be focused on understanding the Gradle features.
We will start by creating a sample Android application, which will display Hello World when you open it on a mobile device. You can use Eclipse with the Android Development Tool (ADT) plugin or Android Studio, which has been released by Google. Android Studio is based on IntelliJ IDEA and it is now the most preferred IDE for building Android applications. Both Eclipse with ADT and Android studio setup instructions can be found at http://developer.android.com/sdk/index.html.
In this chapter, we will use Android Studio for application development. Once you have downloaded and installed Android Studio on your system, start Android Studio. Android Studio also installs Android SDK, which is required to compile and execute Android applications. To create an application, navigate to File | New Project. You will see the following screen:
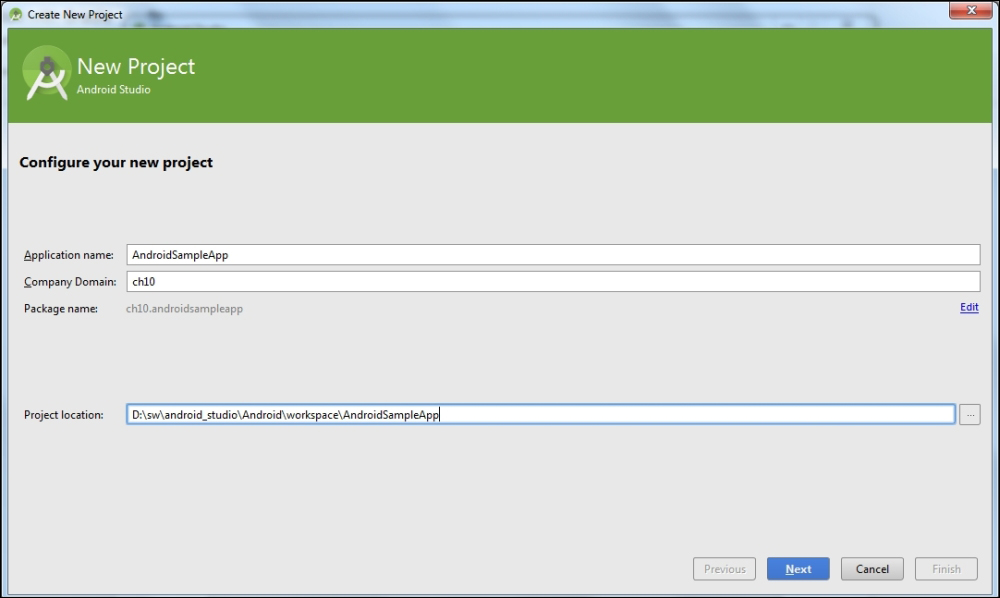
Figure 10.1
Click on the Next button and follow the steps. On the activity screen, select Blank Activity:
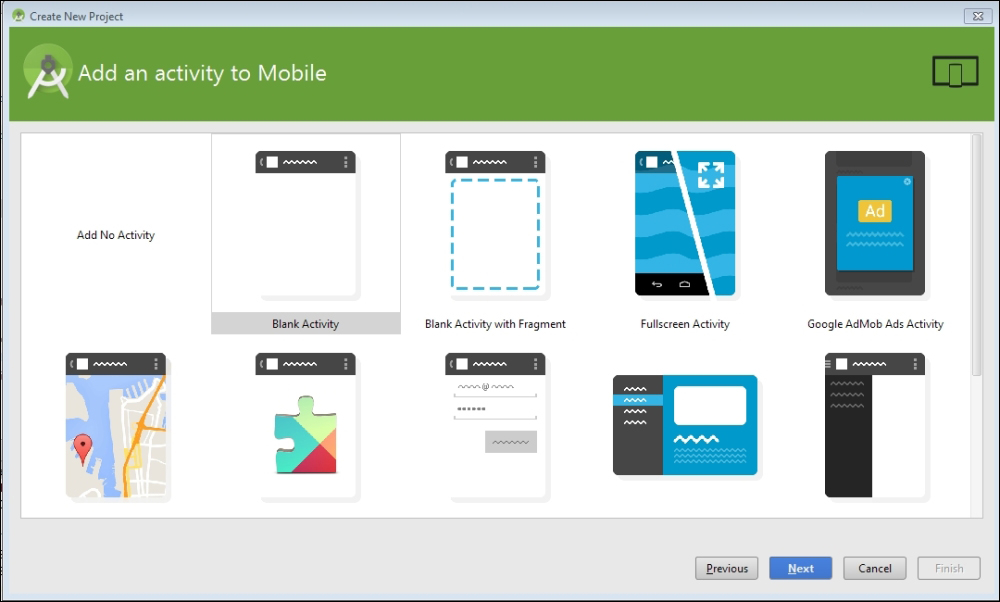
Figure 10.2
For this chapter, our main purpose is to create a sample application and emphasize on the build process of the Android application with Gradle. So it is not required to create a full-fledged Android application. Therefore, the sample application will do just one job, which is to display Hello World when you launch the application.
To complete the project setup, in the Customize the Activity screen, provide the details such as Activity Name, Title, and so on:
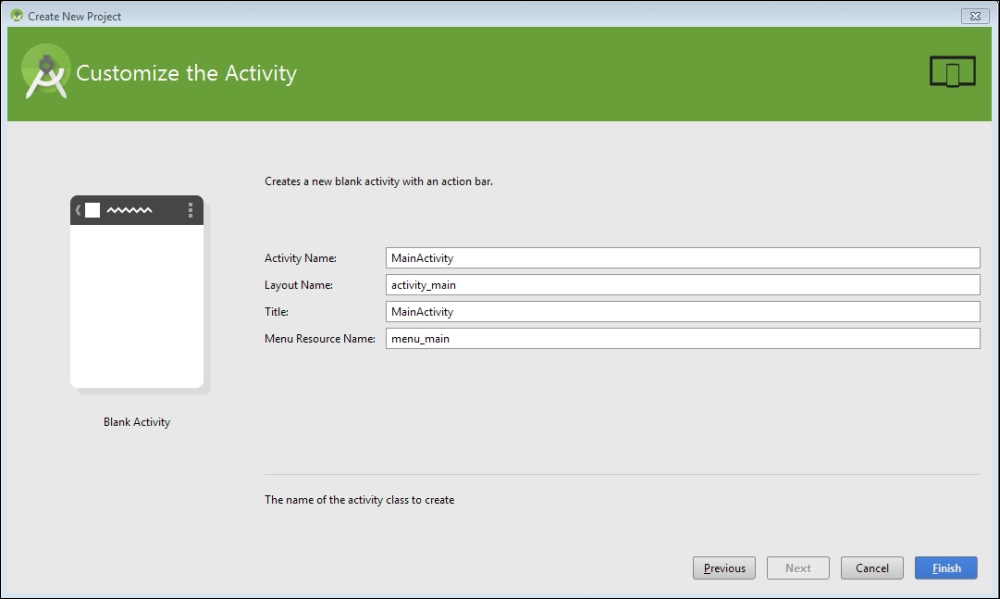
Figure 10.3
Once you click on Finish, Android studio will create the project and the directory structure will be as follows:
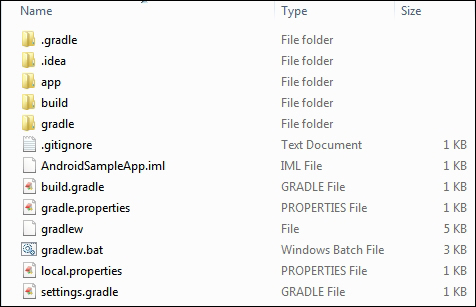
Figure 10.4
In the project home directory, you will find the build.gradle and settings.gradle files. This means that Android Studio has created a multi-project build structure. In Chapter 6, Working with Gradle, we have already covered the multi-project structure, in which a parent project contains one or more subprojects. The parent project contains all the common configurations and other related details that are shared among the subprojects.
Android Studio creates one build.gradle for the parent project and individual build.gradle files for the subprojects. It also creates settings.gradle file that includes all the subprojects that are part of this parent project. You will also find the local.properties file. This file has information about the location of the Android SDK. The content of this file will be as follows:
sdk.dir=<Location of Android sdk>
Android Studio also adds Gradle Wrapper, which means the Android project can be built on a machine where Gradle is not installed. Gradle Wrapper automatically installs Gradle and executes the build.
The actual Android application is in the app directory that has the source code, resource, and so on. The content of app directory is as shown here:
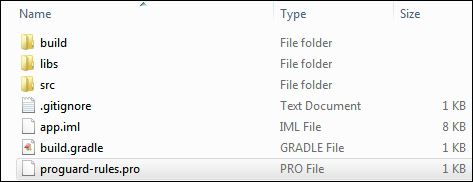
Figure 10.5
It contains the src directory for the Java source code and test code.
Source and test directories are src/main/java and src/androidTest/java, respectively, as shown in the following screenshot:

Figure 10.6
Already you are aware of Java plugin and its default conventions. If we include Java plugin in a project, the source structure is src/main/java and src/main/resources. For Android plugin apart from these two directories, you can also add extra files and folders specific to Android conventions, as mentioned here:
AndroidManifest.xmlres/assets/jni/proguard-rules.pro
This can be configured in the android closure as sourceSets properties, as follows:
android {
sourceSets {
  main {
    java {
      manifest.srcFile 'Manifest.xml' res.srcDirs = ['src/res'] assets.srcDirs = ['src/assets']
    }
  }
}
}
We will discuss some of the important concepts here. You can find more details at https://developer.android.com/sdk/index.html.
The AndroidManifest.xml file is one of the important files that must be present in the application directory. It contains some important information related to the application, such as activities, content providers, permissions, and so on. Manifest file contains only predefined elements. Some values are populated from the Gradle properties. You cannot add any custom element in the manifest file. Elements such as <manifest> and <application> are mandatory and they appear only once. Other elements are optional and can be applied once or multiple times.
The res directory is used to place resources. You can place all the application resources, such as layout files, drawable files, and string values under the res directory. You can find more details about resources at http://developer.android.com/guide/topics/resources/providing-resources.html.
The directories supported inside the res directory are:
animatoranimcolordrawablemipmaplayoutmenurawvaluesxml
The assets directory may contain all the basic files. Files under this directory will be part of the .apk file without any modification and the original file name is preserved.
jni contains native code using the Java Native Interface.
proguard-rules.pro contains the ProGuard-related settings. We will discuss ProGuard settings later in this chapter.