
Inspecting for Private Information
WHETHER YOU ARE AWARE of it or not, your Excel workbooks contain more than just data. When a workbook is saved, Excel stores additional information with it, known as metadata. This metadata helps Excel to know certain things about the file and the people who have worked on it in the past, such as their name, company/ department name, type of computer they use, and the name of the network server or hard disk where the workbook is stored. In addition, the metadata contains information about old versions of the workbook, hidden data, and any comments. Also, if you have ever e-mailed the document directly from Excel, your e-mail address may also be stored in the metadata.
Removing Private InfoYou will not be able to remove personal data from a shared workbook, because it needs to retain that data in order to track who makes particular changes. So unshare the workbook first before removing private information. |
If you share a workbook with someone else, you may not want to share all of this additional information. Use the Document Inspector to look for and remove such data before you share the workbook. Follow these steps:
1. | Click the Save button on the Quick Access Toolbar to save any unsaved changes. |
2. | Click the File tab to display Backstage. |
3. | Select Info from the list on the left to display the Information options on the right. |
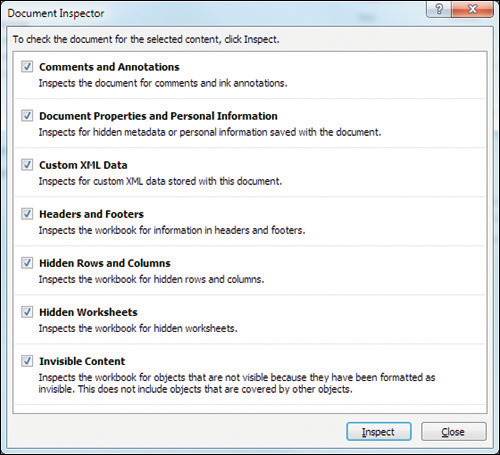
4. | Click the Check for Issues button and select Inspect Document from the pop-up menu. The Document Inspector dialog box, shown in Figure 13-1, appears. Figure 13-1. Look for data you might want to remove from a workbook before sharing it.
|
5. | |
6. | Click Inspect. |
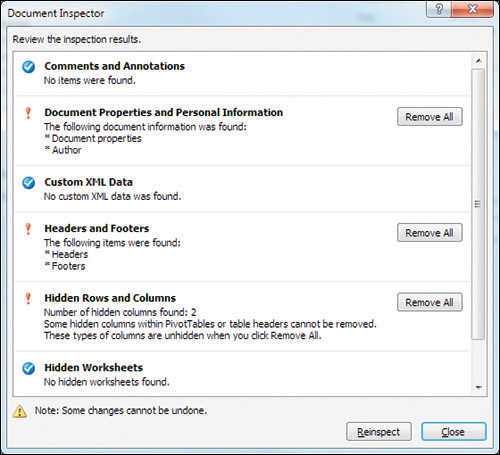
7. | The Document Inspector looks for the type of data you selected, and then displays a list of the items it has found, as shown in Figure 13-2. To remove a particular type of data, such as the Document Properties and Personal Information, click that data’s Remove All button. Figure 13-2. The Document Inspector reports on hidden data.
|
8. | Repeat Step 7 to remove the various data types you want. |
9. | When you’re through removing data, click Close. |
10. | Save your workbook again by clicking the Save button on the Quick Access Toolbar. |
Be Careful When Removing Hidden DataIf you remove hidden data, you might not be able to use Undo to get it back. |