Let's suppose that you have a laptop or a dedicated host, and you want to install Kali Linux. Follow the steps in this section, and you can install this monster on your machine. Also, you can install a fresh copy on a virtual machine (if you want to learn the details of the installation process yourself), but Kali Linux offers pre-built VMs, which we will learn about later in this chapter:
- First, you need to download Kali. Simply browse to https://www.kali.org/downloads, and you will land on the download page for this operating system (OS).
- I will choose the 2018.1 64 bit version, and will click on the HTTP link to download it directly to my machine. After the download has completed, you will need to copy the ISO file to a bootable USB drive. You're probably asking yourself this question: how do I make my USB bootable? There is a Windows tool that I always use for creating a bootable USB, called Win32 Disk Imager. You can download a copy of this tool at https://sourceforge.net/projects/win32diskimager, and it's free!
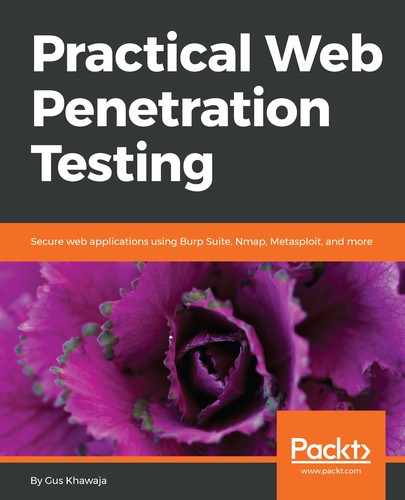
- I'm assuming that you have created your bootable USB copy of Kali, and that you have just booted your physical machine. On the first screen, you will need to choose the Graphical install option:
- When you press Enter, you will have to choose the Language; I will choose English, and click on the Continue button. After that, you will need to choose your Country, so I will pick Canada, since it's my homeland, and click on the Continue button. Next, you have to choose the keyboard layout. In my case, it's going to be American English. We can then proceed to the next step.
- At this stage, you will be prompted to enter the Hostname of your Kali machine. It's your choice; name it whatever you'd like.
- Next, enter your local Domain name. If you don't have one, that's fine; just write workgroup, or anything that is meaningful to you (I have a local domain called home.lan):

- In the next step, you will enter the Password for your Kali root account; confirm it twice, and click on Continue. After this, you will be asked to configure the clock. I'm living in the Eastern time zone; yours might be different, depending on where your city is located:

- Now, it's time to set up the partitions for the installation. I always use either Guided – use entire disk (for a non-encrypted setup) or Guided – use entire disk and set up encrypted LVM (for an encrypted installation—this setup will encrypt your disk drive). I will choose the first one, but I highly encourage you to choose the encrypted setup if you're installing this on a physical machine, especially if it's a laptop:

- Next, you will need to choose the partition disk where you'll install Kali. Most of the time, you will see only one big partition; select it to Continue:

- On the next screen, select All files in one partition; this is what I always choose for Kali. If you're a sophisticated geek and would like to separate the partitions, feel free to do so.
- After this step, you will be asked to Finish partitioning and write changes to disk; what else are you going to choose, right?
Select Yes to write the changes to disk.
Finally! The installation will start, and, depending on your machine, it will take a few minutes to finish.
Don't party yet; there are still a few more steps before you can start to use Kali. When the installation has finished, you will be asked to choose a Network Mirror. Select Yes and continue (you will need the network mirror for updating your Kali Linux).
- After this step, leave the proxy textbox empty, unless you have a proxy inside of your network:

We're not too far from the finish line. On the next screen, you will be asked to choose whether to install the GRUB boot loader. I will say Yes, since I like this feature. This option will allow GRUB to be installed on the master boot record (the first screen that you will see when you boot your machine).
- Next, you will choose the disk partition for the GRUB boot loader. In this case, you will see only one option, so select it to Continue:

At this stage, a final installation will be executed (to finish the setup process), and you will be greeted with a message saying that Kali is ready. Hooray!
- Click on Continue, and your system will reboot. When you get to the login screen, enter root for the username, and then enter the password that you chose during the installation process.