
The previous section looked at how to create packages. Creating packages is useful, but at some point, you may to want to share them with the world. If you don't care to share them, you can still make use of NuGet with private feeds. I cover that later.
Publishing to NuGet.org
By default, NuGet points to a feed located at http://go.microsoft.com/fwlink/?LinkID=206669. This is a redirect link that points to the latest version of the feed. At the time of this writing, that would be http://packages.nuget.org/v1/FeedService.svc.
To publish your package to this feed, you do the following:
1. Set up an account at http://nuget.org/. In Figure 10.19 is the NuGet gallery, which is the front-end to the feed as shown.
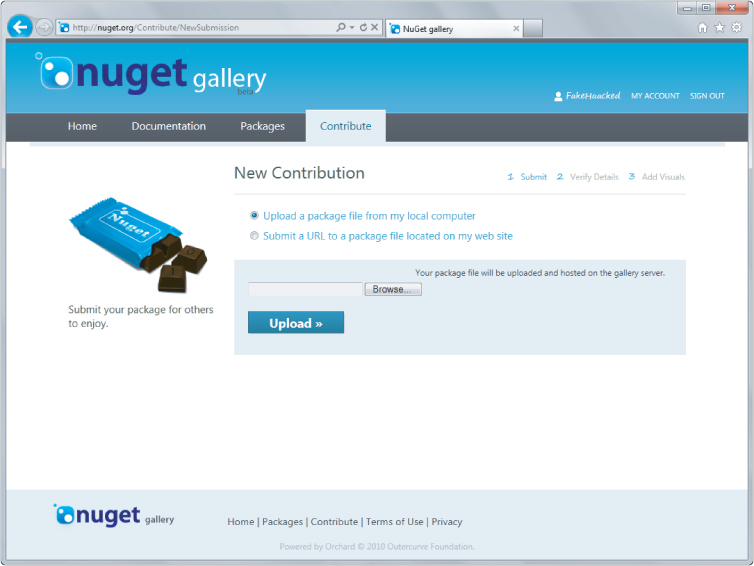
2. Log into the site, and then click the Contribute tab. This brings you to a page with options to add a new package, manage your existing packages, or reserve a new package id. Click on the link to Add a New Package to navigate to a page where you can either upload the package or specify the URL to the package file if it's hosted elsewhere, as shown in Figure 10.20.
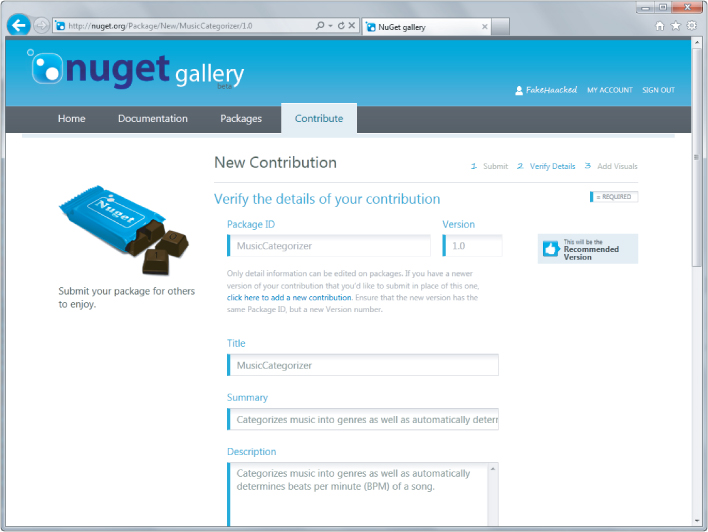
Uploading a package takes you to a screen that enables you to verify the metadata for the package as shown in Figure 10.21.
3. Keep the default values in Figure 10.21. In the top right, you'll notice there's a tag that states “This will be the Recommended Version.” The recommended version is the one that is displayed in the dialog and is the one that's installed when a version is not specified.
For any given package ID, there must be one recommended version. By default, the latest version of the package is marked as the recommended one. This is handy because it enables you to upload an older version of your package (say to support older frameworks) without worrying that it will suddenly become the default version of the package. You can always change which version is the recommended one by clicking the Manage My Contributions link on the Contribute page.
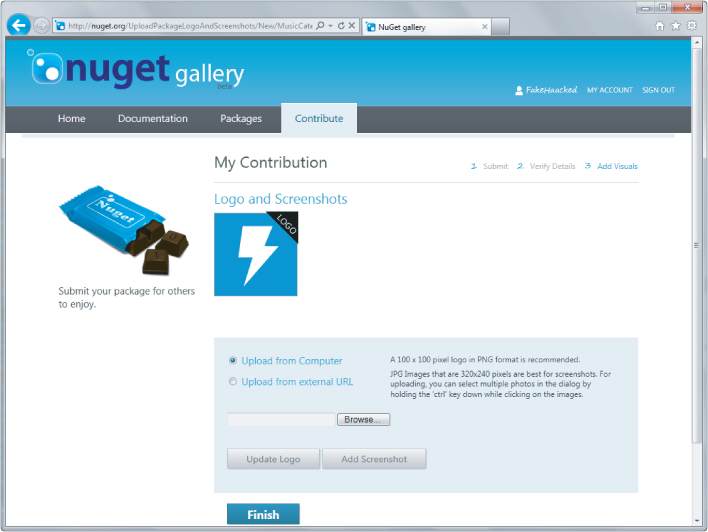
4. Once you've verified the metadata, click Next. This brings you to go to the next step, which enables you to upload screenshots and an icon for your package, as shown in Figure 10.22.
5. Click Finish. After you click the Finish button, your package is published and made available for others to install via NuGet.
Publishing Using NuGet.exe
Given that you can use NuGet.exe to create a package, wouldn't it be nice if you could also use it to publish a package? The good news is you can do that with the NuGet push command. But before you run the command, you'll need to make note of your API key.
On the NuGet web site click the My Account link within the gallery to see a page like the one shown in Figure 10.23.
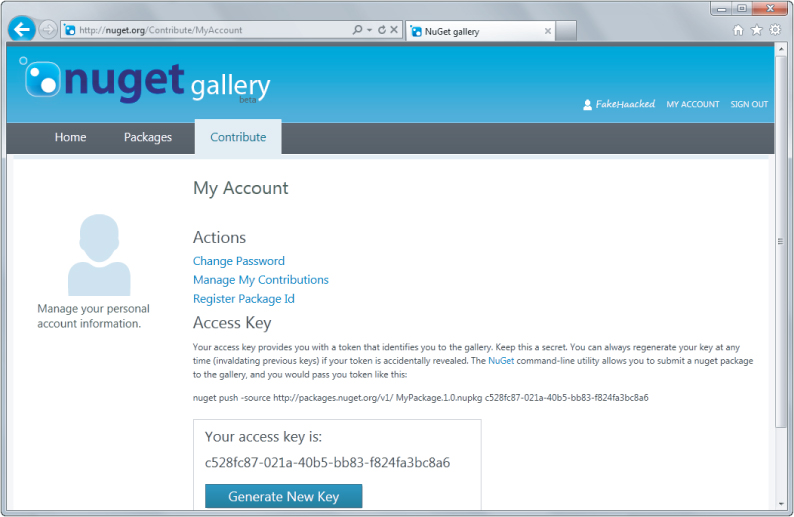
This page enables you to manage your account, but more importantly, it displays your access key, which is required when publishing packages using NuGet.exe.
Conveniently, there's also a button labeled Generate New Key to generate a new API key in case you accidentally leak your key, much like I just did by posting this screenshot.
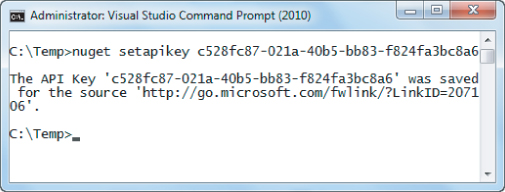
When you use the NuGet push command, it requires that you specify your API key. However, you can use the SetApiKey command to have NuGet remember your API key by storing it so that you don't need to specify it every time you run the push command. Figure 10.24 shows an example of using the SetApiKey command.
With the API key saved, publishing a command is as easy as running the push command and specifying the .nupkg file you want to publish, as demonstrated in Figure 10.25.
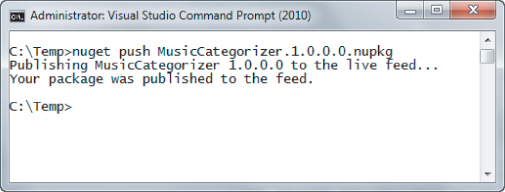
This makes the package immediately available in the feed and is thus available for installation via the dialog or console. Note that it may take a few or minutes before this change is reflected in the nuget.org website.
Using the Package Explorer
After building your package, you may want to examine the package to ensure that it's been packaged up properly. All NuGet packages are, at their core, simply zip files. You can rename the file to have a .zip file extension and then unzip the contents to take a look.
That's good to know, but there's an easier way to look inside a package: by using the Package Explorer. This is a ClickOnce application, which is available on NuGet's CodePlex release page at http://nuget.codeplex.com/releases.
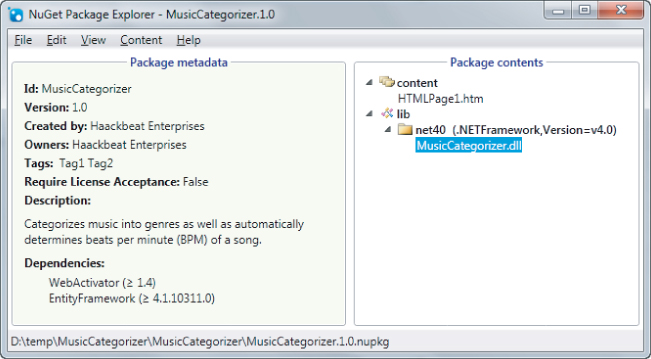
After installing the Package Explorer, you can double-click any .nupkg file to view its contents as shown in Figure 10.26.
The Package Explorer can also be used to make quick edits to a package file or even to create a brand new package.
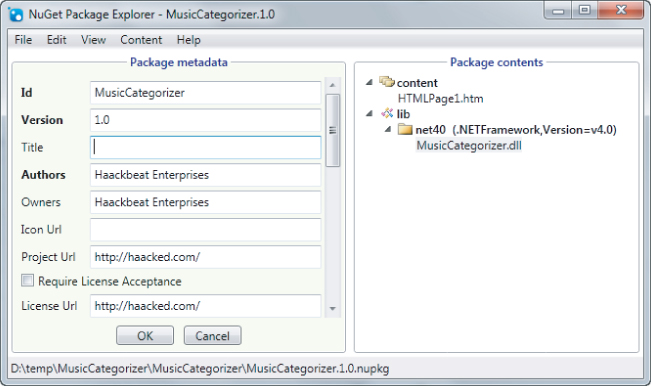
For example, clicking the Edit menu and selecting Edit Package Metadata makes the metadata editable as in Figure 10.27.
Files can be dragged into the appropriate folder within the Package Contents pane. When dropping a file into the Package Contents pane, but not on any particular folder, Package Explorer prompts the user with a suggested folder depending on the content. For example, it suggests putting assemblies in the lib folder and PowerShell scripts in the Tools folder.
When you are done editing the package, you can save the .nupkg file by going to the File ⇒ Save menu option or by using the Ctrl+S key combination.
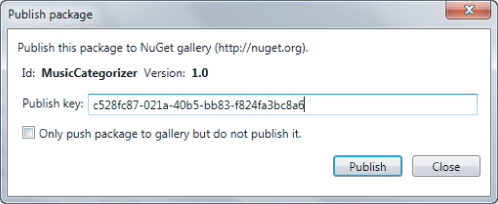
Package Explorer also provides a convenient means to publish the package via the File ⇒ Publish menu. This brings up a publish dialog as shown in Figure 10.28. Just enter your API key and click Publish and the package will show up in the feed immediately.
Hosting A Private NuGet Feed
By default, NuGet lists and installs packages from the official NuGet package feed. But you can point NuGet to any valid package source and it will aggregate packages from the various sources.
For example, it's common for companies to have sets of private libraries they don't want to make available publicly. It can be challenging to share those libraries across the entire team, especially in a large company. Hosting a private NuGet feed is a good way to encourage reuse of these libraries across your organization.
To add more package sources, go to the Package Manager Settings, shown in Figure 10.29, by clicking the Settings button from the Add Library Package Reference dialog, or by clicking the Package Manager Settings button in the console right next to the list of package sources.
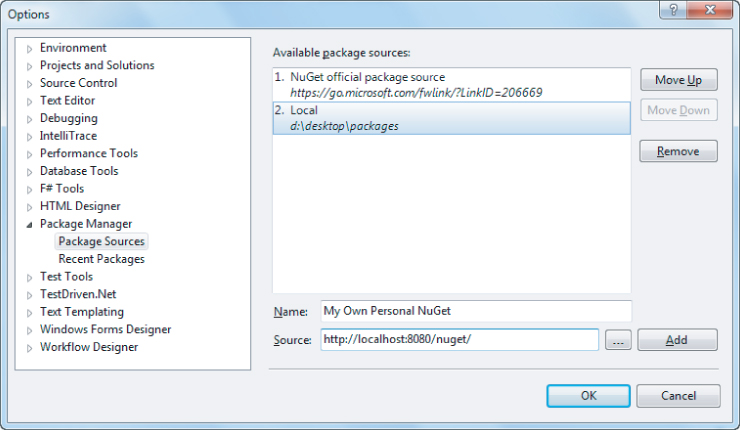
Figure 10.29 shows an example of adding a local directory as a package source. This is one nice feature of NuGet that's also very useful when testing packages that you're creating. You can add a folder containing .nupkg files and NuGet will treat it as if it were any other package source.
This even works with network shares, which is useful when you want to share packages that are internal to your organization and should not be published on a public package feed. But running a NuGet feed off of a network share doesn't scale up very well for a large feed as it relies on scanning each package to retrieve the metadata for searches.
For a package feed with a large number of packages, you'll probably want to host a web application that serves up a custom NuGet feed. Fortunately, this is very easy if you use NuGet to help you quickly get a NuGet feed up and running. Yes, it's very meta.
1. Create a New Empty Web Application: In Visual Studio 2010, go to the File ⇒ New ⇒ Project menu option, or press Ctrl+Shift, to bring up the new project dialog. Select the ASP.NET Empty Web Application project option and click OK to create an empty web application as shown in Figure 10.30.
2. Install the NuGet.Server Package: Right-click the References node and select Add Library Package Reference to launch the NuGet dialog (alternatively, you can use the Package Manager Console instead and type Install-Package NuGet.Server). Click the Online tab and then type NuGet.Server in the top-right search box. Click Install on the NuGet.Server package.
3. Add Packages to the Packages Folder: That's it! The NuGet.Server package just converted your empty website into a site that's ready to serve up the package feed. Just add packages into the Packages folder and they'll show up.
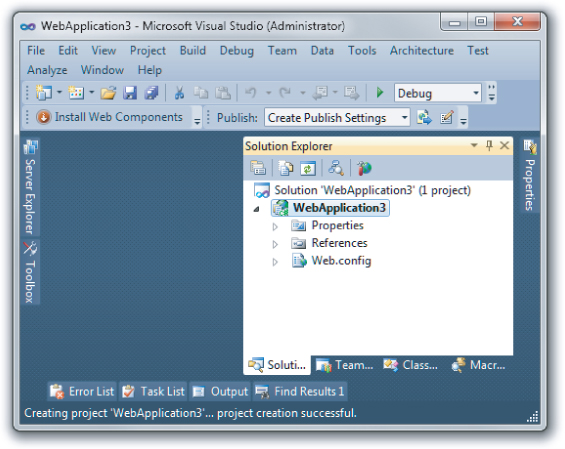
In Figure 10.31, you can see the resulting project along with a few packages that I added to the Packages folder.
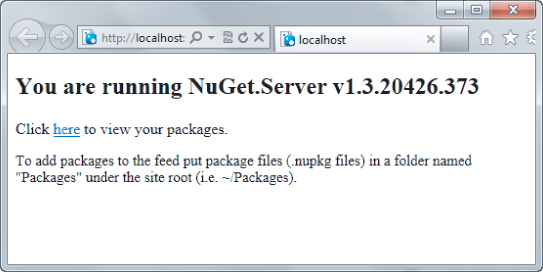
4. Deploy and Run Your Brand New Package Feed! Press Ctrl+F5 to run the site, which brings up a page with instructions on what to do next, as shown in Figure 10.32.
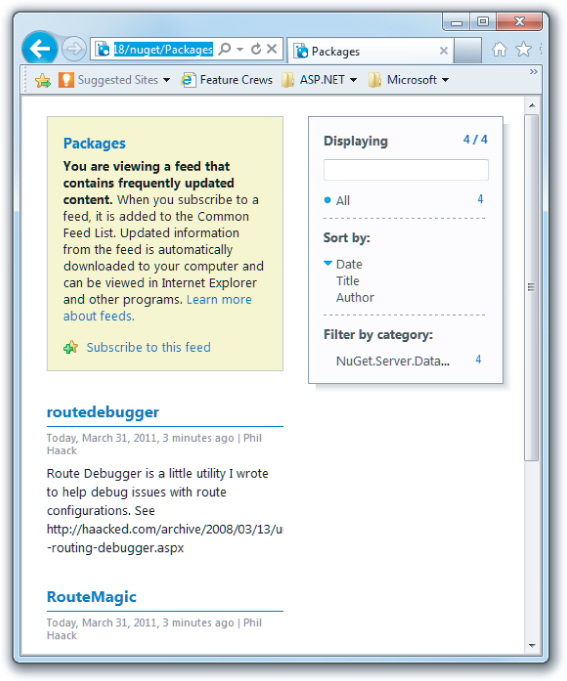
Clicking “here” shows the ODATA over ATOM feed of packages as shown in Figure 10.33.

Once you deploy this site to your web server, you can add the URL to your package sources settings as covered earlier.
Note that the URL you need to use is http://yourhost/nuget/ depending on how you deploy the site.
Yes, it's that easy! Note that this feed is “read-only” in the sense that it doesn't support publishing to it via the NuGet.exe command-line tool. Instead, you need to add packages to the Packages folder and they are automatically syndicated.