
With NuGet installed, you can now quickly and easily add a library such as ELMAH into your project.
You have two ways to interact with NuGet: the Add Library Package Reference dialog and the Package Manager Console. I'll cover the dialog first and the console later. You can launch the dialog from within a project by right-clicking the References node in the Solution Explorer as shown in Figure 10.3. You can also launch it by right-clicking the project name.
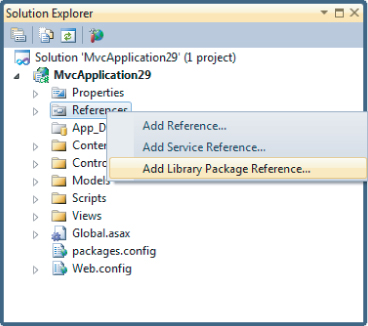
The Add Library Package Reference dialog looks very similar to the Extension Manager dialog, but rather than extending Visual Studio, its purpose is to install packages that extend your project.
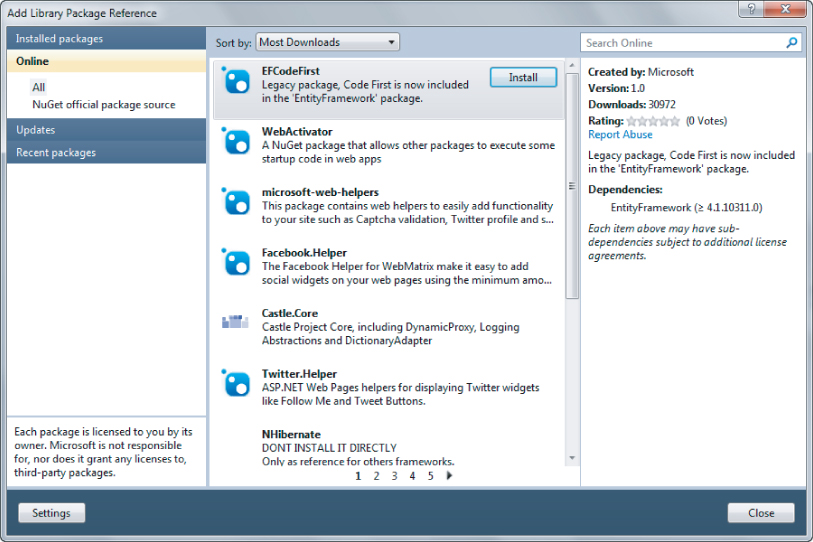
Like the Extension Manager, the dialog defaults to the Installed Packages node. Be sure to click the Online node in the left pane to see packages available in the NuGet feed as shown in Figure 10.4.
Finding Packages
If you're a glutton for punishment, you can use the paging links at the bottom to page through the list of packages till you find the one you want, but the quickest way is to use the search bar in the top right.
When you find a package, the pane on the right displays information about the package. Figure 10.5 shows the information pane for the Ninject.Mvc3 package.
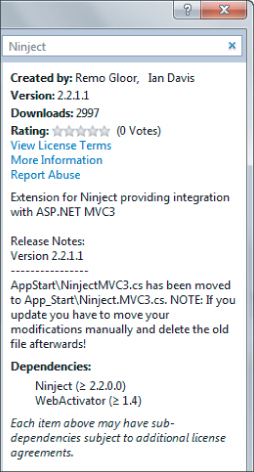
This pane provides the following information:
- Created By: A list of authors of the original library. At the time of this writing, the pane does not list the authors of the package itself, which might be different from the library authors in some cases.
- Version: The version number of the package. Typically, this matches the version of the contained library, but it isn't necessarily the case.
- Downloads: Download count for the current gallery.
- Rating: The average rating for the package, if the gallery supports ratings.
- View License Terms: Click this link to view the license terms for the package.
- More Information: This link takes you to the package's project page.
- Report Abuse: Use this link to report broken or malicious packages.
- Description of the package: This is a good place for the package author to display brief release notes for a package.
- Dependencies: A list of other packages that this package depends on.
As you can see in the screenshot, the Ninject.Mvc3 package depends on two other packages, Ninject and WebActivator. The information displayed is controlled by the package's NuSpec file, which is covered in more detail later.
Installing a Package
Getting back to the task at hand, to install a package, do the following:
1. Type in ELMAH in the search box to find it.
2. Once you've found a package, installing it is as easy as clicking the Install button. Installing a package downloads that package, as well as all the packages it depends on, before installing the package to your project.
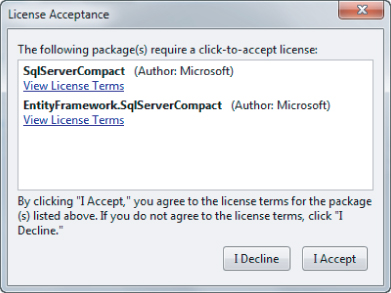
In some cases, you're prompted to accept the license terms for the package, as well as any dependencies that also require license acceptance. Figure 10.6 shows what happens when you try to install the EntityFramework.SqlServerCompact package. Requiring license acceptance is a setting in the package set by the package author.
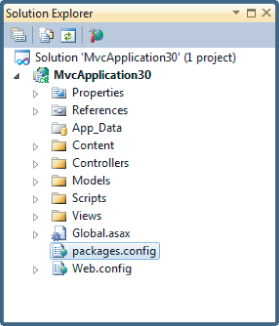
Clicking the Install button for ELMAH downloads the package and then installs it, making a few changes to your project. One of the first things you notice is a new file in the project named packages.config as shown in Figure 10.7. This file keeps a list of packages installed in the project.
The format for this file is very simple. Here's an example showing that version 1.1 of the ELMAH package is installed:
<?xml version="1.0" encoding="utf-8"?>
<packages>
    <package id="elmah" version="1.1" />
</packages>
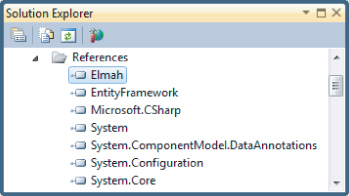
Also notice that you now have an assembly reference to the Elmah.dll assembly, as shown in Figure 10.8.
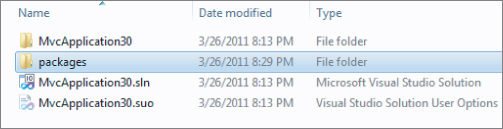
Where is that assembly being referenced from? To answer that, you need to look at what files are added to your solution when a package is installed. When the first package is installed into a project, a packages folder is created in the same directory as the solution file, as shown in Figure 10.9.
The packages folder contains a subfolder for each installed package as shown in Figure 10.10, which shows a packages folder containing multiple installed packages.
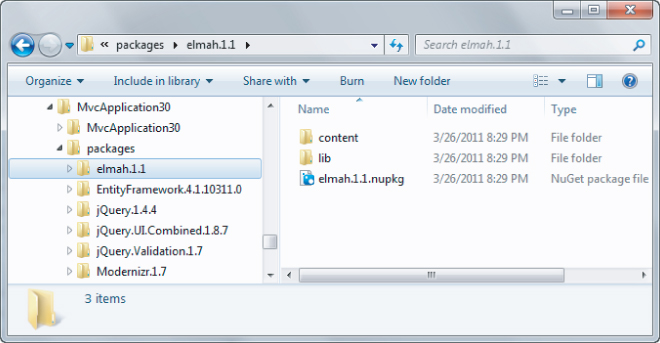
Note that the folders contain a version number because this folder stores all the packages installed for a given solution. It's possible for two projects in the same solution to each have a different version of the same package installed.
Figure 10.10 also shows the contents of the ELMAH package folder, which contains the contents of the package along with the original package itself in the form of the .nupkg file.
The lib folder contains the ELMAH assembly and this is the location from which the assembly is referenced. This is why you may want to check the packages folder into your source control repository. That allows the next person who has to work on the same code to get the latest and be in the same state that you're in. Not everyone likes the idea of checking in the packages folder so the NuGet team is working on alternative workflows. I cover an example later that doesn't require you to do this.
The content folder contains files that are copied directly into the project root. The directory structure of the content folder is maintained when it is copied into the project. This folder may also contain source code and configuration file transformations, which are covered in more depth later. In the case of ELMAH, there's a web.config.transform file, which updates the web.config with settings required by ELMAH, shown in the following code.
<?xml version="1.0" encoding="utf-8"?>
<configuration>
    <configSections>
        <sectionGroup name="elmah">
            <section name="security" requirePermission="false"
                type="Elmah.SecuritySectionHandler, Elmah" />
            <section name="errorLog" requirePermission="false"
                type="Elmah.ErrorLogSectionHandler, Elmah" />
            <section name="errorMail" requirePermission="false"
                type="Elmah.ErrorMailSectionHandler, Elmah" />
            <section name="errorFilter" requirePermission="false"
                type="Elmah.ErrorFilterSectionHandler, Elmah" />
        </sectionGroup>
    </configSections>
    …
</configuration>
Some packages contain a tools folder, which may contain PowerShell scripts. We'll cover that in more detail later in this chapter.
With all these settings in place, you are now free to make use of the library in your project, enjoying the benefits of full IntelliSense and programmatic access to the library. In the case of ELMAH, you have no additional code to write. To see ELMAH in action, you can run the application and visit ∼/elmah.axd to view Figure 10.11.
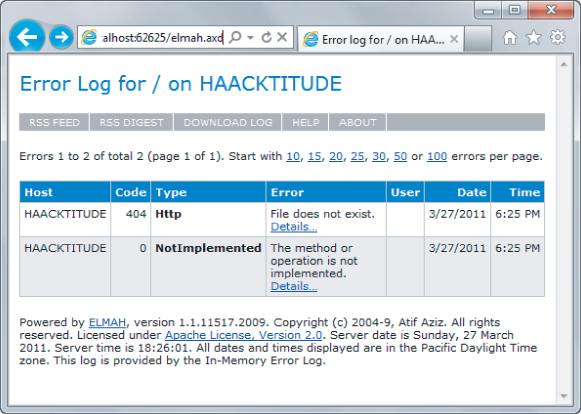
What you just saw is that once you have NuGet installed, adding ELMAH to your project is as easy as finding it in the NuGet dialog, and then clicking the Install button. NuGet automates all the boring rote steps it normally takes to add a library to your project in a way that you're immediately ready to take advantage of it.
Updating a Package
Even better, say you've installed ten or so packages in your project. At some point, you're going to want to update all your packages to the latest version of each. Before NuGet, this was a time-consuming process of searching for and visiting the homepage of each library and checking the latest version against the one you have.
With NuGet, it's as easy as clicking the Updates node in the left pane. This displays a list of packages in the current project that have newer versions available. Click the Update button next to each package to upgrade the package to the latest version.
Recent Packages
The Recent Packages node shows the last 25 packages that were directly installed. Packages installed because they were a dependency to the package you chose to install do not show up in this list. This is useful for packages you use often or when you install a package into multiple projects.
To clear the list of recent packages, go to the General node of the package manager settings dialog and click the button that says Clear Recent Packages.
Using the Package Manager Console
Earlier I mentioned that there were two ways to interact with NuGet before covering the Add Library Package Reference dialog. In this section, I cover the Package Manager Console. This is a PowerShell-based console within Visual Studio that provides a powerful way of finding and installing packages and supports a few additional scenarios that the dialog doesn't.
To launch and use the console, follow these steps:
1. Launch the console: Go to Tools ⇒ Library Package Manager and select the Package Manager Console item as shown in Figure 10.12. This brings up the Package Manager Console, which enables you to perform all the actions available to you from the dialog.
2. Perform an action: This is done using commands such as Get-Package, which lists available packages online, while supplying a search filter as shown in Figure 10.13.
3. Use tab expansions: Figure 10.14 shows an example of tab expansion at work with the Install-Package command. As you might guess, this command enables you to install a package. The tab expansion shows a list of packages from the feed starting with the characters you've typed in so far.
One nice thing about PowerShell commands is that they support tab expansions, which means you can type the first few letters of a command and hit the Tab key to see a range of options.
4. Compose commands: PowerShell also enables composing commands together, for example by piping one command into another. For example, if you want to install a package into every project in your solution, you can run the following command:
Get-Project -All | Install-Package log4net
The first command retrieves every project in your solution and pipes the output to the second command, which installs the specified package into each project.
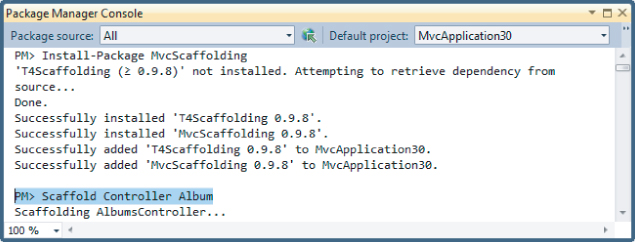
5. Utilize new commands: One very powerful aspect of the PowerShell interface is that some packages will add new commands to the shell you can take advantage of. For example, after installing the MvcScaffolding package, the console will support new commands for scaffolding a controller and its views.
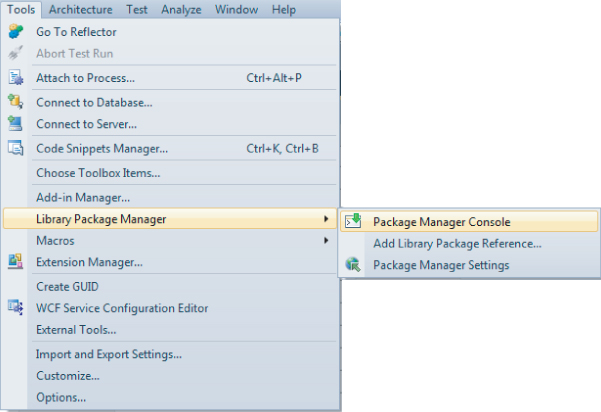
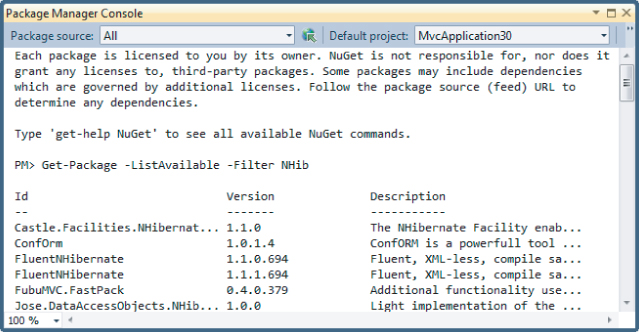
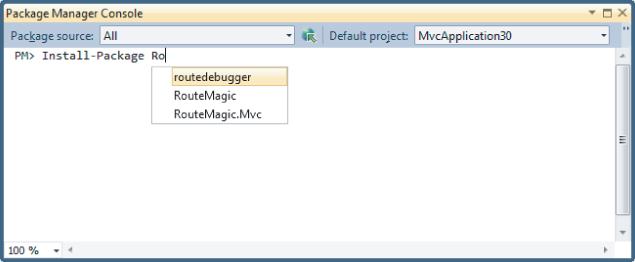
Figure 10.15 shows an example of installing MvcScaffolding and then running the new Scaffold command, which was added by the package.
By default, the package manager console commands work against the “All” package source. This package source is an aggregate of all the configured package sources. To change the current package source, use the Package source drop-down at the top left of the console to select a different package source or use the -Source flag to specify a different package source when running a command. The flag changes the package source for the duration of that command. To change the set of configured package sources, click the button with the arrow over the globe to the right of the package source drop-down. This brings up the configure package sources dialog.
Likewise, the package manager console applies its commands to the default project. The default project is displayed in a drop-down at the top right of the console. When you run a command to install a package, it only applies to the default project. Use the –Project flag followed by the project name to apply the command to a different project.
For more details about the package manager console and a reference list of the available commands, visit the NuGet Docs website: http://docs.nuget.org/docs/reference/package-manager-console-powershell-reference.