
This section looks at how NuGet solves that pain by walking through the steps it takes to make use of a library, such as ELMAH, using NuGet. The first step is a one-time only step: you have to install NuGet itself.
If you have ASP.NET MVC 3 installed, you already have NuGet installed. However, NuGet is not just for web developers. It can be used with non-web project types within Visual Studio. If you don't have NuGet installed, it's easy to install using the Visual Studio Extension Manager as shown in the following steps.
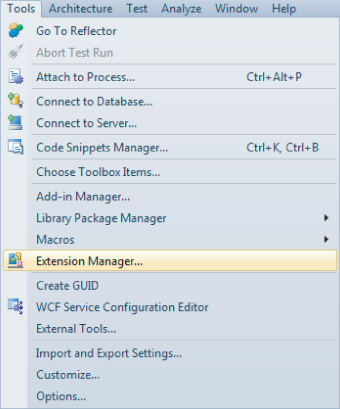
1. Click Tools ⇒ Extension Manager as shown in Figure 10.1. This brings up the Extension Manager dialog, which is used to install extensions to Visual Studio.
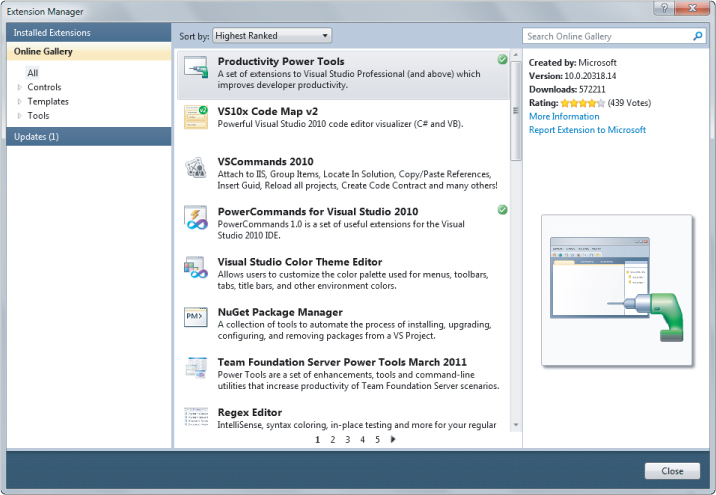
2. The dialog lists installed packages by default, so be sure to click the Online Gallery tab as shown in Figure 10.2.
3. At the time of this writing, NuGet is the most popular extension in the gallery, which conveniently places it first in the list of Online packages in the dialog. You can also find it by typing NuGet in the search bar in the top right. Either way, once you find NuGet, click the Download button and follow the instructions to install it.
If you already have NuGet installed, click the Updates tab to see if a newer version is available. The NuGet team plans to release a new minor version update on a monthly basis, give or take, so there might be some new goodies in there by the time you read this.