
This recipe explains how to install a Raspberry Pi operating system image on an SD card using the open source image writer for Windows – Win32DiskImager.exe.
Once you finish with this recipe, you will be able to write Raspberry Pi images to SD cards from a Windows computer.
The following are the ingredients:
- A computer running Windows with an SD card writer
- A class 4 SD card of 4 GB (or greater)
- A Raspberry Pi operating system's image file
- A pre-compiled
Win32DiskImagerbinary
The pre-compiled binary of Win32DiskImager is distributed as a ZIP file and can be downloaded from https://launchpad.net/win32-image-writer.
The following are the steps for writing a disk image to an SD card on a Windows computer:
- Download the
Win32DiskImagerZIP file (https://launchpad.net/win32-image-writer). - Expand the ZIP file to a folder on disk (for example,
C:Win32DiskImager).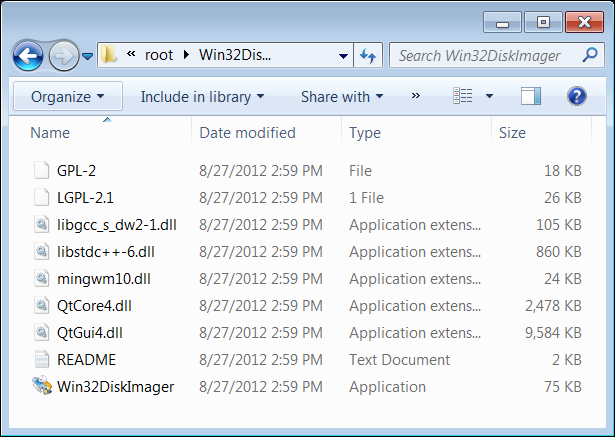
The preceding screenshot shows the contents of the
Win32DiskImagerZIP file. - Download a Raspberry Pi distribution disk image (http://www.raspberrypi.org/downloads).
- Run
Win32DiskImager.exefrom the install folder. - Select the source image file and the target device, as shown in the following screenshot:
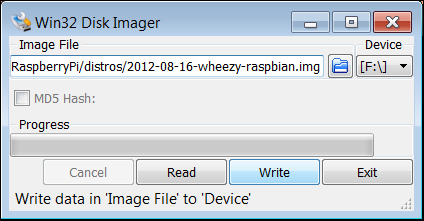
The preceding screenshot shows Win32 Disk Imager being used to write the recommended Raspbian GNU Linux distribution to an SD card.
- Click on the Write button to copy the image to the SD card.
Writing an image to a disk takes about 5 minutes for a 2-GB image file. Once the image is written to the SD card, the SD card may be ejected and used to boot the Raspberry Pi.
First, the image writer for Windows (Win32DiskImager) is downloaded and installed.
Win32DiskImager is a standalone application. Its install files can be expanded to a folder located anywhere on the PC. Double-click on the Win32DiskImager executable file to start the application.
Then, a Raspberry Pi disk image is downloaded.
Finally, Win32 Disk Imager is used to write the Raspberry Pi disk image to the SD card.
The utility, Win32DiskImager, was originally written to read and write disk images for a specific Linux distribution; since then, however, it has been generalized and is now a popular tool for many development projects such as the Raspberry Pi.
Win32DiskImager is also an excellent backup tool! After booting and configuring the Raspberry Pi, a backup can be made to preserve the image in case the SD card is damaged or lost.
To make a backup perform the following steps:
- Run
Win32DiskImager.exefrom the install folder. - Select the SD card device as the source and the image file as the target.
- Click on the Read button to read the SD card in the form of an image on disk.
A new backup should be created after each update to the Raspberry Pi's operating system, application software, or configuration.
- Image writer for Windows
https://launchpad.net/win32-image-writer
This utility that was originally written to read and write disk images for a specific Linux distribution; however, since then it has been generalized and is now a popular tool for many development projects such as the Raspberry Pi.