
This recipe explains how to boot the official Raspbian distribution and run raspi-config to complete the installation of the Raspberry Pi.
The raspi-config command is run by default when you first boot the Raspberry Pi. In this recipe, the command is only used to update the tool itself. More detail on the use of raspi-config can be found in Chapter 2, Administration.
Once this recipe is complete, you will have booted the Raspberry Pi for the first time.
The following are the ingredients:
- An initial Raspberry Pi setup (see the Preparing for the initial boot recipe)
- An SD card formatted with the "official" Raspbian Linux image
- A network connection
The SD card should be formatted with a Raspbian image, a display and keyboard should be connected, and the Raspberry Pi should be ready to power on.
The following are the steps for booting the Raspberry Pi for the first time:
- Insert the SD card into the Raspberry Pi and plug in the 5V power supply. The Raspberry Pi should start booting.
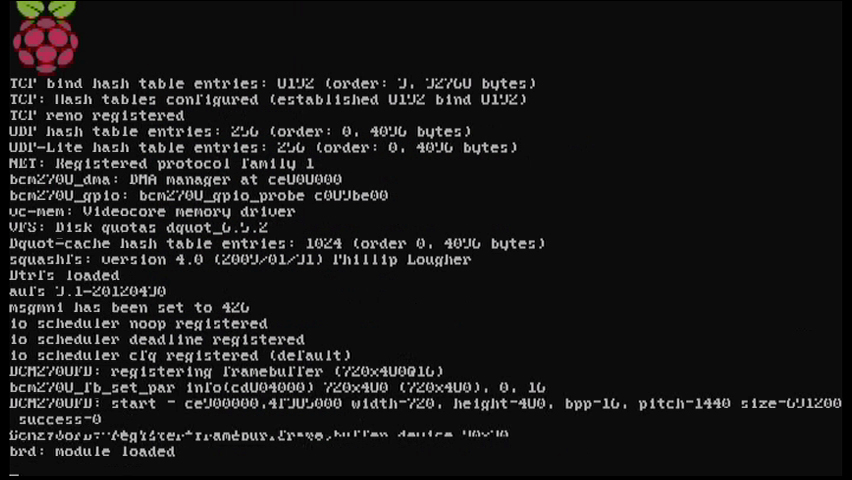
The preceding screenshot shows the Raspberry Pi as it boots.
- After a short initial boot, the Raspi-config main menu is displayed.
- info: A short description of the tool
- expand_rootfs: Resize the root partition to fill the SD card
- overscan: Enable or disable overscan
- configure_keyboard: Change the keyboard configuration
- change_locale: Change the display language
- change_timezone: Change the time zone
- memory_split: Change how much memory is available
- ssh: Enable or disable the SSH server
- boot_behavior: Choose text mode or X windows GUI
- update: Update the
raspi-configutility
The following screenshot shows the Raspi-config main menu:

- Choose update to download and install any updates to the configuration utility. Type in
sudo raspi-configto return to the menu.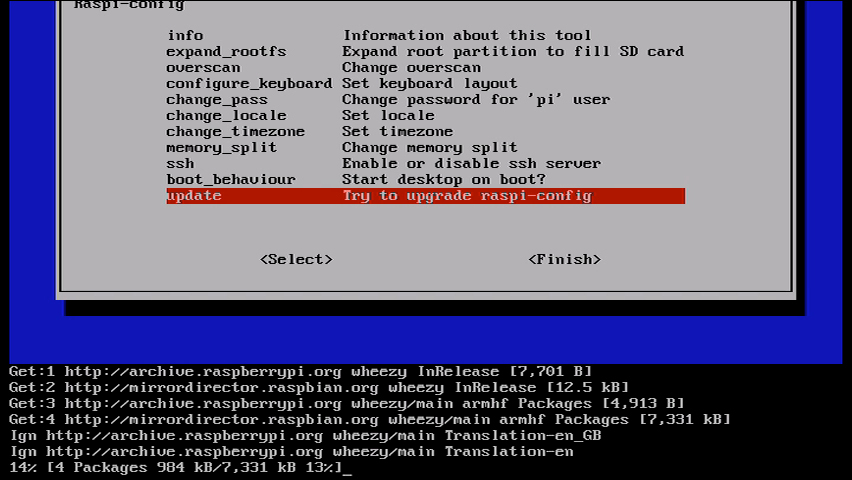
The preceding screenshot shows the updating process of the
raspi-configutility. - Use the other menu items to configure the operating system.
- Select <Finish> to complete the configuration and reboot the system.
The official Raspbian Linux distribution comes with the raspi-config utility. It is run automatically on the first boot of the operating system. Afterwards, the system will boot without running the configuration utility.
When the Raspi-config main menu appears, the user can use the keyboard arrows, the Tab key, the Space bar, and the Enter key to navigate the menus.
The next chapter has recipes that use raspi-config to configure the Raspberry Pi. The example in this recipe selects the menu item update to fetch and install a current version of raspi-config from the Raspberry Pi package distribution center.
After the raspi-config command has been updated, the user is left at a command prompt and must restart raspi-config. The
raspi-config command is privileged, so the sudo command is used as a prefix to temporarily grant privileges to the user.
After the user has configured the Raspberry Pi, selecting <Finish> from the main menu will cause the Raspberry Pi to reboot.
Once rebooted, the Raspberry Pi is ready for use!
The
raspi-config utility can be run at any time to reconfigure the Raspberry Pi. After logging in, enter the command sudo raspi-config to rerun the utility.
- sudo – execute a command as another user
http://manpages.debian.net/cgi-bin/man.cgi?query=sudo
The Debian man page for
sudo. - RPi raspi-config
http://elinux.org/RPi_raspi-config
This utility helps you configure the Raspberry Pi. It is a work in progress, expecting that the number of configuration items in this utility will increase over time.