
All right, let's see what your sneaky glass eye can do!
We'll be using an excellent piece of software called MJPG-streamer for all our webcam capturing needs. Unfortunately, it's not available as an easy-to-install package for Raspbian, so we will have to download and build this software ourselves.
Often when we compile software from source code, the application we're building will want to make use of code libraries and development headers. Our MJPG-streamer application, for example, would like to include functionality for dealing with JPEG images and Video4Linux devices.
- Install the libraries and headers for JPEG and V4L by typing in the following command:
pi@raspberrypi ~ $ sudo apt-get install libjpeg8-dev libv4l-dev - Next, we're going to download the MJPG-streamer source code using the following command:
pi@raspberrypi ~ $ wget http://mjpg-streamer.svn.sourceforge.net/viewvc/mjpg-streamer/mjpg-streamer/?view=tar -O mjpg-streamer.tar.gzThe
wgetutility is an extraordinarily handy web download tool with many uses. Here we use it to grab a compressed TAR archive from a source code repository, and we supply the extra-O mjpg-streamer.tar.gzto give the downloaded tarball a proper filename. - Now we need to extract our
mjpg-streamer.tar.gzfile, using the following command:pi@raspberrypi ~ $ tar xvf mjpg-streamer.tar.gzThe
tarcommand can both create and extract archives, so we supply three flags here:xfor extract,vfor verbose (so that we can see where the files are being extracted to), andfto telltarto use the file we specify as input, instead of reading from the standard input. - Once you've extracted it, enter the directory containing the sources:
pi@raspberrypi ~ $ cd mjpg-streamer - Now type in the following command to build MJPG-streamer with support for V4L2 devices:
pi@raspberrypi ~/mjpg-streamer $ make USE_LIBV4L2=true - Once the build process has finished, we need to install the resulting binaries and other application data somewhere more permanent, using the following command:
pi@raspberrypi ~/mjpg-streamer $ sudo make DESTDIR=/usr install - You can now exit the directory containing the sources and delete it, as we won't need it anymore:
pi@raspberrypi ~/mjpg-streamer $ cd .. && rm -r mjpg-streamer - Let's fire up our newly-built MJPG-streamer! Type in the following command, but adjust the values for resolution and frame rate to a moderate setting that you know (from the previous section) that your webcam will be able to handle:
pi@raspberrypi ~ $ mjpg_streamer -i "input_uvc.so -r 640x480 -f 30" -o "output_http.so -w /usr/www"
MJPG-streamer starting up
You may have received a few error messages saying Inappropriate ioctl for device; these can be safely ignored. Other than that, you might have noticed the LED on your webcam (if it has one) light up as MJPG-streamer is now serving your webcam feed over the HTTP protocol on port
8080. Press Ctrl + C at any time to quit MJPG-streamer. - To tune into the feed, open up a web browser (preferably Chrome or Firefox) on a computer connected to the same network as the Pi and enter the following line into the address field of your browser, but change
[IP address]to the IP address of your Pi. That is, the address in your browser should look like this:http://[IP address]:8080.You should now be looking at the MJPG-streamer demo pages, containing a snapshot from your webcam.
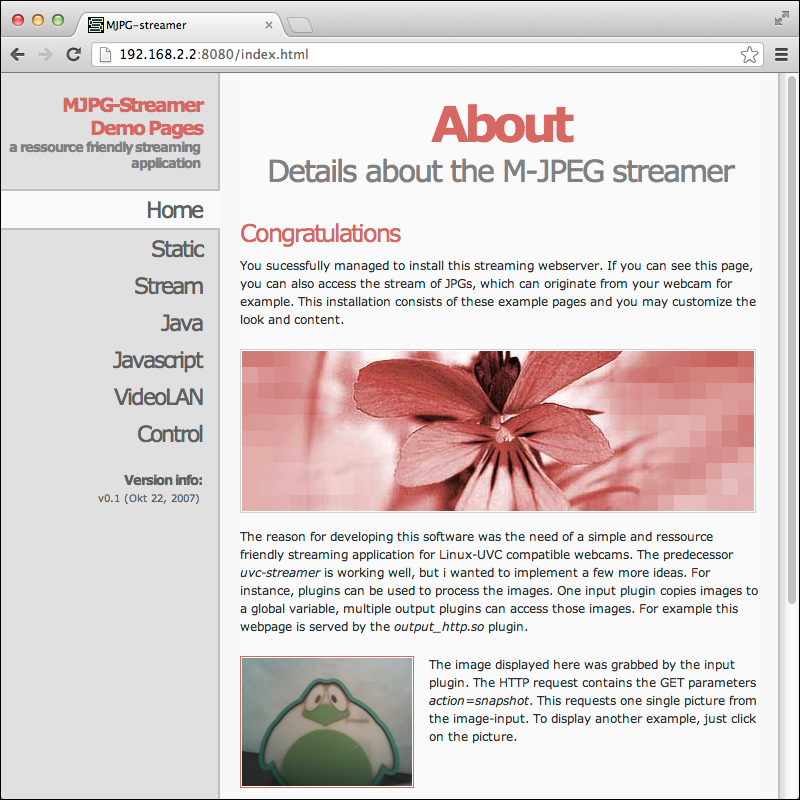
MJPG-streamer demo pages in Chrome
The following pages demonstrate the different methods of obtaining image data from your webcam:
- The Static page shows the simplest way of obtaining a single snapshot frame from your webcam. The examples use the URL
http://[IP address]:8080/?action=snapshotto grab a single frame. Just refresh your browser window to obtain a new snapshot. You could easily embed this image into your website or blog by using the<img src="http://[IP address]:8080/?action=snapshot"/>HTML tag, but you'd have to make the IP address of your Pi reachable on the Internet for anyone outside your local network to see it. - The Stream page shows the best way of obtaining a video stream from your webcam. This technique relies on your browser's native support for decoding MJPEG streams and should work fine in most browsers except for Internet Explorer. The direct URL for the stream is
http://[IP address]:8080/?action=stream. - The Java page tries to load a Java applet called Cambozola, which can be used as a stream viewer. If you haven't got the Java browser plugin already installed, you'll probably want to steer clear of this page. While the Cambozola viewer certainly has some neat features, the security risks associated with the plugin outweigh the benefits of the viewer.
- The JavaScript page demonstrates an alternative way of displaying a video stream in your browser. This method also works in Internet Explorer. It relies on JavaScript code to continuously fetch new snapshot frames from the webcam, in a loop. Note that this technique puts more strain on your browser than the preferred native stream method. You can study the JavaScript code by viewing the page source of the following page:
http://[IP address]:8080/javascript_simple.html - The VideoLAN page contains shortcuts and instructions to open up the webcam video stream in the VLC media player. We will get to know VLC quite well during this chapter; leave it alone for now.
- The Control page provides a convenient interface for tweaking the picture settings of your webcam. The page should pop up in its own browser window so that you can view the webcam stream live, side-by-side, as you change the controls.
You might be perfectly content with your current webcam setup and viewing the stream in your browser; for those of you who prefer to watch all videos inside your favorite media player, this section is for you. Also note that we'll be using VLC for other purposes further in this chapter, so we'll go through the installation here.
Let's install VLC and open up the webcam stream:
- Visit http://www.videolan.org/vlc/download-windows.html and download the latest version of the VLC installer package (
vlc-2.0.5-win32.exe, at the time of writing). - Install VLC media player using the installer.
- Launch VLC using the shortcut on the desktop or from the Start menu.
- From the Media drop-down menu, select Open Network Stream….
- Enter the direct stream URL we learned from the MJPG-streamer demo pages (
http://[IP address]:8080/?action=stream), and click on the Play button. - (Optional) You can add live audio monitoring from the webcam by opening up a command prompt window and typing in the command line we learned from the Listening in on conversations from a distance section in Chapter 2, Audio Antics:
"C:Program Files (x86)PuTTYplink" pi@[IP address] -pw [password] sox -t alsa plughw:1 -t sox - | "C:Program Files (x86)sox-14-4-1sox" -q -t sox - -d
Let's install VLC and open up the webcam stream:
- Visit http://www.videolan.org/vlc/download-macosx.html and download the latest version of the VLC dmg package for your Mac model. The one at the top,
vlc-2.0.5.dmg(at the time of writing), should be fine for most Macs. - Double-click on the VLC disk image and drag the VLC icon to the
Applicationsfolder. - Launch VLC from the
Applicationsfolder. - From the File drop-down menu, select Open Network….
- Enter the direct stream URL we learned from the MJPG-streamer demo pages (
http://[IP address]:8080/?action=stream) and click on the Open button. - (Optional) You can add live audio monitoring from the webcam by opening up a Terminal window (located in
/Applications/Utilities) and typing in the command line we learned from the Listening in on conversations from a distance section in Chapter 2, Audio Antics:ssh pi@[IP address] sox -t alsa plughw:1 -t sox - | sox -q -t sox - -d
Let's install VLC or MPlayer and open up the webcam stream:
- Use your distribution's package manager to add the
vlcormplayerpackage. - For VLC, either use the GUI to Open a Network Stream or launch it from the command line with
vlc http://[IP address]:8080/?action=stream - For MPlayer, you need to tag on an MJPG file extension to the stream, using the following command:
mplayer "http://[IP address]:8080/?action=stream&stream.mjpg" - (Optional) You can add live audio monitoring from the webcam by opening up a Terminal and typing the command line we learned from Listening in on conversations from a distance section in Chapter 2, Audio Antics:
ssh pi@[IP address] sox -t alsa plughw:1 -t sox - | sox -q -t sox - -d.
The best way to save a video clip from the stream is to record it with VLC, and save it into an AVI file container. With this method, we get to keep the MJPEG compression while retaining the frame rate information.
Note
Unfortunately, you won't be able to record the webcam video with sound. There's no way to automatically synchronize audio with the MJPEG stream. The only way to produce a video file with sound would be to grab video and audio streams separately and edit them together manually in a video editing application such as VirtualDub.
We're going to launch VLC from the command line to record our video:
- Open up a command prompt window from the Start menu by clicking on the shortcut or by typing in
cmdin the Run or Search fields. Then type in the following command to start recording the video stream to a file calledmyvideo.avi, located on the desktop:C:> "C:Program Files (x86)VideoLANVLCvlc.exe" http://[IP address]:8080/?action=stream --sout="#standard{mux=avi,dst=%UserProfile%Desktopmyvideo.avi,access=file}"As we've mentioned before, if your particular Windows version doesn't have a
C:Program Files (x86)folder, just erase the(x86)part from the path, on the command line. - It may seem like nothing much is happening, but there should now be a growing
myvideo.avirecording on your desktop. To confirm that VLC is indeed recording, we can select Media Information from the Tools drop-down menu and then select the Statistics tab. Simply close VLC to stop the recording.
We're going to launch VLC from the command line, to record our video:
- Open up a Terminal window (located in
/Applications/Utilities) and type in the following command to start recording the video stream to a file calledmyvideo.avi, located on the desktop:$ /Applications/VLC.app/Contents/MacOS/VLC http://[IP address]:8080/?action=stream --sout='#standard{mux=avi,dst=/Users/[username]/Desktop/myvideo.avi,access=file}'Replace
[username]with the name of the account you used to log in to your Mac, or remove the directory path to write the video to the current directory. - It may seem like nothing much is happening, but there should now be a growing
myvideo.avirecording on your desktop. To confirm that VLC is indeed recording, we can select Media Information from the Window drop-down menu and then select the Statistics tab. Simply close VLC to stop the recording.
We're going to launch VLC from the command line to record our video:
Open up a Terminal window and type in the following command to start recording the video stream to a file called myvideo.avi, located on the desktop:
$ vlc http://[IP address]:8080/?action=stream --sout='#standard{mux=avi,dst=/home/[username]/Desktop/myvideo.avi,access=file}'
Replace [username] with your login name, or remove the directory path to write the video to the current directory.