Lay out a single layer of mesh and, using your frame as a guide, cut out a square piece, allowing roughly 2″ of extra material on each side.
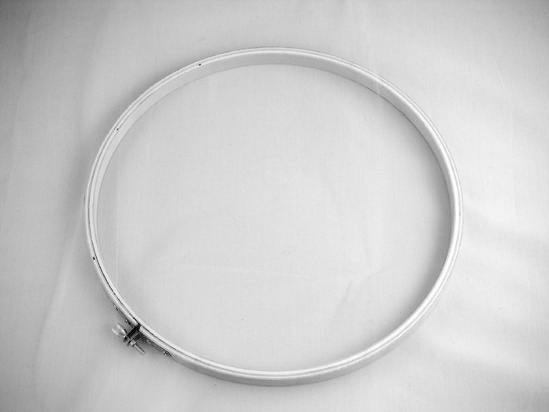
Mount the fabric in the hoop, as in Figure 5-3. Try to get it as taut as possible, and tighten the hoop as much as you can. Henceforward, the face of the screen is the surface that is flush with the hoop’s edge (and thus later, when you are ready to print, can be placed directly in contact with a T-shirt or piece of paper).
Prepare the image you are going to use for your prints; the Internet is replete with black-and-white clip art just waiting for you to resize and print it. Lay your screen face down over the image, so that the mesh is in direct contact with the picture. Use your Sharpie to trace the image to the screen.
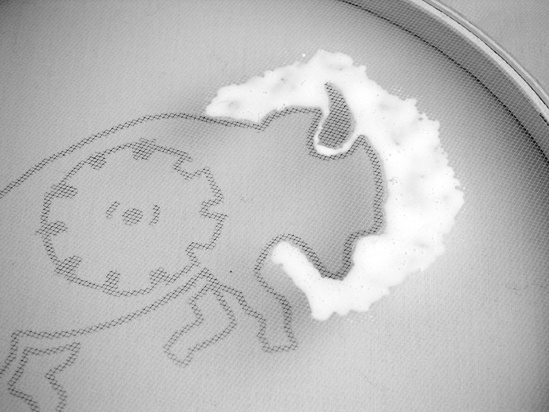
Flip your screen over, face up, and place it on some scrap paper. Squirt a little puddle of glue onto an old dish (or another piece of scrap paper), and use your small paintbrush to dab glue onto the non-image portion of your screen, filling the areas where you do not want ink to be able to pass through. Working over a piece of white paper will make it easier to see your tracing and ultimately reduce insanity. Work slowly; you are basically stretching a thin glue membrane—your screen filler—across each square of the mesh. Use glue sparingly to minimize sagging and drips. Periodically re-tighten the screen as you work around the image; this will probably open tiny single holes in your filler. Holes will also naturally form as the glue dries and contracts. Check your work often and patch these holes as they crop up. Once you’ve filled in the finer details around the edge of the design (as in Figure 5-4), you can mask off large portions of the screen using tape applied to the face of the screen.
Tighten the screen once more, touch up any holes, and leave it to dry overnight, face up. When the screen is dry, use tape to seal the edges where the screen meets the wood frame (this prevents leaks).
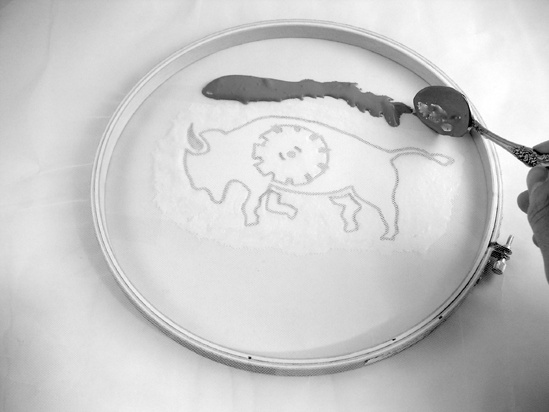
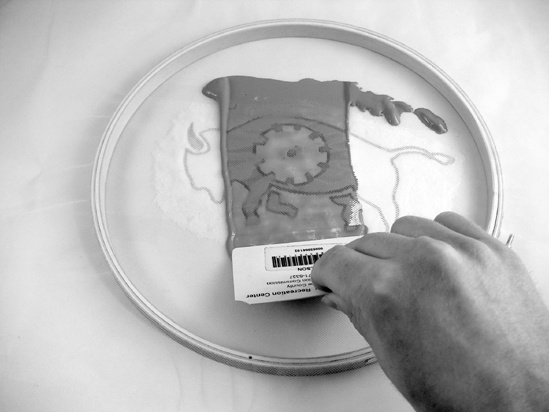
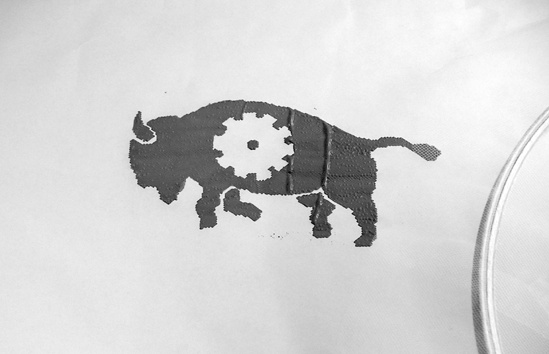
Now you can pull a test print (the process is illustrated in Figure 5-5). Place the screen facedown on a clean sheet of paper. Spoon a little dab of ink onto one of the glue-filled portions of the screen, and then use your old ID card as a squeegee to drag the ink across the open portion of the screen in a single smooth stroke. Feel free to make several passes at varied angles in order to flood the image with ink. When you’re done, carefully lift the screen away, and set your print aside to dry.
When you are through printing, carefully clean your screen in tepid water. With a relatively large-gauge mesh (like tulle), some ink will stick in the image; a wipe down with a damp paper towel will probably clean it up. Otherwise, a quick rinse should do it. Hang the screen up to dry, since some fillers (like Elmer’s) will get a little tacky during the rinsing and might want to stick to the table.