In this section, we will be learning to recognize the different areas of Hammer and what they do. Being familiar with your environment is important!
There are four main windows or viewports in Hammer, as shown in the following screenshot:
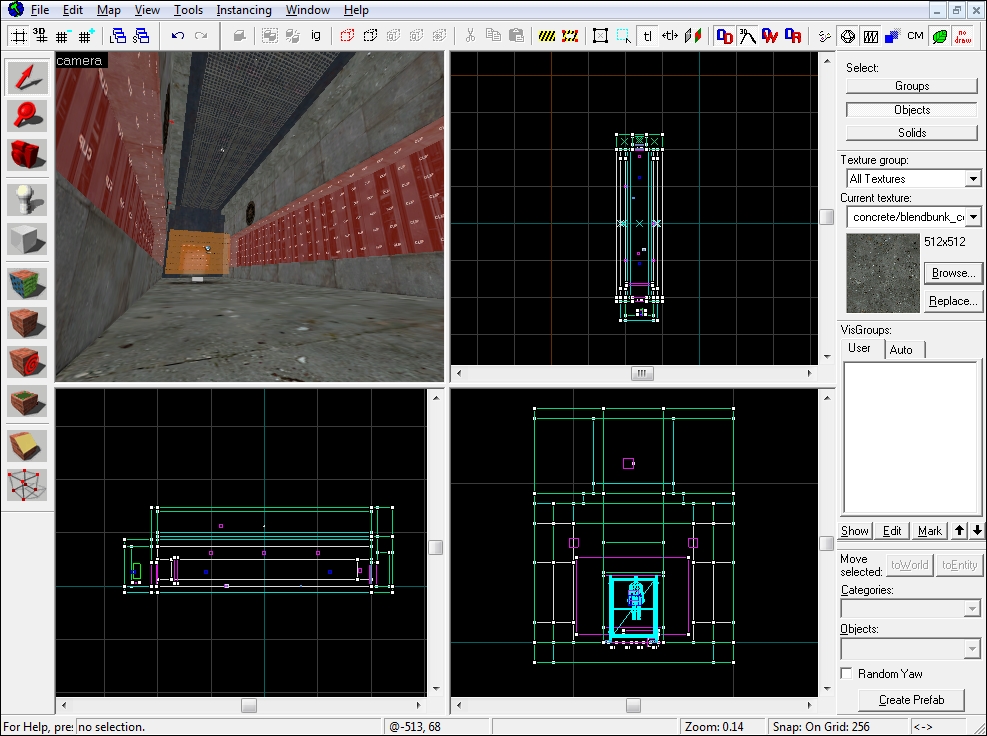
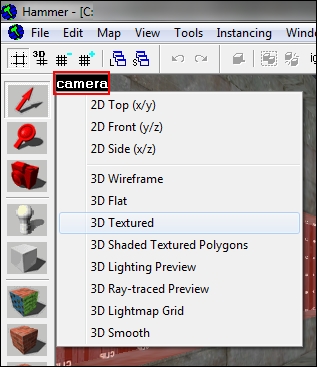
By default, the top-left window is the 3D view or camera view. The top-right window is the top (x/y) view, the bottom-right window is the side (x/z) view, and the bottom-left window is the front (y/z) view. If you would like to change the layout of the windows, simply click on the top-left corner of any window to change what is displayed.
In this book, I will be keeping the default layout but that does not mean you have to! Set up Hammer any way you'd like. For instance, if you would prefer your 3D view to be larger, grab the cross at the middle of the four screens and drag to extend the areas.

The 3D window has a few special 3D display types such as Ray-Traced Preview and Lightmap Grid. We will be learning more about these later, but for now, just know that 3D Ray-traced Preview simulates the way light is cast. It does not mimic what you would actually see in-game, but it can be a good first step before compile to see what your lighting may look like.
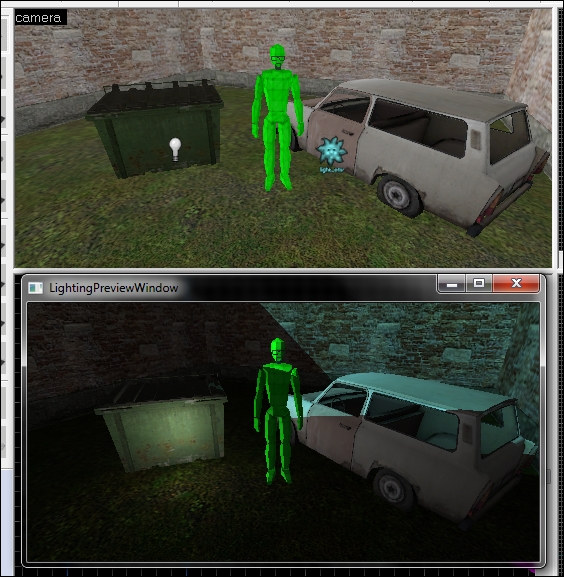
The 3D Lighting Preview will open in a new window and will update every time a camera is moved or a light entity is changed. You cannot navigate directly in the lighting preview window, so you will need to use the 2D cameras to change the viewing perspective.
Located to the left of the screen, the Map toolbar holds all the mapping tools. You will probably use this toolbar the most. The tools will each be covered in depth later on, but here's a basic overview, as shown in the following screenshot, starting from the first tool:
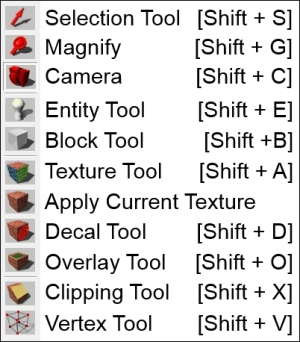
The Selection Tool is pretty self-explanatory; use this tool to select objects. The hot key for this is Shift + S. This is the tool that you will probably use the most. This tool selects objects in the 3D and 2D views and also lets you drag selection boxes in the 2D views.
The Magnify Tool will zoom in and out in any view. You could also just use the mouse wheel if you have one or the + and – keys on the numerical keypad for the 2D views. The hot key for the magnify tool is Shift + G.
The Camera Tool enables 3D view navigation and lets you place multiple different cameras into the 2D views. Its hot key is Shift + C.
The Entity Tool places entities into the map. If clicked on the 3D view, an entity is placed on the closest brush to the mouse cursor. If used in the 2D view, a crosshair will appear noting the origin of the entity, and the Enter key will add it to the map at the origin. The entity placed in the map is specified by the object bar. The hot key is Shift + E.
The Block Tool creates brushes. Drag a box in any 2D view and hit the Enter key to create a brush within the bounds of the box. The object bar specifies which type of brush will be created. The default is box and the hot key for this is Shift + B.
The Texture Tool allows complete control over how you paint your brushes. For now, just know where it is and what it does; the hot key is Shift + A.
Clicking on the Apply Current Texture icon will apply the selected texture to the selected brush or brushes.
The Overlay Tool is similar to the decal tool. However, overlays are a bit more powerful than decals. Shift + O will be the hot key.
The Vertex manipulation Tool, or VM tool, allows you to move the individual vertices and edges of brushes any way you like. This is one of the most powerful tools you have in your toolkit! Using this tool improperly, however, is the easiest way to corrupt your map and ruin your day. Not to worry though, we'll learn about this in great detail later on. The hot key is Shift + V.
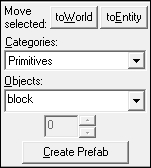
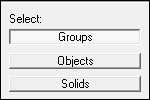
The selection mode bar (located at the top-right corner by default) lets you choose what you want to select. If Groups is selected, you will select an entire group of objects (if they were previously grouped) when you click on something. The Objects selection mode will only select individual objects within groups. Solids will only select solid objects.
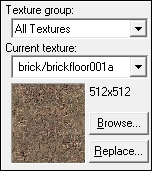
Located just beneath the selection mode toolbar, the texture bar, as shown, in the following screenshot, shows a thumbnail preview of your currently selected (active) texture and has two buttons that let you select or replace a texture. What a nifty tool, eh?
The filter control bar controls your VisGroups (short for visual groups). VisGroups separate your map objects into different categories, similar to layers in the image editing software.
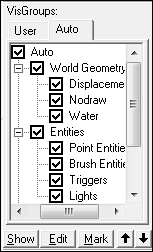
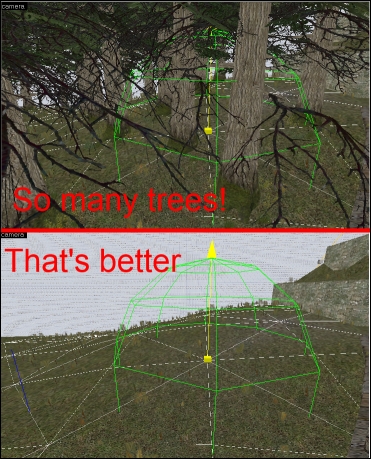
To make your mapping life a bit easier, you can toggle visibility of object groups. If, for example, you're trying to sculpt some terrain but keep getting your view blocked by tree models, you can just uncheck the Props box, as shown in the following screenshot, to hide all the trees!
There are multiple automatically generated VisGroups such as entities, displacements, and nodraws that you can easily filter through. Don't think you're limited to this though; you can create your own VisGroup with any selection at any time.