
SVG Document Structure
An SVG document is also an XML document: Therefore, an SVG document begins with an optional XML declaration. It also, optionally, begins with a DOCTYPE declaration.
The <svg> Element
All SVG documents have, as the root element, an <svg> element. The width and height attributes of the <svg> element define the size of the SVG image. The SVG element also has other attributes such as x and y, which are used to position an SVG graphics element. However, on an <svg> element that is the root element, any x or y attribute has no effect.
A skeleton SVG document is shown in Listing 23.8. The DOCTYPE shown is that for the SVG 1.0 Recommendation of September 2001.
Listing 23.8. A Skeleton SVG Document (SkeletonSVG.svg)
<?xml version="1.0" standalone="no"?> <!DOCTYPE svg PUBLIC "-//W3C//DTD SVG 20010904//EN" "http://www.w3.org/TR/2001/REC-SVG-20010904/DTD/svg10.dtd"> <svg width="300px" height="100px"> </svg> |
In Listing 23.8, the width and height are specified in pixels. You can omit any units. In which case, this will produce the same size SVG viewport on screen as in our original example—the default unit of measurement is the pixel. You can specify sizes in cm, in, or pt if you prefer.
Note
The part of the notionally infinite SVG canvas that the <svg> root element of an SVG document contains is called the “initial viewport”. It is just a rectangular part of the SVG canvas, similar to that modeled by the gray rectangle in Listing 23.3.
Coordinate Systems
If you specify the size of an SVG image in some unit of measurement, such as cm, you are still free to specify the size of parts of an SVG image in user units, as will be demonstrated and explained below. In the <svg> root element, you would typically add a viewBox attribute.
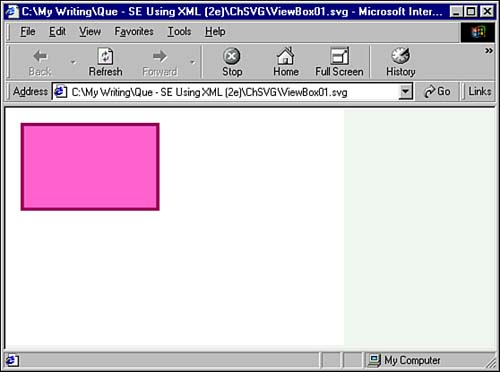
Listing 23.9 shows a simple SVG document. Notice that we use absolute units for the width and height attributes on the <svg> element. The viewBox attribute has four values within it. The first two represent the starting point of the viewbox. The coordinates are (0, 0), which is the top left of the initial viewport. The third and fourth values represent the width and height of the viewbox. These values define the user units for the objects that are contained within this SVG element.
Listing 23.9. Using a Viewbox (ViewBox01.svg)
The viewBox attribute functions as a scale, similar to that on a map. In the viewbox, 10cm (the absolute width) corresponds to 1000 user units; that is, a scale of 100 user units to 1cm. Similarly, in the vertical direction, a height of 7cm corresponds to 700 user units; that is again a scale of 100 user units to 1cm.
Figure 23.6 shows the visual appearance of Listing 23.9.
Figure 23.6. A rectangle scaled using a viewBox attribute on the document <svg> element.
If we change the third and fourth values of the viewBox attribute, we effectively change the scale of drawing. Listing 23.10 shows the modified listing in which the rectangle is now twice as large as that produced by Listing 23.9.
Listing 23.10. The Rectangle Doubles in Size Due to Modification of the Values in the viewBox Attribute (ViewBox02.svg)
In Listing 23.10, the third value in the viewBox attribute, 500 arbitrary units, corresponds to 10cm—that is, 100 units is now 2cm, compared to 1cm for 100 units in the previous listing. In other words, the rectangle doubles in size because it is the same number of units in dimension, and each unit is now 0.02 cm rather than 0.01 cm as it was previously. Figure 23.7 shows the re-scaled rectangle.
Figure 23.7. The rectangle doubles in size by changing the third and fourth values in the viewBox attribute of the <svg> element.

Caution
Be careful that the scale is the same for the vertical and horizontal axes. If, for example, you make a mistake and have viewBox (0 0 1000 1000) for a rectangle rendered as an SVG image 10 cm wide by 7 cm high, the scales for the two axes will be different. You might find that the rectangle is placed around the middle of the image, which preserves its shape but misleads about its position. More than likely, you will end up confused as you try to figure out what is going on. SVG does provide a way to take control of what happens by means of the preserve aspect ratio facilities, but that is beyond the scope of this chapter. Unless you understand how to control aspect ratios in SVG, the simplest thing is to make sure that you keep the vertical and horizontal scales the same for all your SVG images.
X and Y Coordinates
In SVG, the x and y coordinates are determined in relation to the top left of the screen. When an SVG image first loads, the coordinates (0, 0) are at the top left of the screen. As you increase the value of the x coordinate (reflected in the value of the x attribute of the <svg> element or shapes such as the <rect> element), you move to the right. As the value of the y coordinate (reflected in the y attribute) increases, you move down.
If you pan up a significant distance, the top left of the screen will still have an x coordinate—and, therefore, an x attribute of about zero—but will now have a negative value for the y coordinate and y attribute.
You can store unused graphics shapes off screen (but still on the SVG canvas) by giving them a significantly negative value for the y attribute. Listing 23.11 shows a simple example of this. A red rectangle is visible onscreen, and a blue one is hidden off screen. The code uses a time animation to animate the blue rectangle down to cover the red rectangle. More complex versions of such animations that respond to user events can be used to create dynamic menus.