About the .NET Framework
- 1.
The Software Development Kit (SDK)
The Software Development Kit is required when we wish to create .NET applications, and this is exactly what we will be doing as we complete the chapters in the book. Therefore, we will need to download the Software Development Kit to our computer.
- 2.
.NET runtime
The .NET runtime is used when we wish to run a .NET application. As we develop C# applications, we will use the Software Development Kit, but within it there will be the .NET runtime, so we can develop and run our applications using just the Software Development Kit. However, an end user of our application only needs the .NET runtime to run the application. If our application was to be run on a television, then the television would need to have the .NET runtime installed on it, or the developer would need to have included the .NET runtime with the application. Three different versions of the .NET runtime exist as indicated in this list :.NET runtime, which is the most basic runtime but will be suffice for most .NET applications
Desktop runtime, which also includes the basic .NET runtime
ASP.NET Core runtime, which also includes the basic .NET runtime
As we will be installing the Software Development Kit, we do not need to worry about the .NET runtime installation, as all three of the preceding .NET runtimes are installed for us.
Installing the .NET Framework
- 1.
Go to the Microsoft download page:
- 2.
Click the .NET framework to be downloaded. We will be using .NET 6.0, but from Figure 2-1 we can see that there is a preview version of .NET 7.0. We can also see that .NET 6.0 is the latest version. The latest version will change over time so it will be acceptable to download whatever the latest version is and the code within this book should still run.

A window of supported versions displays a table with 3 rows and 6 columns. The row entries under release type, preview and L T S pointing to NET 6.0 under version are boxed, while full and maintenance under the support phase are encircled.
.NET version on the Microsoft site
Figure 2-1 has two terms with rectangles around them and two terms circled. It will be useful for us to understand the terms and their importance when developing C# applications. When we look at the Microsoft website .NET and .NET Core official support policy (microsoft.com), we see that they say the following:
Long Term Support (LTS)
When we see that a .NET version, release, is annotated with LTS (Long Term Support), we are being told by Microsoft that the version will be supported by them for 3 years after its initial release. We can see from Figure 2-1 that .NET version 6.0 will be supported until November 12, 2024, and we could easily determine that .NET version 6.0 was released in November 2021.
.NET version 7 according to Microsoft will be released in November 2022 with LTS to November 2025.)
Preview
When we see a .NET version annotated with Preview, we should, before we download and install, understand that such releases are typically not supported, but they are offered for public testing ahead of the final release. Once the preview goes live, the status changes and we can feel “safe” to download and install it.
There is also a term called Current and this release or version will be supported for 6 months after a subsequent Current or Long Term Support release.
Full
Full means full support, and during the support period, .NET will be updated to improve the functional capabilities and mitigate security vulnerabilities.
Maintenance
Maintenance means maintenance support, and during the support period, .NET will only be updated to mitigate security vulnerabilities. According to Microsoft the maintenance support period is the final 6 months of support for any release, Current or LTS. After the maintenance period ends, the release is out of support.
So, when we are choosing a download, it would seem appropriate to download the one annotated as latest and with Long Term Support.
Software Development Kit Version
The version of the Software Development Kit (SDK ) to be downloaded will be dependent on the computer it is being installed on, for example, Windows, MacOS, or Linux. In our case it will be for a Windows platform as the chapters in the book use the instructions and screenshots from a Windows installation, but, if you choose to use a different installation, the instructions and screenshots will be very similar and little – if any – changes will be required. The Windows version, like the MacOS and Linux versions, has different architecture options, and by selecting the architecture, we are specifying the device we wish to use with the SDK. The types of architecture are
x86
This represents a 32-bit CPU and operating system.
x64
This refers to a 64-bit CPU and operating system.
ARM and ARM64
Traditionally we would have had the x86 32-bit CPU, then we had the x64 64-bit CPU, and now we have the ARM and ARM64, which are used on a range of devices such as mobile devices and even Internet of Things (IoT) devices.
ARM and x86 are for 32-bit processors, whereas ARM64 and x64 are for 64-bit processors.
- 3.
Click the version of the Software Development Kit required to start the download process .

An S D K 6.0.6 window has a table with 4 rows and 3 columns. The column headers are O S, installers, and binaries. The row entry, windows, arm 64, x 64, x 86, is boxed. The files to be installed are also boxed.
SDK
- 4.
Locate the downloaded file in the Downloads folder, as shown in Figure 2-3, or wherever you downloaded the file to.

A window displays a downloaded application labeled dot net hyphen s d k hyphen 6.0.301 hyphen win hyphen x 64.
Downloaded SDK
- 5.
Double-click the downloaded file to open the file and run it.
- 6.
Click the Install button, as shown in Figure 2-4.
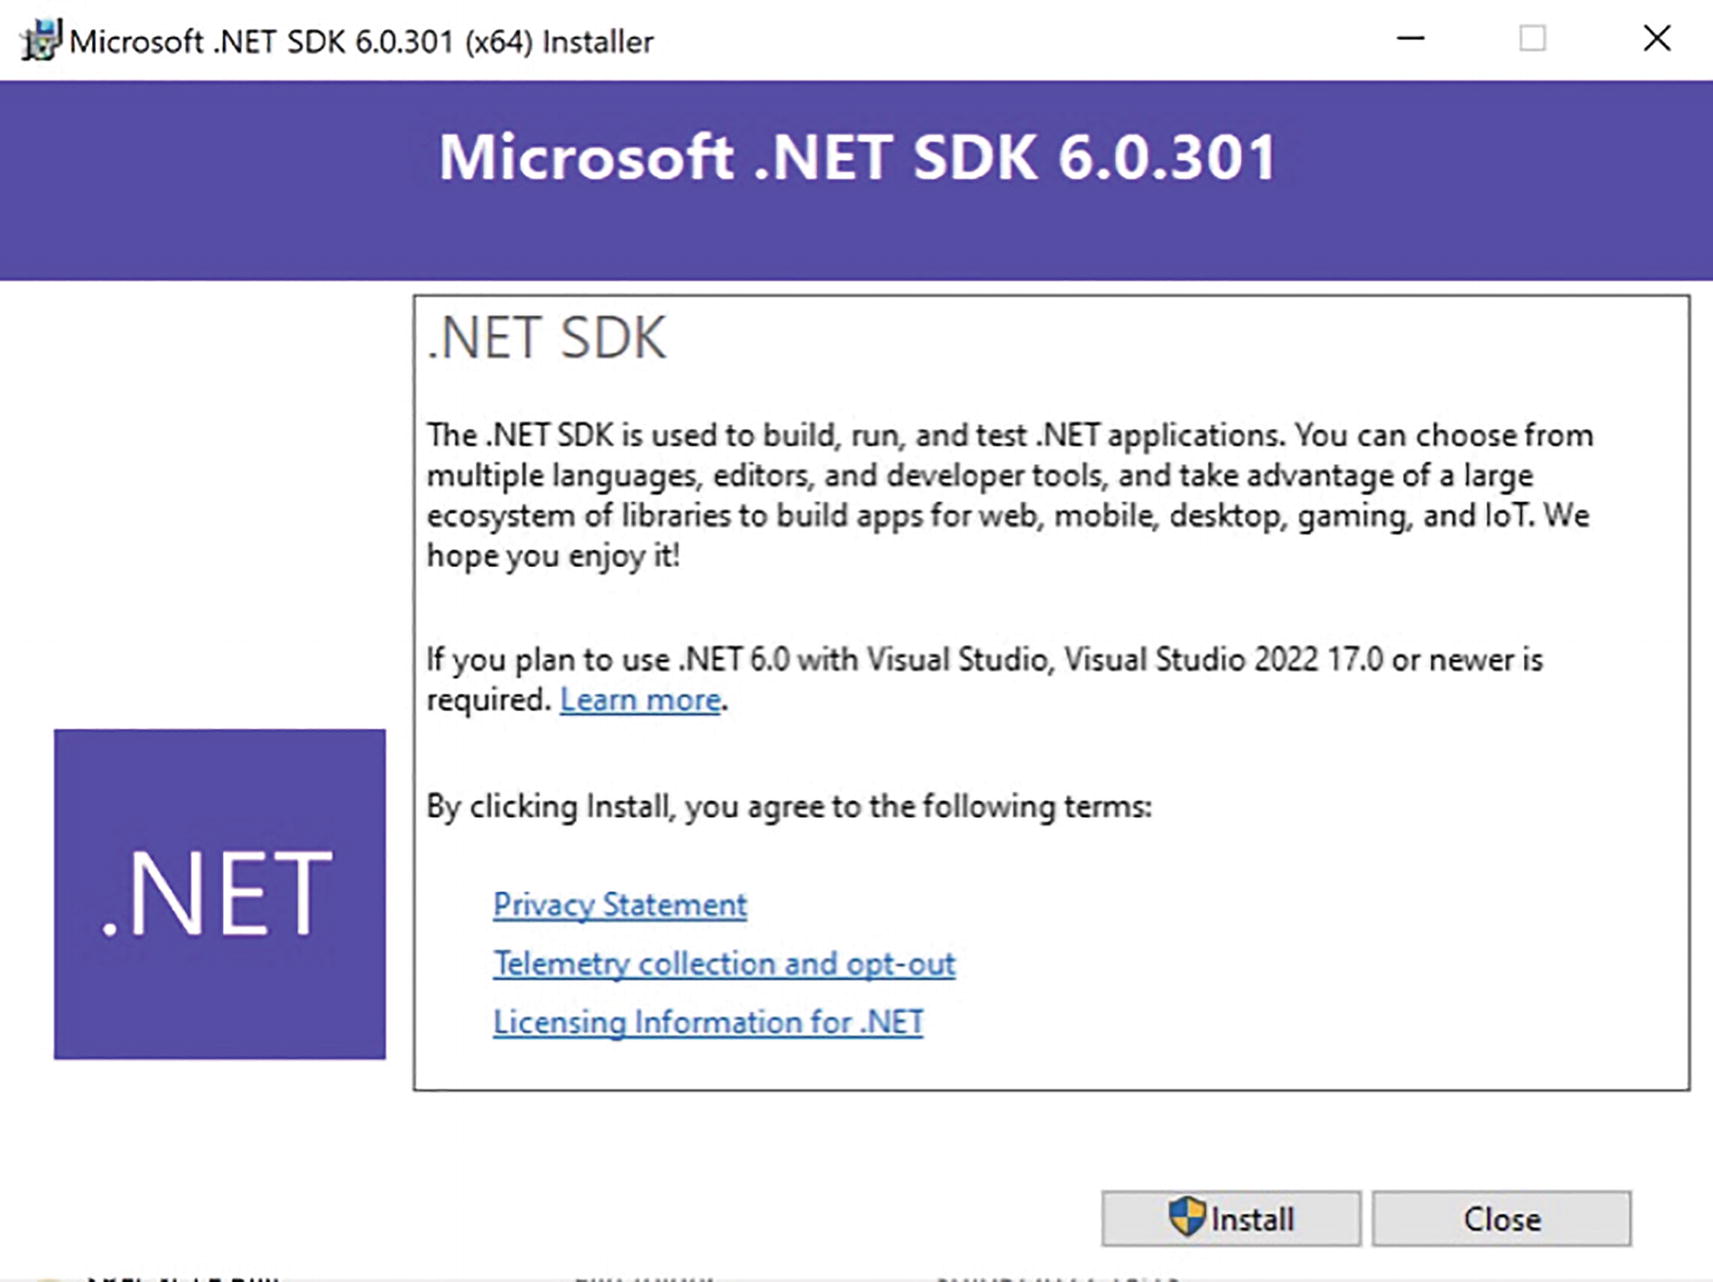
A window in which the installation details of Microsoft dot net software development kit 6.0.301 are mentioned.
Installation start screen
- 7.
If asked about permitting the installation, as shown in Figure 2-5, click the Yes button to grant permission .

A user account control window depicts the details to permit the visual studio installer to be downloaded, with buttons for yes or no below.
Permitting the installation
- 8.
After the installation, click the Close button.
We can see from the final installation window what was installed and where.
Verify the .NET Framework Installation
- 1.
Open the Start menu on Windows.
- 2.
Type cmd.
- 3.
Press the Enter key.
- 4.
A Command Prompt window should appear.
If the Command Prompt does not appear, we can use PowerShell, so click the Start menu and type PowerShell and press the Enter key, as in Figure 2-6.

A window in which all option is selected from the top menu bar. Under all, the option for the windows power shell application is highlighted.
Windows PowerShell

A windows power shell window illustrates an 8-line code about the installation of the software development kit.
Verification of the SDK installation
- 7.
At the Command Prompt, >, type dotnet –list-runtimes.
- 8.
Press the Enter key.
The message will appear as shown in Figure 2-8 and this verifies that the .NET runtimes have been installed successfully.

A windows power shell window depicts a 19-line code. Three lines are boxed and point to a box labeled installed runtimes.
Verification of the runtimes installed
Installing Visual Studio
- 1.
Go to the Microsoft Visual Studio download page :
- 2.
Click Visual Studio 2022 when the web page opens, as in Figure 2-9.

A downloads window of visual studio 2022 depicts the notes, editions, and previews of the application.
Visual Studio 2022
- 3.
When the next window appears, choose Community 2022 from the drop-down list of versions as in Figure 2-10. Visual Studio 2022 includes .NET and this is fine even though we downloaded .NET separately. The download should start.

A window with the label create the future with visual studio 2022 has a split button labeled download visual studio. Community 2022 is selected from the options and encircled.
Download of Visual Studio 2022 Community Edition
- 4.
Locate the downloaded file in the Downloads folder or wherever you downloaded it to.
- 5.
Double-click the file to open the file and run it.
- 6.If asked about permitting the installation , click the Yes button to grant permission and then click the Continue button to allow the installer to continue its process, as in Figure 2-11.

A visual studio installer window depicts the statements and terms for installation. The continue button on the bottom right is encircled.
Figure 2-11Permitting the installer
The installer will begin and the software will be installed, as in Figure 2-12.
A visual studio installer window has checkbox icons with horizontal bars labeled downloaded and installed.
Figure 2-12Installation
Now we need to decide on what workloads to download, and in the context of learning C# with this book and the coded applications, we will only need the .NET desktop development workload.
- 7.
Click the .NET desktop development tile and make sure the checkbox becomes ticked.
There will be a drop-down menu , as shown in Figure 2-13, and we can leave it at the default of Install while downloading.
A menu has workloads, dot NET desktop development, and a split button labeled install while downloading, numbered 1, 2, and 3, respectively.
Figure 2-13Workload choices
- 8.
Click the Install button.
Visual Studio will download the relevant files based on the workloads we selected, just the .NET desktop development workload in our case.
- 9.
Finally, click the Launch button.
- 10.
Now we need to sign in with our Microsoft account so click the Sign in button, or if we need to create a new account, click the No account link to create a Microsoft account.
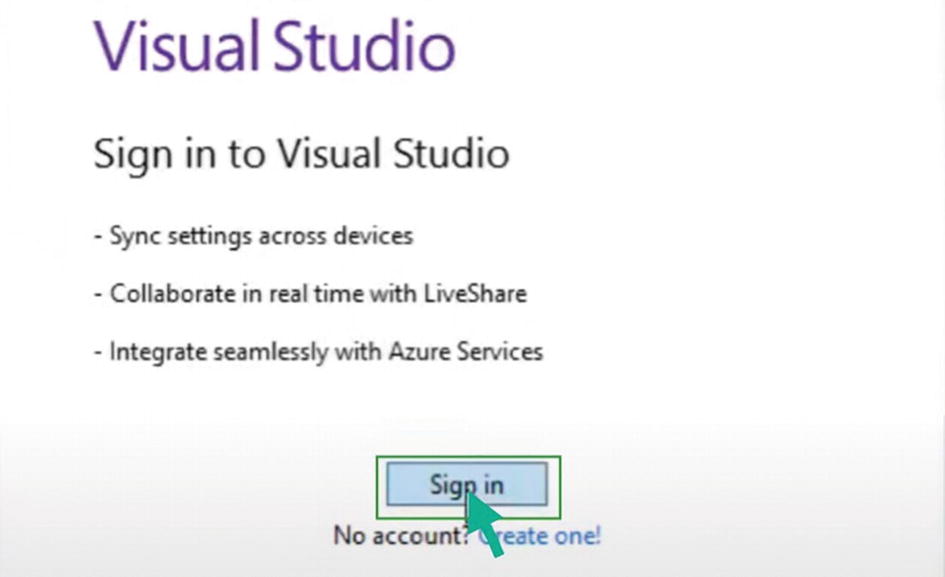
A window depicts the sign-in details of the visual studio. The sign-in button at the bottom is boxed.
Sign in
Verify the Visual Studio Installation
- 1.
Open the Windows Start menu.
- 2.
Type Visual Studio.
- 3.
Double-click the Visual Studio 2022 icon that appears.
The Integrated Development Environment should now open.
Chapter Summary
In this chapter we have learned about downloading .NET and the Visual Studio Integrated Development Environment, both of which allow us to write C# applications. The setup is obviously crucial for developers and often it can be a “painful job” to get the setup right, but we saw that when we downloaded the Software Development Kit for .NET version 6, it supported Visual Studio 2022. Therefore, when we downloaded Visual Studio 2022, the two parts were compatible.
Finishing this chapter, we have increased our knowledge and we have advanced from the outer circle and are moving closer to the target.

An illustration of concentric circles with two differently colored regions above a text that reads, our target is getting closer.