In this section, we will make the face for our puzzle. Under the Brush tool, there is a whole palette of tools to use:

The default brush, F SculptDraw, is the most common and is already selected, so we'll start with it. Switch to the Top view (Numpad 7) and follow these steps:
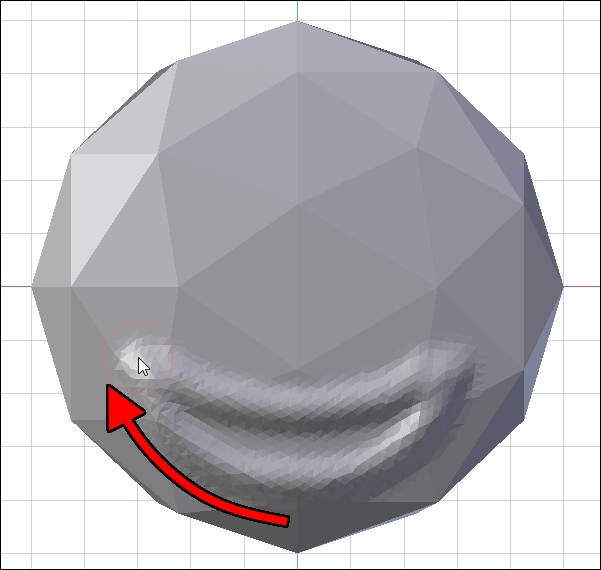
- From the middle, nearer to the bottom, click and drag in a curve to make a smile:

- Repeat the action a little lower down to finish the lips:

Tip
Remember, you can undo (Ctrl + Z) until the lips look the way you want them to.
Because of the symmetry setting, anything done on the left is repeated on the right, reducing work and making it easy for you to make a pleasing shape.
Because of dynamic topology, the rough polygons of the original shape are smoothed out so that all the details of the drawn shapes show through. This effect is easier to see if the view is switched to wireframe mode (Z).
Dynamic topology will continue to add detail where we need it as we sculpt:
- In the Tool Box, increase the Radius setting under the SculptDraw tool to about
70 px:
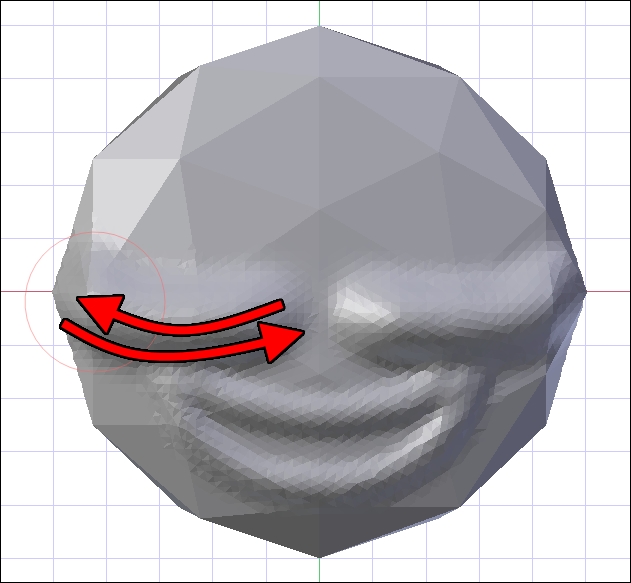
- From the outside edge, draw a downward curve towards the middle and go back along the same curve to the place the motion started for the cheek.

By repeating the motion back and forth, you can make the line taller than the lines for the lips if viewed from a different angle.
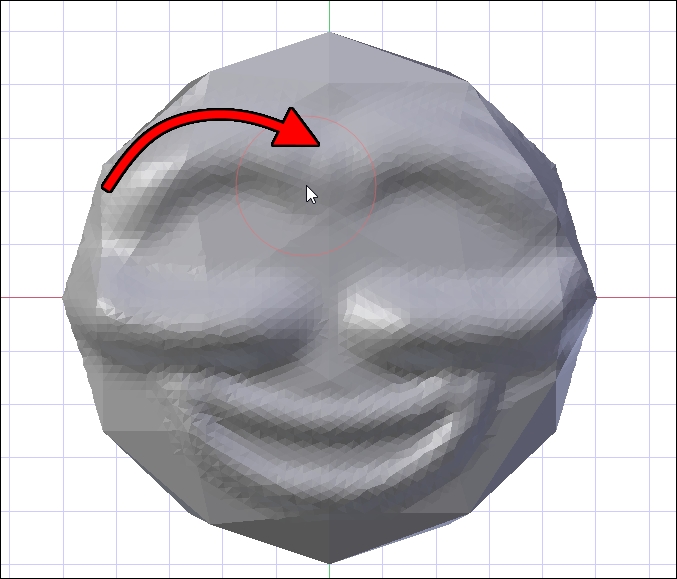
- From the outside edge again, a little higher, draw an upward curve toward the middle for the eyebrows.

- Now, set the Radius value to about
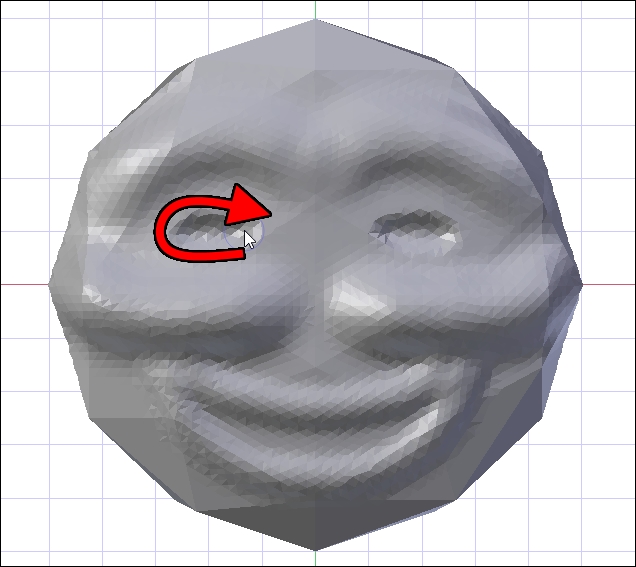
20 px. Click on the Subtract button to switch the drawing mode to Subtract:
- Draw a little oval for the eye hole.

