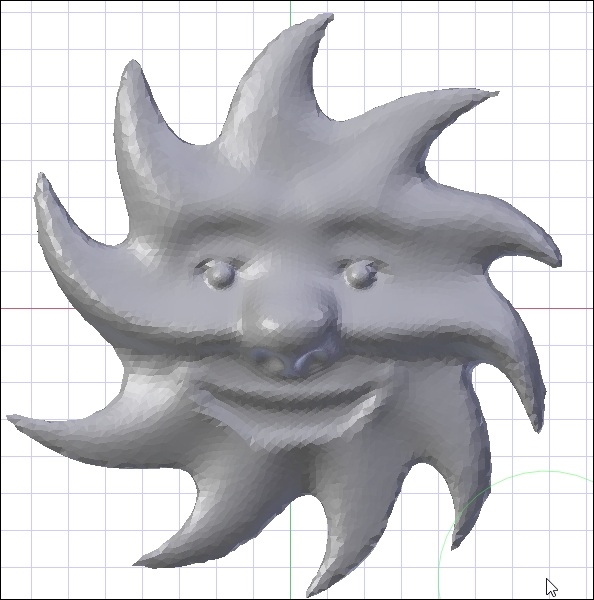
We'll add more details to the face in a minute. First, let's finish out the main shape of the sun by pulling out the rays of the sun. The goal here is to make something curvy and artistic to look at, so for these parts, symmetry needs to be turned off first. Follow these steps:
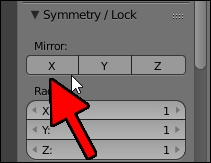
- On the left-hand side of the 3D View, navigate to the the Symmetry/Lock part of the Tools tab in the Tool Shelf and click on the X button under Mirror to toggle X-axis symmetry off.

- Switch to the Snake Hook brush (K).

- Adjust the view and change the Radius (F) so that the brush is about big enough to cover about an eighth of the edge of the face.

- Adjust the strength of the Brush (Shift + F) to between
0.75and0.9.
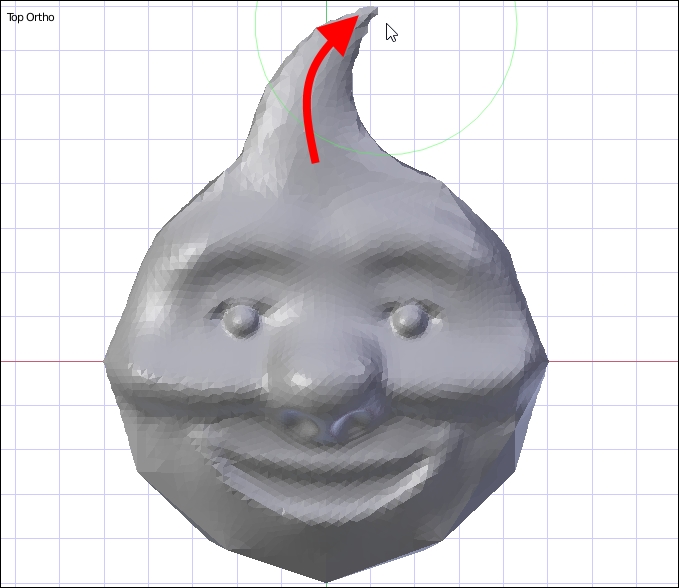
- From the top of the head, being sure the center of the brush catches at least a little bit of the edge of the head, start drawing while moving the mouse in a curve away from the body.

If the rays are being pulled out too far, undo the action, adjust the strength, and try again. If the brush is grabbing too much of the face, undo the action, adjust the radius, and try again.
- Continue around the edge of the face, pulling out rays with the Snake Hook tool.

The Snake Hook tool is a useful tool because it quickly creates new areas that can be further sculpted. It can be used to make arms, tentacles, horns, or other shapes. Usually, it's preferable to generate a basic shape that is approximately shaped like the object to sculpt, but with Snake Hook, this doesn't necessarily have to be the case.
Sculpting is a more organic process than other modeling, so as you become comfortable with the tools, be sure to experiment with them and make the design your own.
