
At this point, the general shape of the face is set, but there can be more detail added. Keep in mind that with 3D printing, there is such a thing as too much detail, since some of it won't come through. Then again, details tend to be the most impressive part, so spending some time sharpening some edges may be of benefit. Here's how:
- In the Tool Shelf, under Symmetry/Lock, click on the X button under Mirror so that it is highlighted in order to toggle mirroring back on.

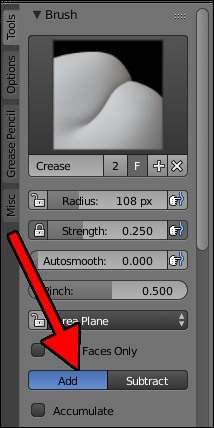
- Switch to the Crease tool (Shift + C).
- Make sure the Add button in the Tool Shelf is highlighted. If not, click on it so it is highlighted.
- Adjust the view and change the Radius (F) until the brush is big enough to cover the bridge of the cheek.
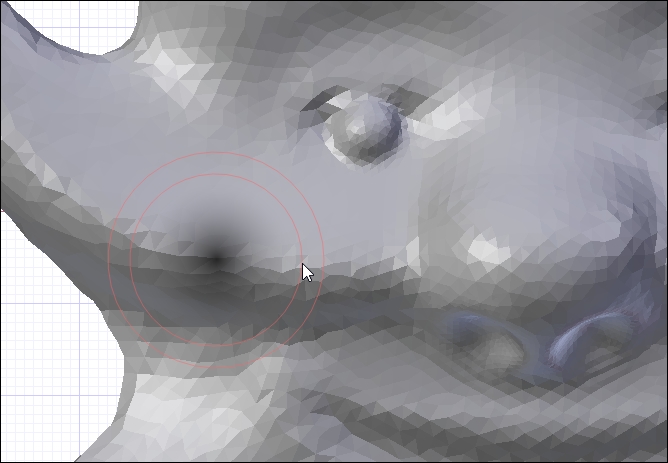
- Draw a line following the bridge of the cheek to sharpen it a bit.

- Draw in a line around the eyebrows and down the bridge of the nose.

- While holding down Ctrl, draw a line following the curve of the mouth.

- Adjust the view to zoom in on one eye.
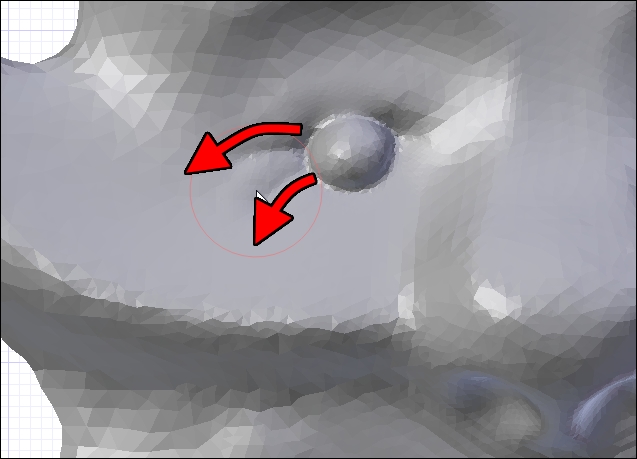
- While holding down Ctrl, deepen the crease around the eyes and maybe add some smile lines.
The Crease tool is great for adding small details such as lines or ridges to the model and can really give your design some style. But use caution—additive creases can create undesired ridges if overused. Be sure to adjust your view to make sure that isn't happening. If it does, remember that you can undo or smooth quickly without switching brushes by holding down Shift while drawing at any time as well. If elements aren't where you want them, the Grab brush (G) will allow you to reposition things to a certain degree.
- Continue to adjust the look of the model until you're satisfied with the look.

For the next steps, we'll be using the Object Mode tools, so after sculpting is done, switch back to Object Mode and click on the Sculpt Mode dropdown in the menu of the 3D View and select Object Mode:

Tip
Here is a handy guide for easy reference to some of the keyboard shortcuts used in sculpt mode. For a complete set of shortcuts, be sure to check the Blender manual online.
- F: Change brush size
- Shift + F: Change brush strength
- Shift while drawing: Quick smooth
- Ctrl while drawing: Toggle brush direction.
- X: The SculptDraw brush
- I: The Inflate brush
- Shift + C: The Crease brush
- G: The Grab brush
- K: The Snake Hook brush