
A hardware virtual machine is the de facto virtualization method for EC2, and it is the successor of paravirtualization (PV). The custom XEN hypervisor design efforts improve the performance of the virtual functions of HVM while cutting down multiple layers between the hypervisor and the operating system.
Linux instances are automatically provisioned with a public key in order to encrypt login information. They use the Secure Shell (SSH) V2 protocol under the public key infrastructure (PKI). This provides a mechanism in which a secret is broken down into two parts: the public key and the private key. The private key is available to the user, and is used in the SSH tunnel to authenticate and encrypt the communication channel for confidentiality between parties. The public key is installed in the ~/.ssh/authorized_keys in the filesystem of the instance, as shown in the following diagram:

To prepare the environment so that we can execute run-instances against the EC2 endpoint, we will create a key pair from the EC2 console. You will be asked for a key name, as shown in the following screenshot:

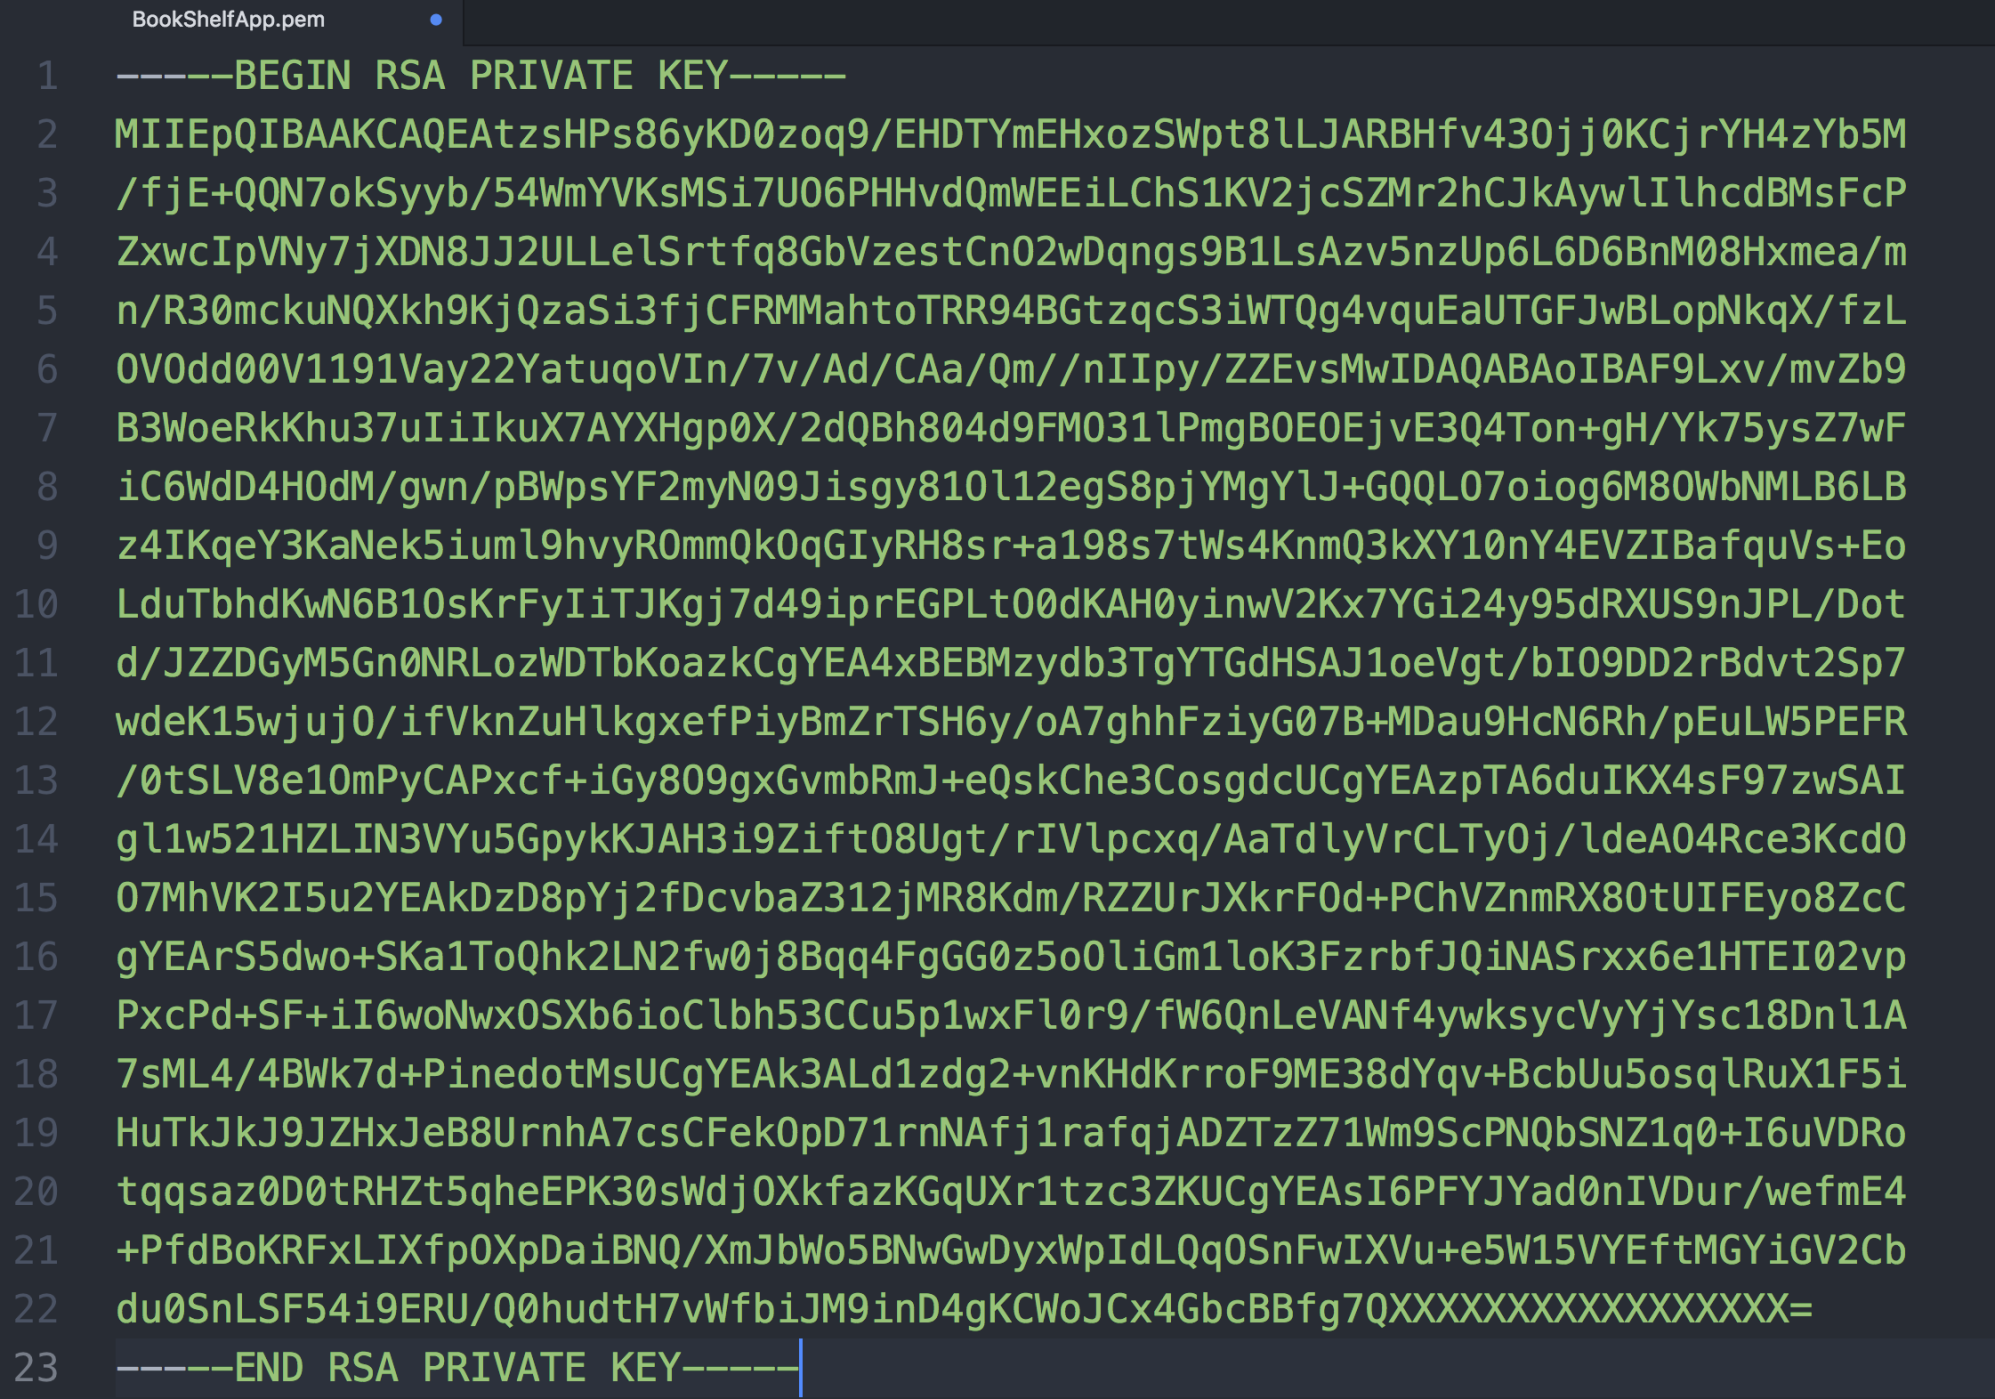
Once this has been done, a one-time download will be available for the private key, locally wrapped in an X.509 certificate in a PEM format, as shown in the following screenshot. For demonstrative purposes, open this file in a text editor, and you will see that the user only holds the private key. Make sure that this file has restrictive access privileges by changing its mask with chmod 400:
An AMI is a regionally scoped resource. To successfully launch an instance from the CLI, we need the base image ID. Use the console to search for the EC2 service, locate the Launch Instance blue button, and make sure that you are in the North Virginia region. The next screen will prompt you for the image type; use the first option, as this list is sorted by release, and make a note of the instance ID, as shown in following screenshot:

Execute the following command, replacing the appropriate image-id and key-name:
aws ec2 run-instances --image-id ami-14c5486b --key-name BookShelfApp
Look at the following error:
An error occurred (InvalidAMIID.NotFound) when calling the RunInstances operation: The image id '[ami-xxxxxxxx]' does not exist
If you receive this error, it could be because you are in the wrong region. Remember that AMIs are tied to specific regions. Also, make sure that your CLI client is using the us-east-1 region by issuing aws configure.
The output should be similar to the following (note that my client is configured with the table output option):

Scroll down in the output and you will find information related to the state transition reason (pending), as shown in the following screenshot. This means that our instance is not yet able to accept inbound connections:

This command is the simplest possible option to launch an instance in which we did not specify any network details or the availability zone. This is called the default VPC, which is automatically created for the AWS account in every region. Our newly created instance now appears in the instances section, with the available state.
In order to remotely connect to the instance via ssh, copy the public IP or use the public DNS name. Use ssh and replace @IP with your IP, as follows:
ssh -i ~/.path/to/file/BookShelfApp.pem [email protected]
Now, inbound SSH traffic is blocked, and every instance is associated with a virtual firewall, called the security group. This firewall will follow the least-privilege principle, restricting all inbound traffic and allowing outbound traffic from the instance, by default. To allow inbound SSH traffic, we will apply the following configuration to our default security group.
As administrators, you should add your IP addresses as exceptions; please remember to update the value every time it is needed. You can check your current IP at http://checkip.amazonaws.com/.
Navigate to the EC2 console, under NETWORK & SECURITY | Security Groups. Find the security group with the default group name and use the checkbox to select it. Then, go to the Inbound tab and edit the rules, as follows:

You can also update the security group rule with the following command:
CLIENT_IP=$(curl -s http://checkip.amazonaws.com)"/32"
aws ec2 authorize-security-group-ingress --group-name default --protocol tcp --port 22 --cidr $CLIENT_IP
Next, you will be prompted on whether to continue with the connection; type yes, and you will be logged in to the instance.