
In the last section of the chapter, we are actually going to test the project and record some audio.
First, copy all the code and paste it into the Arduino IDE. Compile it and upload it to the Arduino board. Note that, as soon as you do that, the project will start recording the audio. If you have connected the optional LED on pin 7, the LED should also be on during the recording phase.
You can now talk a bit or play your favorite song just to make sure that actual audio is being recorded by the microphone.
Then, after the amount of time defined in the code, stop the project by disconnecting the power. Then, remove the SD card and insert it into your computer.
On your computer, navigate to the SD card and you will see that one file was recorded:
You can now simply open this file with your favorite audio player and listen to what was just recorded.
I, for example, opened it with the free audio editing software, Audacity, to see how the waveform looked like:
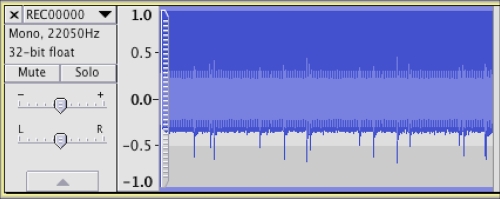
Congratulations, you just built your own spy microphone! You can now play with the different settings, for example, using a longer recording time.