
In this chapter, we are going to build a very useful tool that every secret agent should have: a bug detector. We will build a simple device that will allow you to detect whether there are any bugs nearby, such as a recording device or a wireless hidden camera.
The following are the topics that we will cover in this chapter:
- We will build a project with a simple wire antenna and the project will display the EMF readings on LCD screen.
- We will also add a simple LED to indicate when EMF activity goes above a certain threshold.
Let's dive in!
First, let's see what the required components for this project are.
You will, of course, need the usual Arduino Uno, that will act as the brain of the project and process all the information.
You will also need a simple wire, preferably long (such as 10 cm to 20 cm) to act as an antenna. You will need a 1M Ohm resistor along with this wire.
To display the data, we will use a simple I2C LCD screen. I used a 4 x 20 I2C screen from DFRobot:
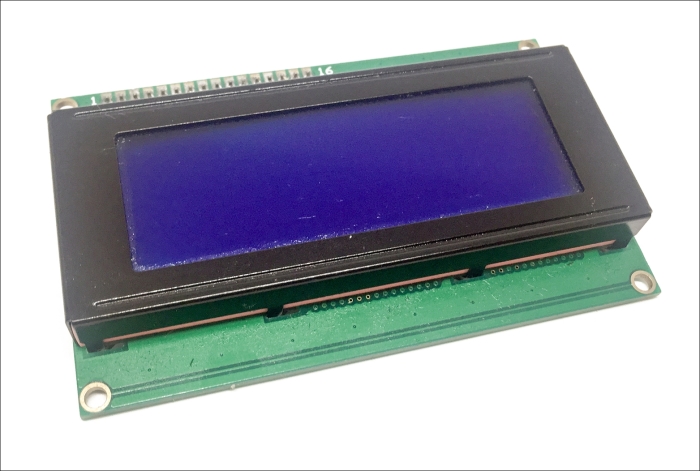
You can, of course, use the LCD screen of your choice for this project, you will just need to use the right LCD library.
I also integrated a simple red LED along with a 330 Ohm resistor to display when EMF goes above a given level.
Finally, you will also need a breadboard and jumper wires to make the different connections.
Here is the list of all the components that we will use for this project:
- Arduino Uno (https://www.sparkfun.com/products/11021)
- I2C LCD screen (http://www.robotshop.com/en/dfrobot-i2c-twi-lcd-module.html)
- Red LED (https://www.sparkfun.com/products/9590)
- 330 Ohm resistor (https://www.sparkfun.com/products/8377)
- Long wire (at least 10 cm)
- 1M Ohm resistor (https://www.sparkfun.com/products/11853)
- Breadboard (https://www.sparkfun.com/products/12002)
- Jumper wires (https://www.sparkfun.com/products/8431)
On the software side, you will need the library for the LCD screen. As we will use an I2C LCD screen for this project, I recommend the following library that you can download from http://hmario.home.xs4all.nl/arduino/LiquidCrystal_I2C/.
Once the library is correctly installed, you can move to the next step.