Up to this point, you’ve been working mainly with Python and Bash. You’ve been writing sensor components and building circuits, with little thought to the style or usability. You’ve been following my mantra of “make it work, then make it pretty.” Well now the time has come to make it pretty. This is one chapter where you have a lot of flexibility. Want to make it bright pink? Fill the screen with cat photos, or a sentient AI able to perceive your every move? That’s all possible, and totally up to your creativity. Don’t worry if you’re not creative – I’ll show you how to make a minimalistic dashboard, which you can use as a basis to expand on into something unique.
For this chapter, you’ll use several libraries to help make this dashboard pretty. You’ll use Bootstrap (https://getbootstrap.com/) for most of the styling and layout. You’ll also use Font Awesome (https://fontawesome.com/) for some fantastic (and open source) icons. Font Awesome has a paid-for, Pro service, but the free tier is more than good enough for this project.
For most websites, a content delivery network (CDN) lets you quickly and easily pull in these external assets. CDNs greatly speed up the user experience on any website, and free public CDNs exist to host the required resources for you. However, because the Pi is going in your car, it may not always have (nor should it need to rely on) an Internet connection. This makes public CDNs a no-go. I’ll show you how to download these resources and serve them up locally from the Pi.
Public-facing websites also need to cater to a variety of users – from very old browsers, small screens, and Internet connections to browsers built-into games consoles, ultrafast modern computers, or even ancient systems such as OS/2. On the Internet, you get it all, and it’s your job as a developer to ensure that most visitors can see your website as you intended. Fortunately, this dashboard is only for you to use. The Pi has a known web browser, with a fixed-size screen. Every time you visit the page, the Pi renders the content in the same way. This makes development and testing slightly easier. At the expense of cutting corners, you can be happy enough if it looks good on the Pi. You don’t need to worry about other users or browser compatibility.
Basic Dashboard Layout
Let’s begin by designing the basic dashboard (ignoring the reversing screen for now). This will start as a “static” page. It won’t update based on the data from the Pi; you’re just getting a feel for the design.
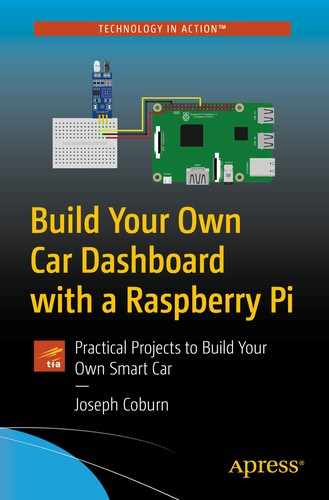
Changing Bootstrap version before download
Modify the paths to suit your folder structure.
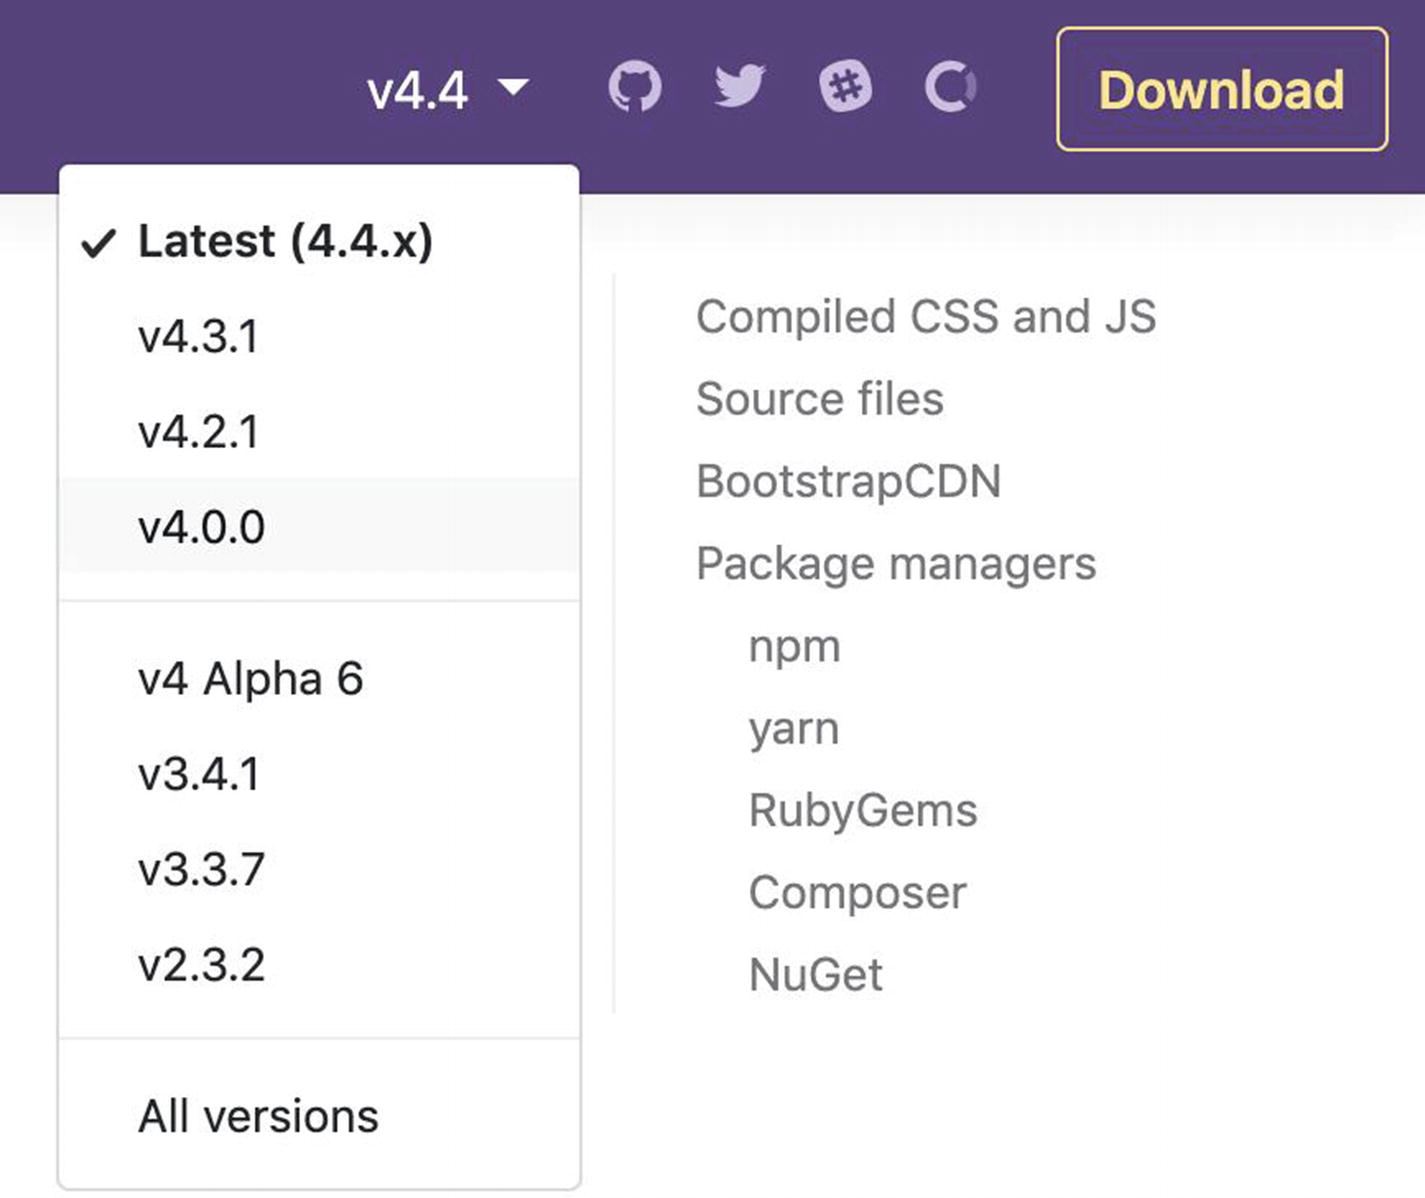
Font Awesome getting started screen

Font Awesome download button
This may look like a lot, but it’s much simpler than it may first appear. This isn’t code as such, it’s markup. Hypertext Markup Language, or HTML, is the Internet standard markup language for websites. It can’t perform calculations or logic, it’s simply instructions for the browser to interpret. HTML is a markup language. With it, you can define tables, boxes, text, images, and so on. Your browser understands these commands and does its best to draw the elements you specify. Each browser interprets these slightly differently, however, making cross-platform web development more like a game of whack-a-mole if you’re not careful.
HTML does not render pretty colors or define the sizes of things aside from a few browser defaults. Cascading Style Sheets, or CSS, almost always accompanies HTML to make things pretty, but I’ll cover that after breaking down this HTML.
It has an opening and a closing tag and contains the text “Hello”.
The doctype is a bit like a shebang in Bash scripts – it doesn’t need closing. This HTML tag is closed at the end of the file. Therefore, everything in this file is enclosed in the HTML tag.
The head tag is used for page metadata. Things such as the page title, character encoding (charset), and other metadata are defined here. Toward the bottom you can see the link tags. These pull in your Bootstrap and Font Awesome CSS files you downloaded earlier. This makes them accessible on the page. This also references a style.css file. This doesn’t exist yet, but it’s where you’ll write any custom CSS needed to style this page.
Classes are used to point HTML elements to a CSS style. This lets you reuse CSS without copying and pasting it all over the place and lets you target specific elements to style. The classes listed here are defined by Bootstrap, with a little custom CSS.
These elements use the Font Awesome classes to render the icons you can see on the dashboard.
There are lots of different HTML elements, tags, and techniques, but the premise is mostly the same across them all – different tags, each supporting attributes such as class, each one with specific purpose. Some tags have historical relevance, and some are no longer valid, as they are deprecated due to their age or incompatibility.
Remember, this HTML is static right now – it’s hard-coded to always display the same information – and isn’t tied into your sensor data.
CSS lets you change a huge number of stylistic and layout elements. You can animate elements; change the size, color, and position of almost anything; hide elements; and more. The changes here mostly impact the size, and color of the text and icons.

Static dashboard styling
Observe what it looks like (shown in Figure 14-4). The background has a dark color, the text is white (with a slight shadow), and there are various elements displaying (fake) data. There are icons next to some of the items. There are currently too many icons – not all of these will be visible when it’s hooked into your main dataset, but for now, commit the code and perform a build on the Pi. Visit the Pi’s application at http://pi-car:5000/ and verify the build. Resize your browser window and observe how the layout reflows to fit. It may not always fit at all sizes, but that’s OK – the Pi has a fixed-size screen.

Dashboard resized to the screen
Right now, the Pi boots up. It downloads the latest code, installs the dependencies, and spins up the Flask server (accessible over the network). It doesn’t have a screen, and it doesn’t open the web browser and load the page for you – let’s fix that next.
Autoload the Pi’s Web Browser
For a truly interaction-free startup process, the Pi needs to open a web browser and visit the application it’s already running. Your installation of Raspbian on the Pi comes with a web browser. It’s perhaps not as full featured as your desktop computer browser, but it’s sufficient for this project.
If it’s not currently connected, then plug in your Pi’s mini LCD display using the full-size HDMI to micro-HDMI cable. Connect to the Pi over SSH.
Save and exit the file. What does this do? It starts the Chromium browser, located at /usr/bin/chromium-browser. It points it to your localhost address and port of your Flask server, and it passes in several options to the browser. These options start the browser without any distractions. Fullscreen, kiosk mode prevents you from showing the URL address bar or bookmarks and hides lots of alerts and warnings – perfect for an integrated system such as this.
Restart the Pi and observe as the browser starts after booting to the desktop environment. You may notice that the address cannot be found, but after several minutes, it eventually arrives. This is because Flask is still booting when the browser starts. Shortly I’ll show you how to speed this up once you’re no longer actively developing the system.
Left
Right
Inverted
Normal

The almost completed dashboard
Show Sensor Data
Up until now you have two fairly independent modules. The template shows a nice-looking dashboard with hard-coded data, and the back-end Python code reads all the sensors. Let’s link the two together. All the hard work is already done, so it’s almost a simple case of pointing the templates to the data. Modify your main route inside main.py.
The strftime function converts the datetime object into a readable format.
Remember the golden rule when working with templates – simple logic to show/hide data or minor UI tweaks are fine. Complex logic or calculations should live inside the Python classes!
This HTML tag instructs the browser to reload the page every quarter of a second. It doesn’t actually do it that quickly, but it’s fairly fast. Now, the page constantly reloads, getting fresh data every time. Commit your code and push to the Pi. Once booted, observe the dashboard. Make some changes such as holding down buttons, covering the light sensor, or warming up the temperature sensor. Notice how the dashboard updates to reflect these changes? Very nice – it’s almost complete now.
Reversing Module Completion
Several of the stand-alone projects included components and sensors for the reversing module. The Pi camera, beeper unit, and rear distance sensor all require integrating into this dashboard.
Now save and restart. When booted, hold down the reverse sensor button (or otherwise trigger the sensor). You should see the Pi switch to the video feed page – it’s not pretty yet, but it should work (providing you configured the Pi camera and video stream in the previous projects).
You could argue that you don’t need to “follow the rules” as it were. This HTML adds little functionality, and as your dashboard isn’t on the Internet, you don’t need to follow standards. That’s understandable – feel free to skip this, but it’s a good practice to follow the standards. Shortly you’ll modify this to include some essential code to read the sensors and issue the beep.
Notice how most of this HTML in the head section is identical to the main page – with a few stylesheets removed. In any big system, or website with more than three or four pages, it makes sense to centralize this logic to reduce duplication. For example, changing the name of your CSS file requires updating the same tag in two files now. In this project with only two basic templates, that’s an acceptable compromise. If you’re interested in reducing this duplication, then look into Jinja macros (https://jinja.palletsprojects.com/en/2.11.x/templates/#macros) – an excellent way to reuse code.
Revisit the reversing camera chapter for full motion config breakdown.
When you’re ready, commit your code and restart the Pi. Trigger the reverse light sensor, and watch as your dashboard switches over to the live camera feed – it’s really taking shape now. It’s not there yet, however. The reversing page doesn’t switch back to the main dashboard when the reverse gear is disengaged, and it doesn’t yet issue the beep or IR distance-sensing reverse assist, so let’s fix that.
For this file, constantly restarting the page as was the case with the main index page is too disruptive to the live video feed. It works, but the video feed ends up slightly jittery. To accomplish this, you’ll use JavaScript. JavaScript is a front-end programming language. It’s executed by your web browser, and website visitors can often read the code itself. It’s not the same thing as Java, and it’s perfect for running tasks “in the background” using Asynchronous JavaScript and XML (AJAX) . AJAX is used with JavaScript to create asynchronous client-side applications. You could use it on the previous page to update all the data, but it would require a fair amount of JavaScript code, for little benefit.
Almost all of the modern Internet uses JavaScript in some way. It doesn’t need installing either, as it’s part of the instructions your browser can understand by default. Let’s not get too carried away though, as JavaScript is horribly inconsistent (even with itself) and it’s much slower than Python to execute. Still, it’s more than good enough for this small task.
For this task, JavaScript will essentially load another web page, which will route to Flask, ping the distance sensor, and issue a beep if an object is nearby. JavaScript doesn’t need to change any data, or even look for a successful response – it just hits this page and carries on as normal.
There are no surprises in this code. It calls the get_rear_distance_sensor function from your Sensors class. If that returns True, it issues a beep using the beep function. If you visit this new route from your browser, you can see it in action (http://pi-car:5000/reverse/beep/). There is no logging in this function – and for good reason. There’s enough logging in the sensor code itself to handle this, and as this code could potentially run four times every second, your logs will quickly fill up with too much noise and become almost unusable.
This code performs three core functions. It creates a function called runSensors, following the JavaScript naming convention of CamelCase . This function uses the XMLHttpRequest object to send an AJAX request to your new /reverse/beep/ route. Next, it uses the setInterval function to call your new runSensors function. SetInterval runs code regularly on a schedule, defined by the number – 250 milliseconds in this case. Every quarter of a second, JavaScript pings the /reverse/beep/ route to sense objects and issue beeps. This does not care about the response, or the duration.
The final argument to xhttp.open is set to true. This is the asynchronous parameter – it instructs the browser to run this code in the background while doing other tasks. No matter how slow this endpoint is, it will still issue the next command, and the next, and so on. Remember, this endpoint waits one second while issuing the beep.
Finally, window.onload ensures your code is loaded when the page loads. Without this, your code would never execute at all.
Commit your code and perform a build. Trigger the reverse sensor to load the reverse page. Now cover the distance sensor, and observe the beeps. Now move your hand and listen – the beeps stop. If you open your application logs, you’ll see the beep and distance sensor logs corresponding to the AJAX requests every quarter of a second.
Finally, let’s write some code to check the reverse sensor. If it’s no longer detecting the reverse bulb, JavaScript needs to switch back to the main dashboard, and let that take over.
You can learn more about the different ready state options at https://developer.mozilla.org/en-US/docs/Web/API/XMLHttpRequest/readyState.
Load the Pi’s main dashboard. Play around with triggering the reverse sensor, and see it redirect to the reversing camera (with distance sensing and beeps). Now remove power from the sensor and watch it send you back to the dashboard. Excellent – the whole system is nearly finished now.
Final Pi Improvements
Your system is now practically complete. The Python is done, there’s no more code to write, and it’s fully working – pending installation in your car. There are two tasks left to finish this system. You may have noticed your Pi going to sleep to save energy. After five minutes or so, the display turns off and your dashboard disappears. It’s still around – it’s accessible over SSH and it operates just fine, but the screen is off. The Pi has switched off its display output to save energy. This energy saving is a useful feature for occasional use, but it’s a nuisance for a car dashboard project. While the Pi has power and is running the application, it should send data to the display. Let’s fix this.
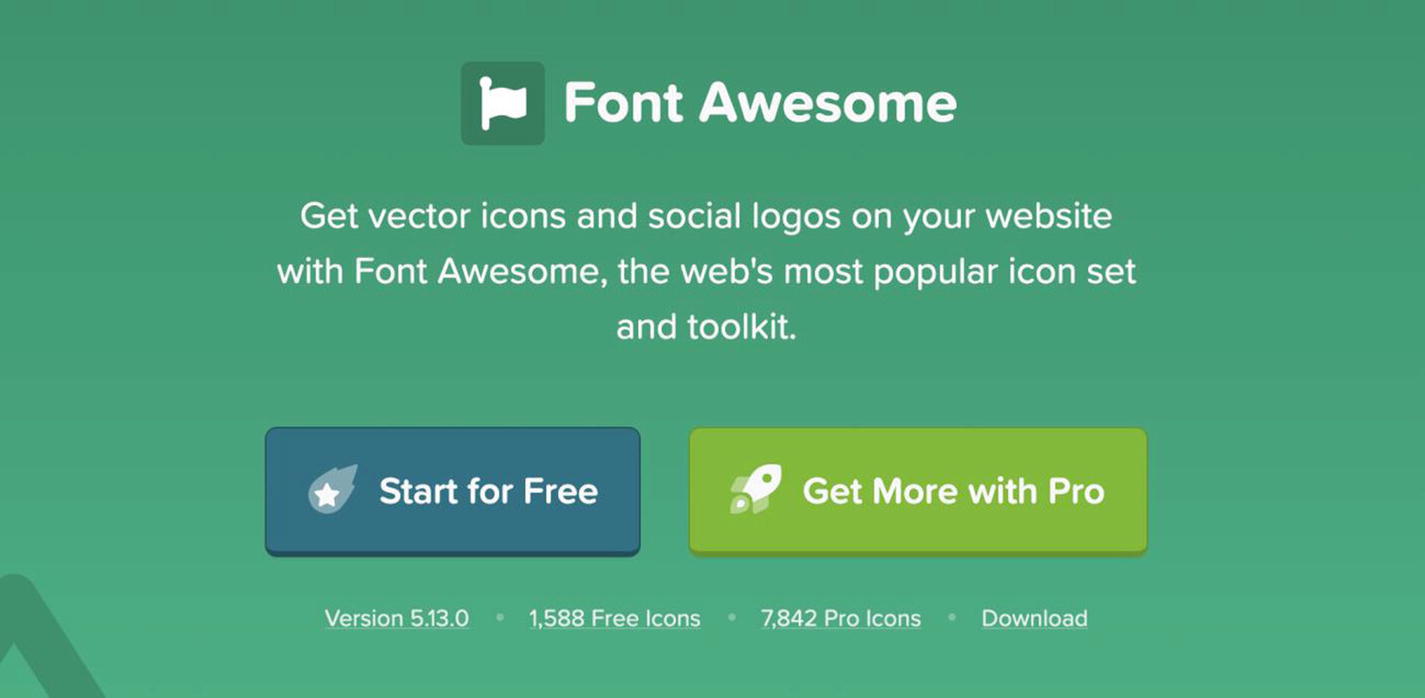
Sample Debian display configuration file
The final change is to prevent the Pi from auto-updating its code base from Git. This is slow – you have to code a delay into the script to ensure the Internet connection exists, and it’s ugly. By waiting, downloading, and then installing the latest dependencies and code, the LXDE has already booted and started the browser. This leads to an ugly few minutes whereby the browser is ready to go, but the server isn’t running yet. Besides, full CI/CD perhaps isn’t the best paradigm for a car – having to wait for an update before you can begin your journey isn’t the best experience – ever been frustrated waiting for video game updates before?
By commenting these lines out, you can easily reinstate them in the future. A fun expansion project would be to push updates to the Pi, or integrate your build chain to deploy to a small number of cars, and continue the rollout once it’s stable and there are no reported issues over a given period of time. If there are issues, automatically roll back to the previous version. This is beyond the scope of this book, and it’s straying into devops territory. For those interested, Ansible (www.ansible.com/) is a great tool for this job.
Restart your Pi and bask in your own brilliance. Watch the sheer speed at which the Pi can start now that it’s no longer burdened by auto-updates. It doesn’t need an Internet connection to work – it has everything it needs in a self-contained package. Any sensor failures won’t hold it back, as you programmed it defensively to operate in almost any environment. Naturally, if lots of sensors fail, it may enter into limp mode – with diminished functionality. That’s still far better than a total failure, and often at times it’s not possible to work normally if there’s a huge system failure.
This chapter cleans up the system and turns it into a functional and pleasant dashboard. By building on the application logic developed in all the previous chapters, there’s a lot of margin for customization here. All the previous chapters develop the core logic, and so much of this chapter is open to your interpretation. You learned how to switch between the rear view camera and the main display and how to speed up the entire application’s startup time. You learned about CDNs, CSS, JavaScript, and HTML, along with AJAX and Chromium.
Throughout this book, you have learned how to write software. It’s my hope that you really understood what’s happening at every level and tediously typed out every line of code, instead of blindly loading up the repository and doing a copy-paste job. I’d love to hear from you if you enjoyed this book. Visit this book’s GitHub repository at https://github.com/CoburnJoe/Pi-Car and say hello. Create a pull request and enhance the code, or join any discussions around topics (either in this repo, or anywhere else on GitHub). While GitHub doesn’t support direct messages anymore, you can see my latest projects and contact details on my profile: https://github.com/CoburnJoe.
Door sensors
Boot sensor
Headlight sensor
Engine temperature sensor
Random “message of the day” (perhaps based on the time of day)
Climate control options
Dashboard “debug” overlay/reporting of sensor failure to the dashboard
Apple CarPlay/Android Auto support
Multiple reversing sensors
Report errors over the Internet
Last of all, remember that code is for humans. Computers will understand almost any jumbled mess of spaghetti code, so make your code simple and clear, such that anyone in the future can easily understand its intent. Complex, clever, or otherwise convoluted code makes modifications or troubleshooting more complex for everyone involved.