Exercise 14:
BRUSH DISCOVERY
IN THIS EXERCISE, YOU WILL EXPLORE YOUR BRUSHES, THE MARKS THEY CAN MAKE, AND THE BEAUTY YOU CAN CREATE. I WILL SHOW FOUR BASIC BRUSH TIPS AND THE MARK EACH MAKES. I OWN MORE THAN 150 BRUSHES, BUT I ALWAYS GO TO MY FAVORITE SIX FOR PAINTING. I HEAR THIS A LOT FROM FELLOW ARTISTS TOO.
MATERIALS
Newspaper or large craft paper
White or black gouache
Palette
Inexpensive brush for mixing
Pointed round brush
Black, gray, or tan heavy cardstock or watercolor paper
Mop brush
Round brush
Flat brush


TIP: Your hand can control the effect of the paint depending on how you hold your brush. This is true no matter what the brush tip might be.
1. Cover your work space with newspaper or large craft paper.
2. Put a few generous dots of gouache onto your palette and add water slowly. Mix the gouache to a creamy, yogurt-like consistency. Use an inexpensive brush to mix the paint.
3. Use a pointed round brush for the start of the exercise. Load the brush with paint and hold it perpendicular to the cardstock or watercolor paper—at a 90-degree angle—and paint a few strokes.
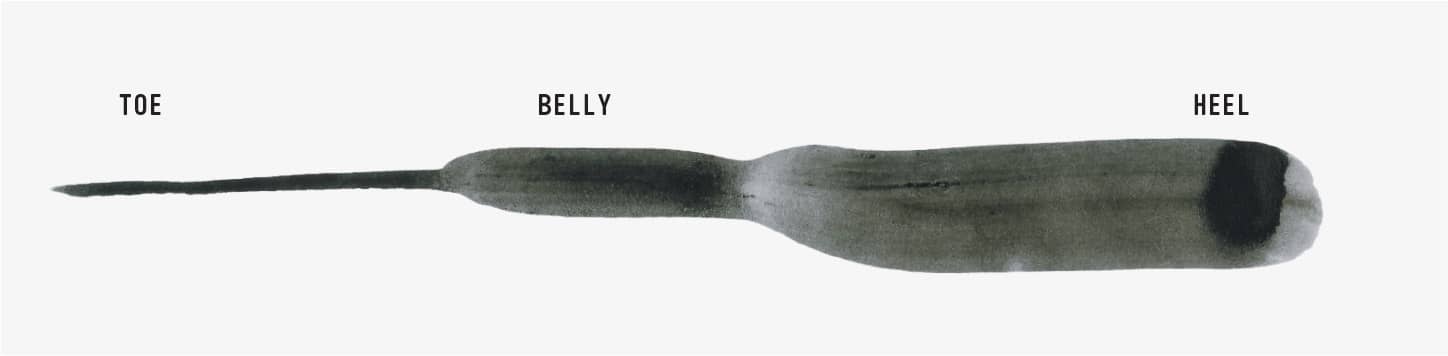
4. Then try holding the brush like a pencil, at a 45-degree angle, and paint some strokes. Use all the parts of the brush—the toe, the belly, and the heel. Go lightly on the heel so you don’t damage the bristles. You will see line weights change as the pressure from your hand changes. Each artist has his or her own line personality.
5. Make fine, medium, and thick lines. Pull the brush left to right across the paper and make linear rows from the top to the bottom of the page. You will get a sense of how long your loaded brush paints until you have to reload it with paint. Get a feel for the brush’s capabilities. Repeat these steps using a mop brush, a round brush, and a flat brush.
POINTED BRUSH


Paint with the side of your brush.
MOP BRUSH


Place and lift your brush, leaving the mop shape wash on your paper.
ROUND BRUSH


Use a thick and thin technique for petal shapes. Working from thin to thick, push and pull your brush. Try this pattern with your brush: toe, belly, toe, belly, toe, belly, toe.
FLAT BRUSH


Paint with the toe of the brush.
TIP: For florals, study the petals and then play with brush pressure to mimic the shapes.