Exercise 36:
STITCHED BLOCK PRINTS
THIS EXERCISE INCORPORATES SIMPLE STITCHING AS AN EMBELLISHMENT TO BLOCK-PRINTED ART. YOU CAN ALSO APPLY THIS TECHNIQUE TO PAINTED OR DRAWN PIECES YOU HAVE MADE. THE RESULT MAKES A GREAT GIFT OR GREETING CARD.
MATERIALS
Newspaper or large craft paper
1 or 2 pieces heavy cardstock, 5" × 7" (12.7 × 17.8 cm)
Artist tape
Scrap paper
Carved stamp from previous exercise (or to create a new one, see here)
Ink pad
Hole punch, 1/16" (2 mm) round
Embroidery needle
Embroidery floss
Scissors
Glue (optional)

1. Cover your work space with newspaper or large craft paper.
2. Secure the cardstock to your work surface with tape. Have scrap paper handy for test prints. Always test out the stamp on a scrap piece of paper before printing onto your final paper.
3. Press the ink pad, ink side down, all around the cut block for full coverage. Or with small blocks, you can hold the block, design side down, and press into the ink pad.

4. Place the stamp on your art paper and apply even pressure with your palm. Re-ink after each impression. (See A.)
5. Allow the artwork to dry for at least 15 minutes.
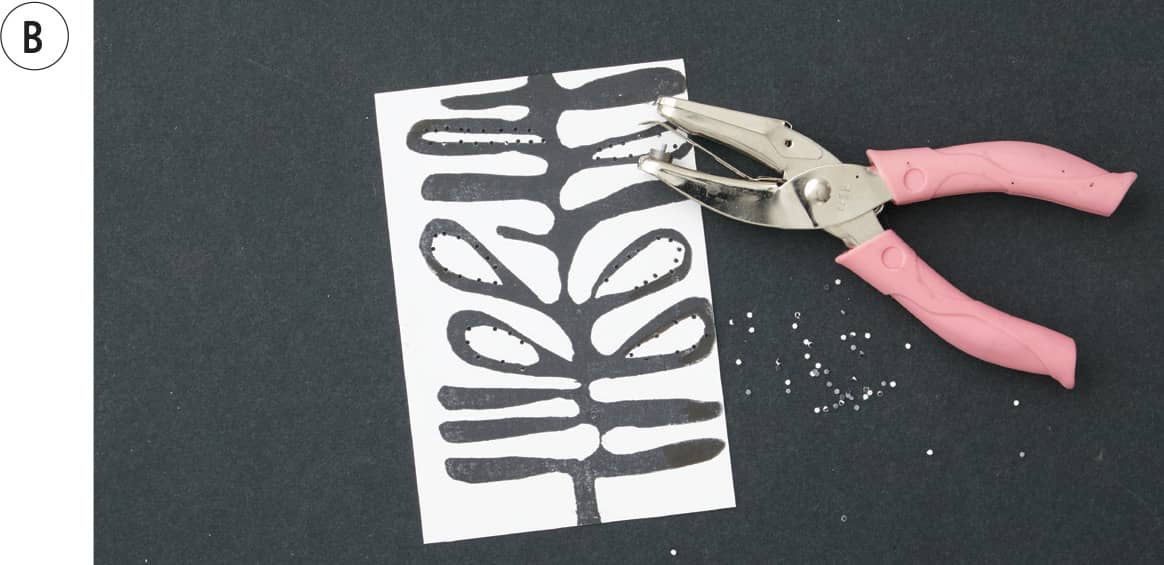
6. Decide where your sewing embellishment will appear on your card. I chose the negative spaces within the leaves. Hole punch the card to allow for sewing. Space the holes far enough apart so no tearing occurs between holes. (See B.)
A WHIPSTITCH

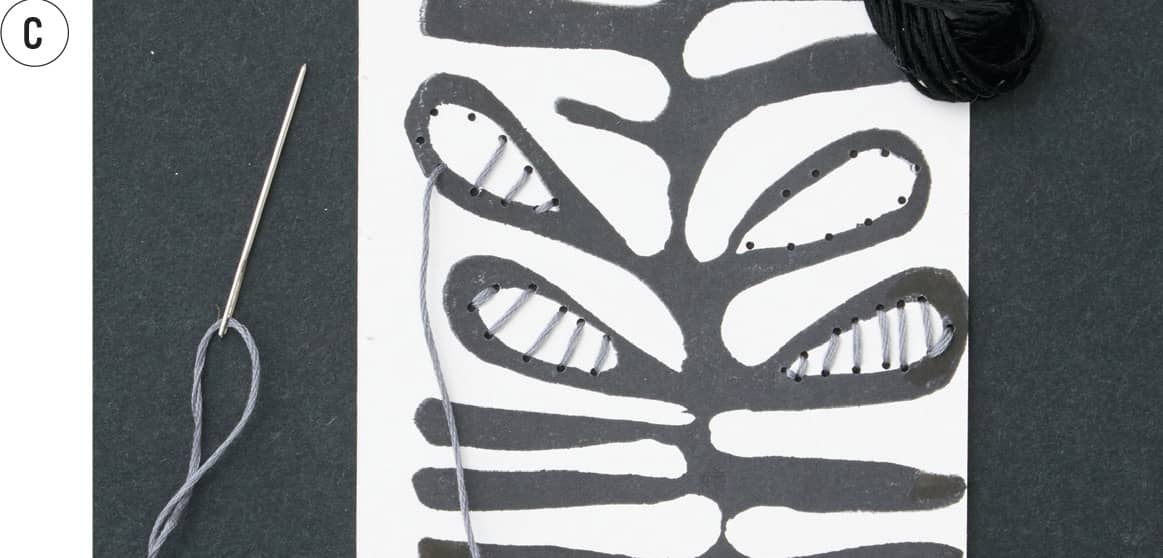
7. Thread your embroidery needle with floss and stitch your hole-punched card with a simple whipstitch. (See C.)
8. Make a knot to finish the stitch on the back of the card, trim the floss, and secure with a piece of tape. If desired, sew a simple running stitch around the edge to add a frame to your art.
9. You may cover the back by gluing on another 5" × 7" (12.7 × 17.8 cm) card.