Exercise 33:
BLOCK PRINT PATTERNS
IN THIS EXERCISE, YOU WILL MAKE A SIMPLE PATTERN BY BLOCK PRINTING WITH A CARVED STAMP. THIS TECHNIQUE IS PERFECT FOR MAKING GREETING CARDS OR A LOVELY DESIGN ON A TEA TOWEL. (WHEN WORKING WITH FABRIC, BE SURE TO USE TEXTILE INKS.)
MATERIALS
Newspaper or large craft paper
Pencil
Permanent marker
Rubber carving block
Cutting mat
Linoleum cutting tools and tips
Art brush
Artist tape
White, gray, or tan smooth lightweight or heavy cardstock, Bristol, or watercolor paper (see note)
Scrap paper
Ink pad

NOTE: Bristol paper will give a clear and clean print, and watercolor paper will give a more rustic, unfinished, textured print. Watercolor paper has valleys, and the paint doesn’t touch the paper in those areas. The finished look is up to you.
1. Cover your work space with newspaper or large craft paper.
2. Set up two work areas: one with a cutting mat to cut the block and one for inking and printing.
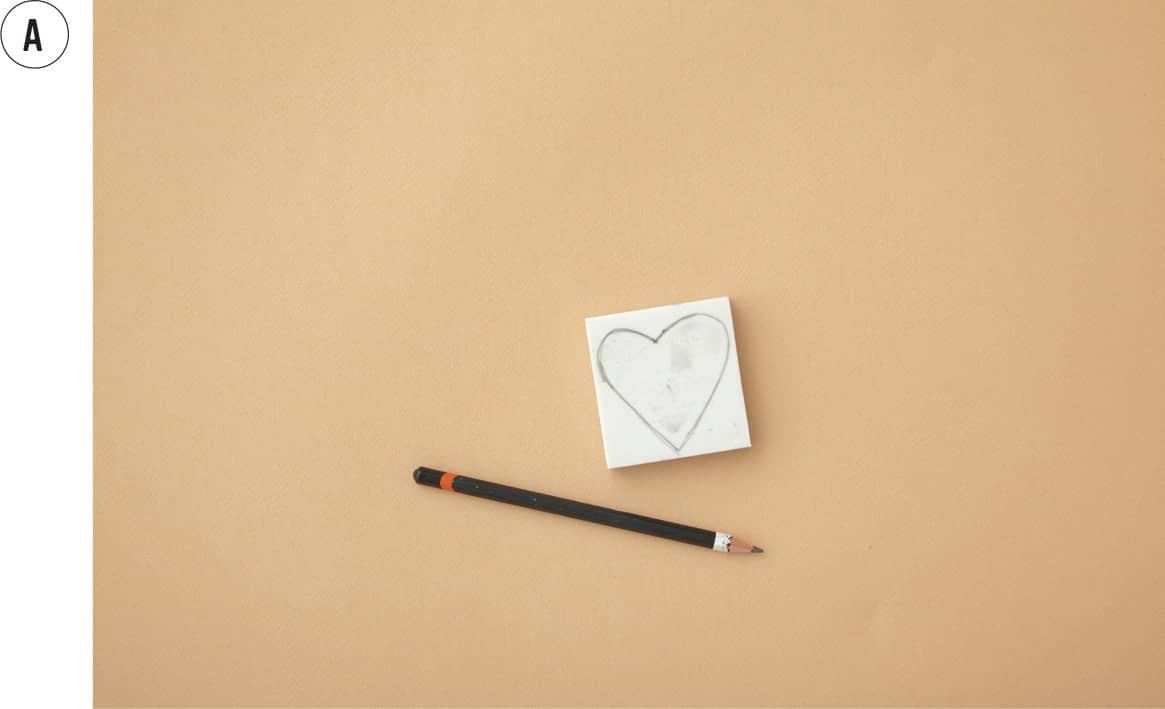
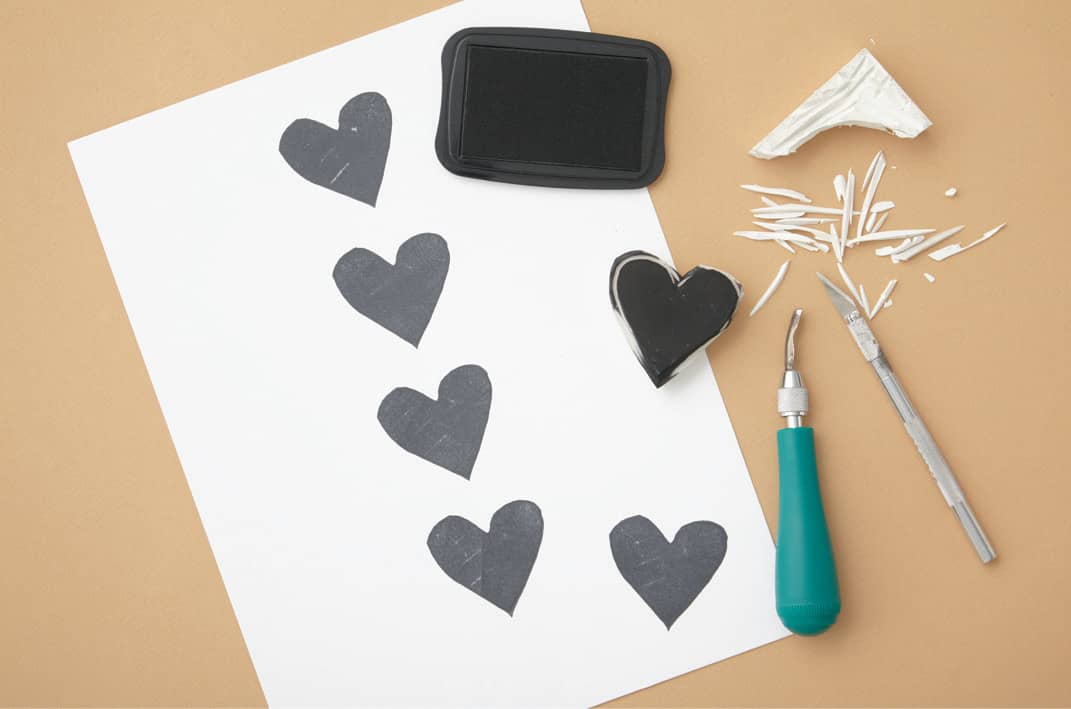
3. With pencil or permanent marker, draw a simple heart shape directly onto your rubber block. (See A.)
4. Place the block on top of your cutting mat and cut into the design with the cutting tools. Always cut away from your body. Keep your fingers behind your cutting instrument, not in front.
5. Remember that what you cut away will be the negative space, and the part of the block that is raised will be the printed design, so the image will appear in reverse.
6. Use the V-shaped tip for detail and use the U-shaped tip for carving away large areas. Save larger pieces that are cut away to carve additional stamps. More art supplies! Be sure to cut away excess rubber around the design so it is raised and only the shape touches the paper when printing.
7. Brush away excess cuttings on the stamp using a clean, dry art brush, or rinse it with mild soap and warm water, then pat dry with a lint-free towel and air-dry. Use either method to clear away any residue from cutting. If rinsing, the block needs to be completely dry before printing.
8. Secure the art paper to your work space with tape. Have scrap paper handy for test prints.
9. Press the ink pad, ink side down, all around the cut block for full coverage. Or with small blocks such as these, you can hold the block, design side down, and press into the ink pad.
10. Test prints on the scrap paper to see if there are any stray marks from spots not cut away or not cut deep enough. If needed, make adjustments to your stamp and test again.
11. Place the stamp on your art paper and apply even pressure with your palm. Experiment with the pressure you apply to the stamp. If you vary the pressure, you can make the design appear rustic and worn. With solid, even pressure the look is more graphic and clean.
12. For a block repeat in its simplest form, stack the heart motif in a basic grid left to right, lining up your designs in rows, as shown here. Re-ink after each impression.
13. To clean up, rinse the block in warm water and mild soap. Pat dry with a lint-free towel and let air-dry.
VARIATIONS

This design uses two different stamps.
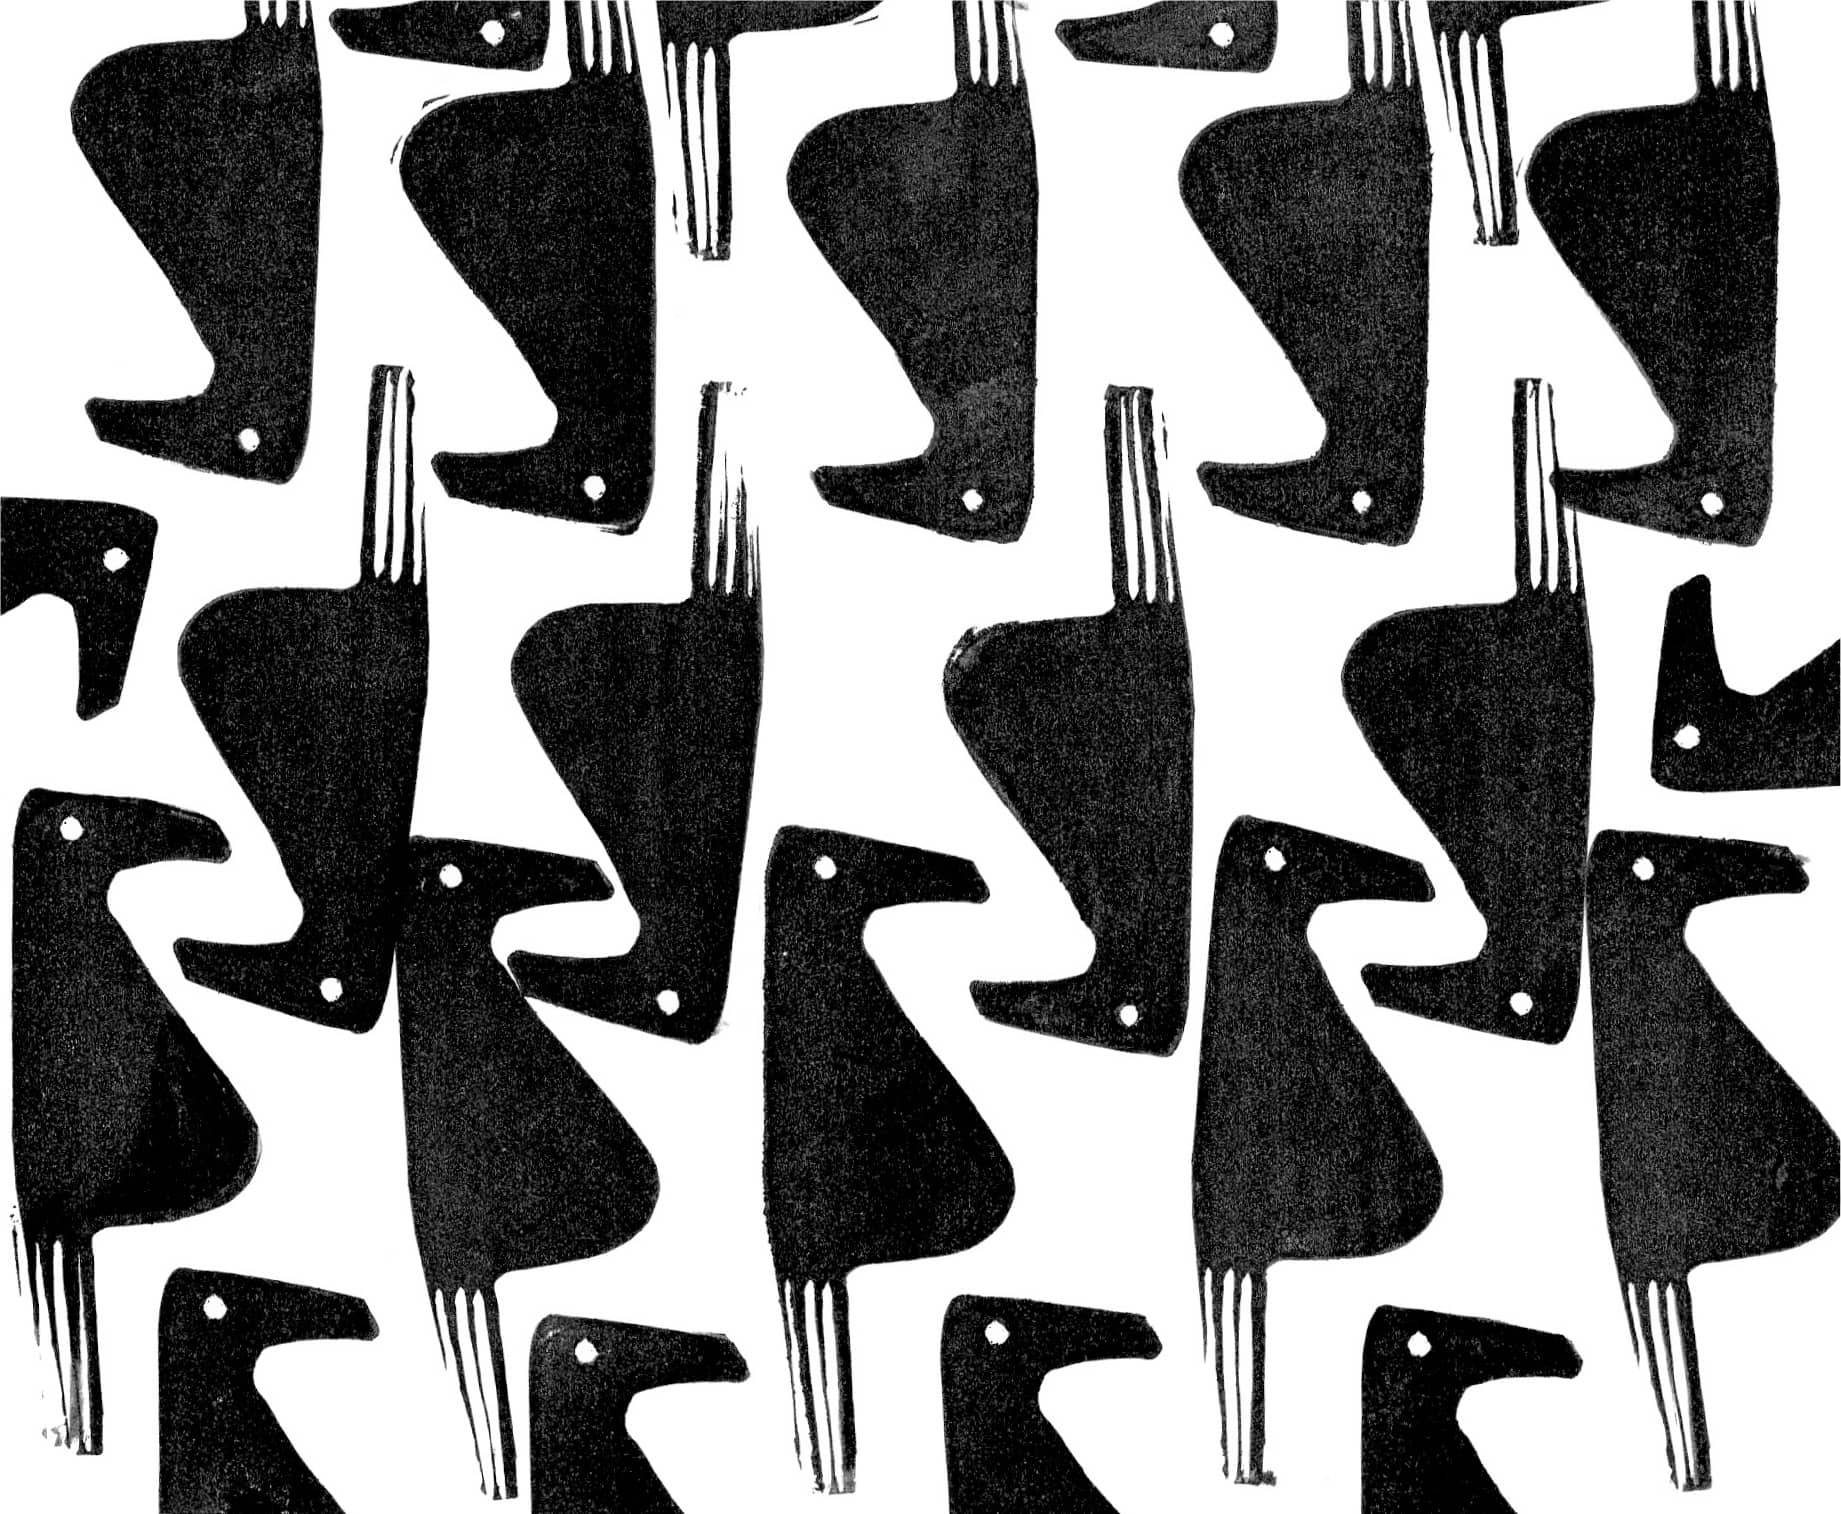
This design is stamped in two directions to add interest to the pattern.
NOTE: Rubber blocks come in various widths and sizes. I prefer thicker blocks, as the larger, thinner variety tends to split with use. The thicker blocks are easier to handle when printing, too.