
Getting started with MVC presents something of a chicken and egg problem: there are three parts (model, view, and controller) to understand, and it's difficult to really dig into one of those parts without understanding the others. In order to get started, you'll first learn about controllers at a very high level, ignoring models and views for a bit.
After learning the basics of how controllers work, you'll be ready to learn about views, models, and other ASP.NET MVC development topics at a deeper level. Then you'll be ready to circle back to advanced controllers topics in Chapter 14.
A Simple Example: The Home Controller
Before writing any real code, we'll start by looking at what's included by default in a new project. Projects created using the Internet Application template include two controller classes:
- HomeController: Responsible for the “home page” at the root of the website and an “about page”
- AccountController: Responsible for account-related requests, such as login and account registration
In the Visual Studio project, expand the /Controllers folder and open HomeController.cs as shown in Figure 2.7.
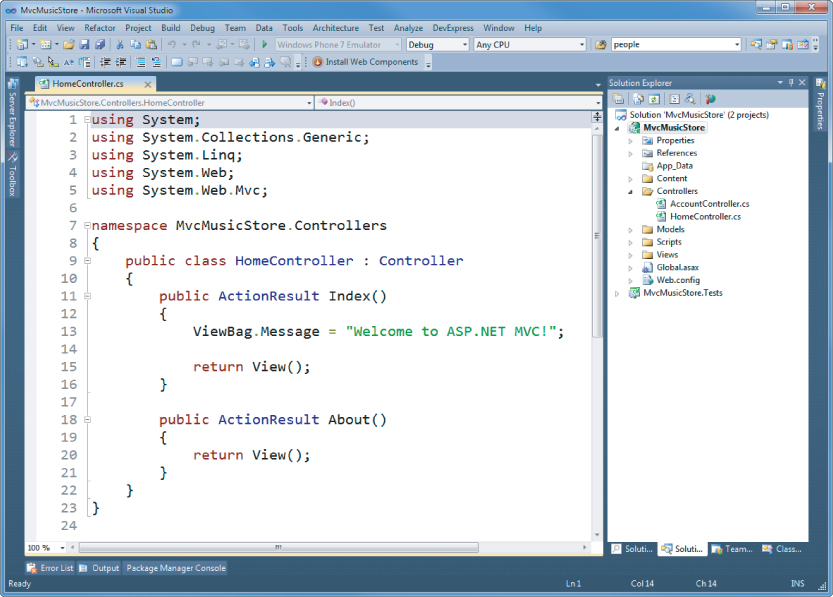
Notice that this is a pretty simple class that inherits from the Controller base class. The Index method of the HomeController class is responsible for deciding what will happen when you browse to the homepage of the website. Follow these steps to make a simple edit and run the application:
1. Replace “Welcome to ASP.NET MVC!” in the Index method with the phrase of your choice, perhaps “I like cake!”:
 using System;
 using System.Collections.Generic;
 using System.Linq;
 using System.Web;
 using System.Web.Mvc;

 namespace MvcMusicStore.Controllers
 {
     Public class HomeController : Controller
     {
         public ActionResult Index()
         {
             ViewBag.Message = "I like cake!";

             return View();
         }

         public ActionResult About()
         {
             return View();
         }
     }
 }
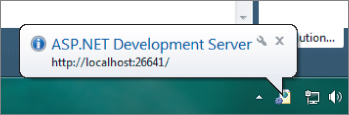
2. Run the application by hitting the F5 key (or using the Debug ⇒ Start Debugging) menu item, if you prefer. Visual Studio compiles the application and launches the ASP.NET Web Development Server. A notification appears in the bottom corner of the screen to indicate that the ASP.NET Development Server has started up, and shows the port number that it is running under (see Figure 2.8).
ASP.NET Development Server
Visual Studio includes the ASP.NET Development Server (sometimes referred to by its old codename, Cassini), which will run your website on a random free “port” number. In the Figure 2.8, the site is running at http://localhost:26641/, so it's using port 26641. Your port number will be different. When we talk about URLs like /Store/Browse in this tutorial, that will go after the port number. Assuming a port number of 26641, browsing to /Store/Browse will mean browsing to http://localhost:26641/Store/Browse.
Note that as of Visual Studio 2010 SP1, it's pretty easy to use IIS 7.5 Express instead of the Development Server. Although the Development Server is similar to IIS, IIS 7.5 Express actually is a version of IIS that has been optimized for development purposes. You can read more about using IIS 7.5 Express on Scott Guthrie's blog at http://weblogs.asp.net/scottgu/7673719.aspx.
Next, a browser window opens and displays the message you just typed, as shown in Figure 2.9.
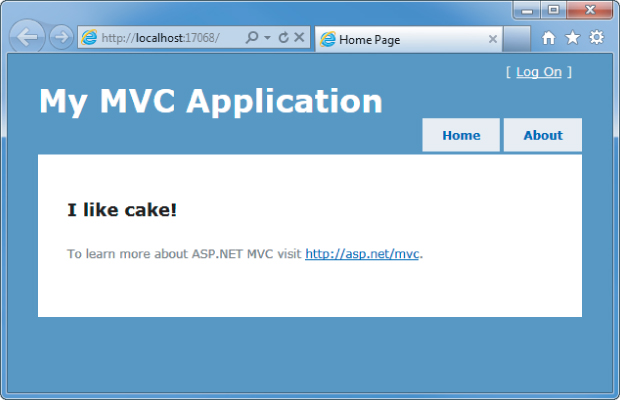
Great, you created a new project and put some words on the screen! Now let's get to work on building an actual application by creating a new controller.
Writing Your First (Outrageously Simple) Controller
Start by creating a controller to handle URLs related to browsing through the music catalog. This controller will support three scenarios:
- The index page lists the music genres that your store carries.
- Clicking a genre leads to a browse page that lists all of the music albums in a particular genre.
- Clicking an album leads to a details page that shows information about a specific music album.
Creating the New Controller
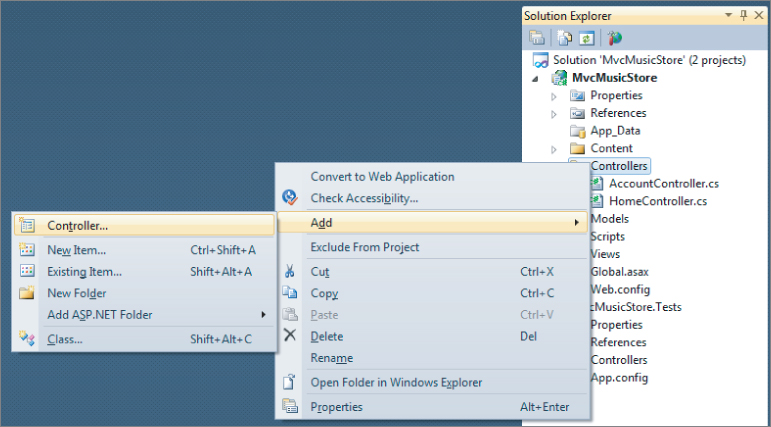
Start by adding a new StoreController class. Right-click the Controllers folder within the Solution Explorer and select the Add ⇒ Controller menu item as shown in Figure 2.10.
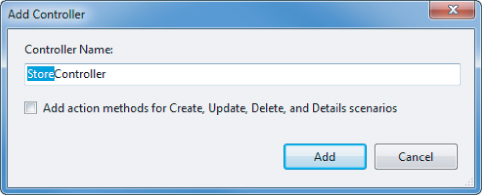
Name the controller StoreController and leave the checkbox labeled Add Action Methods for Create, Update, Delete, and Details Scenarios unchecked as shown in Figure 2.11.
Writing Your Action Methods
Your new StoreController already has an Index method. You'll use this Index method to implement your listing page that lists all genres in your music store. You'll also add two additional methods to implement the two other scenarios you want your StoreController to handle: Browse and Details.
These methods (Index, Browse, and Details) within your controller are called controller actions. As you've already seen with the HomeController.Index() action method, their job is to respond to URL requests, perform the appropriate actions, and return a response back to the browser or user that invoked the URL.
To get an idea of how a controller action works, follow these steps:
1. Change the signature of the Index() method to return a string (rather than an ActionResult) and change the return value to “Hello from Store.Index()” as shown below.
        //
        // GET: /Store/
        public string Index()
        {
            return "Hello from Store.Index()";
        }
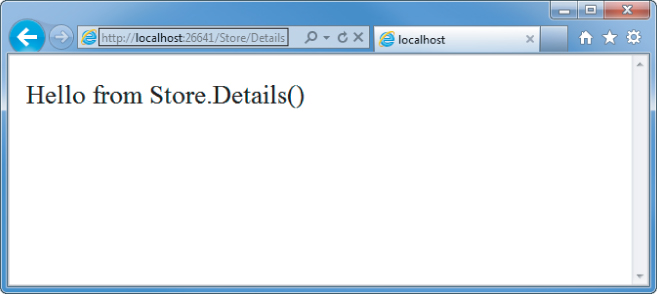
2. Add a Store Browse action that returns “Hello from Store.Browse()” and a Store Details action that returns “Hello from Store.Details()” as shown in the complete code for the StoreController that follows.
  using System;
  using System.Collections.Generic;
  using System.Linq;
  using System.Web;
  using System.Web.Mvc;

namespace MvcMusicStore.Controllers
{
    public class StoreController : Controller
    {
        //
        // GET: /Store/
        public string Index()
        {
            return "Hello from Store.Index()";
        }
        //
        // GET: /Store/Browse
        public string Browse()
        {
            return "Hello from Store.Browse()";
        }
        //
        // GET: /Store/Details
        public string Details()
        {
            return "Hello from Store.Details()";
        }
    }
}
3. Run the project again and browse the following URLs:
- /Store
- /Store/Browse
- /Store/Details
Accessing these URLs invokes the action methods within your controller and returns string responses, as shown in Figure 2.12.
A Few Quick Observations
Let's draw some conclusions from this quick experiment:
1. Browsing to /Store/Details caused the Details method of the StoreController class to be executed, without any additional configuration. This is Routing in action. We'll talk a little more about Routing later in this chapter, and will go into it in detail in Chapter 9.
2. Though we used Visual Studio tooling to create the controller class, it's a very simple class. The only way you'd know from looking that this was a controller class was that it inherits from System.Web.Mvc.Controller.
3. We've put text in a browser with just a controller—we didn't use a model or a view. Although models and views are incredibly useful within ASP.NET MVC, controllers are really at the heart. Every request goes through a controller, whereas some will not need to make use of models and views.
Parameters in Controller Actions
The previous examples have been writing out constant strings. The next step is to make them dynamic actions by reacting to parameters that are passed in via the URL. You can do so by following these steps:
1. Change the Browse action method to retrieve a query string value from the URL. You can do this by adding a “genre” parameter to your action method. When you do this, ASP.NET MVC automatically passes any query string or form post parameters named “genre” to your action method when it is invoked.
//
// GET: /Store/Browse?genre=?Disco
public string Browse(string genre)
 {
    string message =
       HttpUtility.HtmlEncode("Store.Browse, Genre = " + genre);

    return message;
 }
HTML Encoding User Input
We're using the HttpUtility.HtmlEncode utility method to sanitize the user input. This prevents users from injecting JavaScript code or HTML markup into our view with a link like /Store/Browse?Genre=<script>window.location=‘http://hacker.example.com’</script>.
2. Browse to /Store/Browse?Genre=Disco, as shown in Figure 2.13.
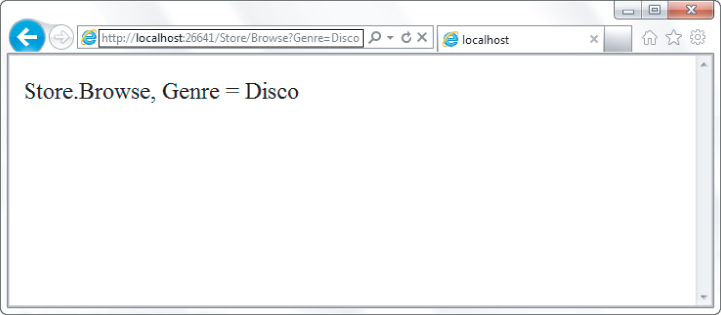
This shows that your controller actions can read a query string value by accepting it as a parameter on the action method.
3. Change the Details action to read and display an input parameter named ID. Unlike the previous method, you won't be embedding the ID value as a query string parameter. Instead you'll embed it directly within the URL itself. For example: /Store/Details/5.
ASP.NET MVC lets you easily do this without having to configure anything extra. ASP.NET MVC's default routing convention is to treat the segment of a URL after the action method name as a parameter named ID. If your action method has a parameter named ID, then ASP.NET MVC will automatically pass the URL segment to you as a parameter.
//
// GET: /Store/Details/5
public string Details(int id)
 {
    string message = "Store.Details, ID = " + id;

    return message;
 }
4. Run the application and browse to /Store/Details/5, as shown in Figure 2.14.
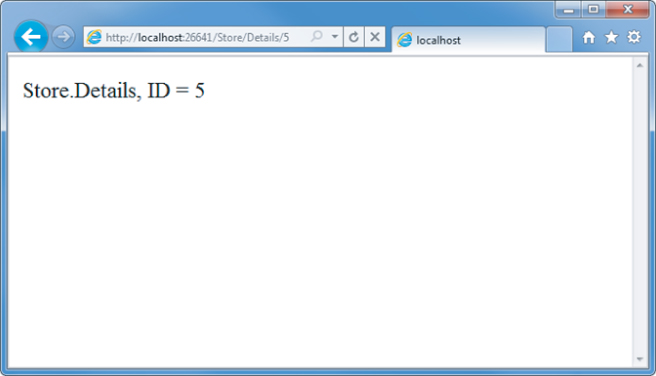
As the preceding examples indicate, you can look at controller actions as if the web browser was directly calling methods on your controller class. The class, method, and parameters are all specified as path segments or query strings in the URL, and the result is a string that's returned to the browser. That's a huge oversimplification, ignoring things like:
- The way routing maps URL to actions
- The fact that you'll almost always use views as templates to generate the strings (usually HTML) to be returned to the browser
- The fact that actions rarely return raw strings; they usually return the appropriate ActionResult, which handles things like HTTP status codes, calling the View templating system, and so on
Controllers offer a lot of opportunities for customization and extensibility, but you'll probably find that you rarely—if ever—need to take advantage of that. In general use, controllers are called via a URL, they execute your custom code, and they return a view. With that in mind, we'll defer our look at the gory details behind how controllers are defined, invoked, and extended. You'll find those, with other advanced topics, in Chapter 14. You've learned enough about the basics of how controllers work to throw views into the mix, and we'll cover those in Chapter 3.