
Using the Authorize Attribute to Require Login
The first, simplest step in securing an application is requiring that a user be logged in to access specific URLs within the application. You can do that using the Authorize action filter on either a controller or on specific actions within a controller. The AuthorizeAttribute is the default Authorization filter included with ASP.NET MVC. Use it to restrict access to an action method. Applying this attribute to a controller is shorthand for applying it to every action method within the controller.
Authentication and Authorization
Sometimes people get confused with respect to the difference between user authentication and user authorization. It's easy to get these words confused—but in summary, authentication is verifying that users are who they say they are, using some form of login mechanism (username/password, OpenID, and so on—something that says “this is who I am”). Authorization is verifying that they can do what they want to do with respect to your site. This is usually achieved using some type of role-based system.
Without any parameters, the Authorize attribute just requires that the user is logged in to the site in any capacity—in other words, it just forbids anonymous access. You look at that first, and then look at restricting access to specific roles.
Securing Controller Actions
Let's assume that you've naively started on your music store application with a very simple shopping scenario: a StoreController with two actions: Index (which displays the list of albums) and Buy:
using System.Collections.Generic;
using System.Linq;
using System.Web.Mvc;
using Wrox.ProMvc3.Security.Authorize.Models;

namespace Wrox.ProMvc3.Security.Authorize.Controllers
{
   public class StoreController : Controller
   {
      public ActionResult Index()
      {
         var albums = GetAlbums();

         return View(albums);
      }

      public ActionResult Buy(int id)
      {
         var album = GetAlbums().Single(a => a.AlbumId == id);

         //Charge the user and ship the album!!!
         return View(album);
      }

      // A simple music catalog
      private static List<Album> GetAlbums()
      {
         var albums = new List<Album>{
            new Album { AlbumId = 1, Title = "The Fall of Math", Price = 8.99M},
            new Album { AlbumId = 2, Title = "The Blue Notebooks", Price = 8.99M},
            new Album { AlbumId = 3, Title = "Lost in Translation", Price = 9.99M },
            new Album { AlbumId = 4, Title = "Permutation", Price = 10.99M },
         };
         return albums;
      }
   }
}
However, you're obviously not done, because the current controller would allow a user to buy an album anonymously. You need to know who the users are when they buy the album. You can resolve this by adding the AuthorizeAttribute to the Buy action, like this:
        [Authorize]
        public ActionResult Buy(int id)
        {
            var album = GetAlbums().Single(a => a.AlbumId == id);

            //Charge the user and ship the album!!!
            return View(album);
        }
To see this code, use NuGet to install the Wrox.ProMvc3.Security.Authorize package into a default ASP.NET MVC 3 project like so:
Install-Package Wrox.ProMvc3.Security.Authorize
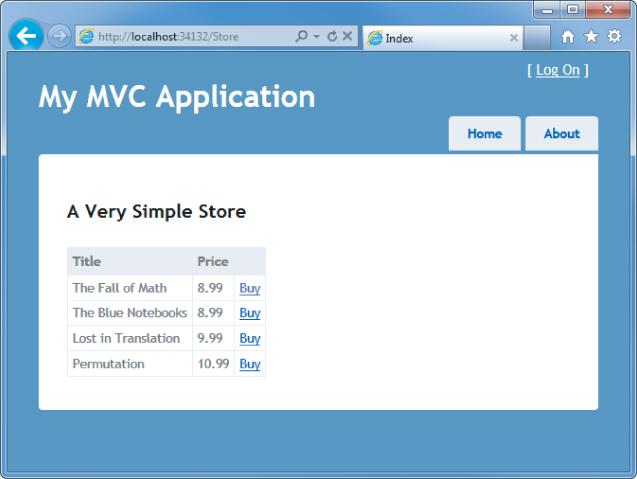
Run the application and browse to /Store. You'll see a list of albums, and you haven't had to log in or register at this point, as shown in Figure 7.1.
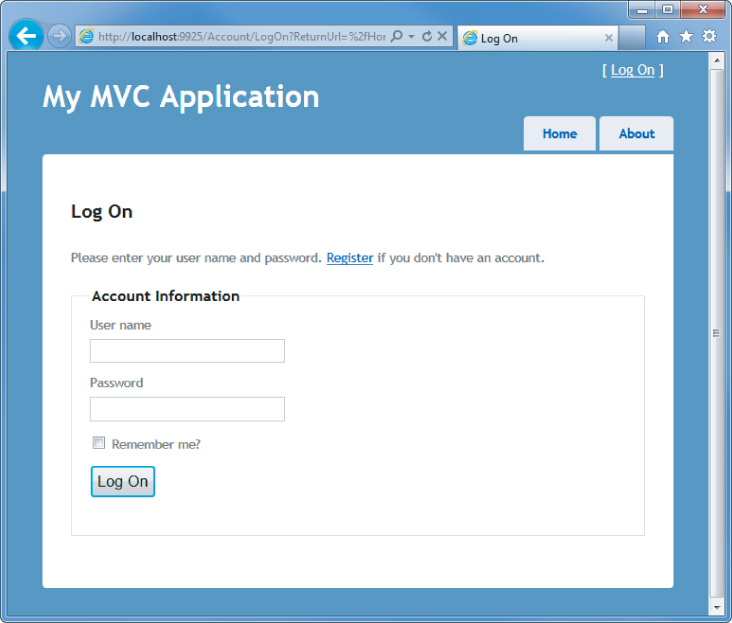
When you click the Buy link, however, you are required to log on (see Figure 7.2).
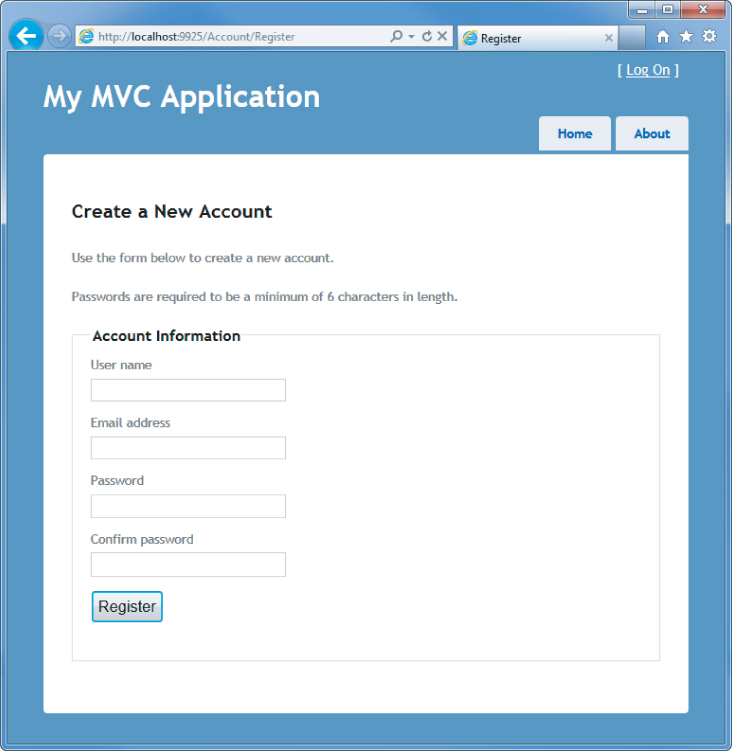
Because you don't have an account yet, you'll need to click the Register link, which displays a standard account signup page (see Figure 7.3).
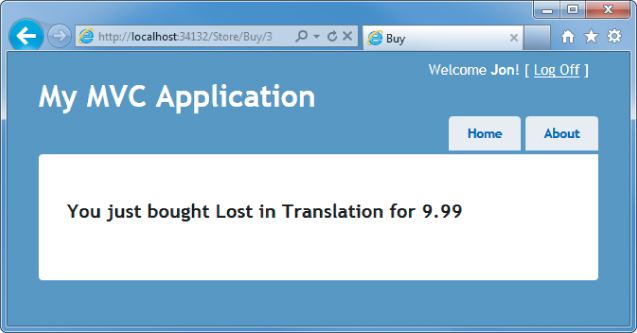
When you click the Buy button after registering, the authorization check passes and you're shown the purchase confirmation page, as shown in Figure 7.4 (of course, a real application would also collect some additional information during the checkout, as demonstrated in the MVC Music Store application).
Product Team Aside
A common means of securing an application with Web Forms is to use URL authorization. For example, if you have an admin section and you want to restrict it to users who are in the Admins role, you might place all your admin pages in an admin folder and deny access to everyone except those in the Admins role to that subfolder. With ASP.NET Web Forms, you can to secure a directory on your site by locking it down in the web.config:
<location path="Admin" allowOverride="false">
 <system.web>
   <authorization>
     <allow roles="Administrator" />
     <deny users="?" />
   </authorization>
 </system.web>
</location>
With MVC that approach won't work so well for two reasons:
- Requests no longer map to physical directories.
- There may be more than one way to route to the same controller.
With MVC, it is possible in theory to have an AdminController encapsulate your application's administrative functionality and then set URL authorization within your root web.config file to block access to any request that begins with /Admin. However, this isn't necessarily secure. It may be possible that you have another route that maps to the AdminController by accident.
For example, say that later on you decide that you want to switch the order of {controller} and {action} within your default routes. So now, /Index/Admin is the URL for the default admin page, but that is no longer blocked by your URL authorization.
A good approach to security is to always put the security check as close as possible to the thing you are securing. You might have other checks higher up the stack, but ultimately, you want to secure the actual resource. This way, no matter how the user got to the resource, there will always be a security check. In this case, you don't want to rely on routing and URL authorization to secure a controller; you really want to secure the controller itself. The AuthorizeAttribute serves this purpose.
- If you don't specify any roles or users, the current user must simply be authenticated in order to call the action method. This is an easy way to block unauthenticated users from a particular controller action.
- If a user attempts to access an action method with this attribute applied and fails the authorization check, the filter causes the server to return a “401 Unauthorized” HTTP status code.
- In the case that forms authentication is enabled and a login URL is specified in the web.config, ASP.NET will handle this response code and redirect the user to the login page. This is an existing behavior of ASP.NET and is not new to ASP.NET MVC.
How the AuthorizeAttribute Works with Forms Authentication and the AccountController
So what's going on behind the scenes here? Clearly, we didn't write and code (controllers or views) to handle the Log On and Register URLs, so where did it come from? The ASP.NET MVC 3 Internet Application template includes a basic AccountController that implements the following actions:
- LogOn
- Register
- ChangePassword/ChangePasswordSuccess
The AuthorizeAttribute is an action, which means that it can execute before the associated controller action. The AuthorizeAttribute performs its main work in the OnAuthorization method, which is a standard method defined in the IAuthorizationFilter interface. Checking the MVC source code, you can see that the underlying security check is looking at the underlying authentication information held by the ASP.NET context:
    IPrincipal user = httpContext.User;
    if (!user.Identity.IsAuthenticated)
    {
        return false;
    }
If the user fails authentication, an HttpUnauthorizedResult action result is returned, which produces an HTTP 401 (Unauthorized) status code. This 401 status code is intercepted by the FormsAuthenticationModule OnLeave method, which instead redirects to the application login page defined in the application's web.config, as shown here:
<authentication mode="Forms">
  <forms loginUrl="∼/Account/LogOn" timeout="2880" />
</authentication>
This redirection address includes a return URL, so after completing login successfully, the Account / LogOn action redirects to the originally requested page.
Open Redirection as a Security Vector
The login redirection process is a target for open redirection attacks because the post-login URL can be manipulated by the outside of our control. This threat is discussed later in this chapter.
It's nice that the AccountController—and its associated views—are all provided in the ASP.NET MVC Internet Application template. In simple cases, adding authorization doesn't require any additional code or configuration.
Equally nice, though, is that you can change any of those parts:
- The AccountController (as well as the associated Account models and views) is a standard ASP.NET MVC controller, which is pretty easy to modify.
- The authorization calls work against the standard ASP.NET Membership provider mechanism, as defined in your web.config <authorization> setting. You can switch providers, or write your own.
- The AuthorizeAttribute is a standard authorization attribute, implementing IAuthorizeFilter. You can create your own authorization filters.
Windows Authentication in the Intranet Application Template
The ASP.NET MVC 3 Tools Update includes a new project template for Intranet applications. This template replaces the Forms Authentication with Windows Authentication.
Because Registration and Log On with Windows Authentication are handled outside of the web application, this template doesn't require the AccountController or the associated models and views. To configure Windows Authentication, this template includes the following line in web.config:
<authentication mode="Windows" />
This template also includes a readme.txt file with the following instructions on how to configure Windows Authentication in both IIS and IIS Express.
IIS 7
To configure Windows Authentication for IIS 7, follow these steps:
1. Open IIS Manager and navigate to your website.
2. In Features View, double-click Authentication.
3. On the Authentication page, select Windows Authentication. If Windows Authentication is not an option, you'll need to make sure Windows Authentication is installed on the server. To enable Windows Authentication:
a. In Control Panel, open Programs and Features.
b. Select Turn Windows Features On or Off.
c. Navigate to Internet Information Services ⇒ World Wide Web Services ⇒ Security and make sure the Windows Authentication node is checked.
4. In the Actions pane, click Enable to use Windows Authentication.
5. On the Authentication page, select Anonymous Authentication.
6. In the Actions pane, click Disable to disable anonymous authentication.
IIS Express
To configure Windows Authentication for IIS Express, follow these steps:
1. Right-click the project in Visual Studio and select Use IIS Express.
2. Click your project in the Solution Explorer to select the project.
3. If the Properties pane is not open, make sure to open it (F4).
4. In the Properties pane for your project:
a. Set Anonymous Authentication to Disabled.
b. Set Windows Authentication to Enabled.
Securing Entire Controllers
The preceding scenario demonstrated a single controller with the AuthorizeAttribute applied to specific controller actions. After some time, you realize that the browsing, shopping cart, and checkout portions of your website each deserve separate controllers. Several actions are associated with both the anonymous Shopping Cart (view cart, add item to cart, remove from cart) and the authenticated Checkout (add address and payment information, complete checkout). Requiring Authorization on Checkout lets you transparently handle the transition from Shopping Cart (anonymous) to Checkout (registration required) in the Music Store scenario. You accomplish this by putting the AuthorizeAttribute on the CheckoutController, like this:
[Authorize]
public class CheckoutController : Controller
This says that all actions in the CheckoutController will allow any registered user, but will not allow anonymous access.