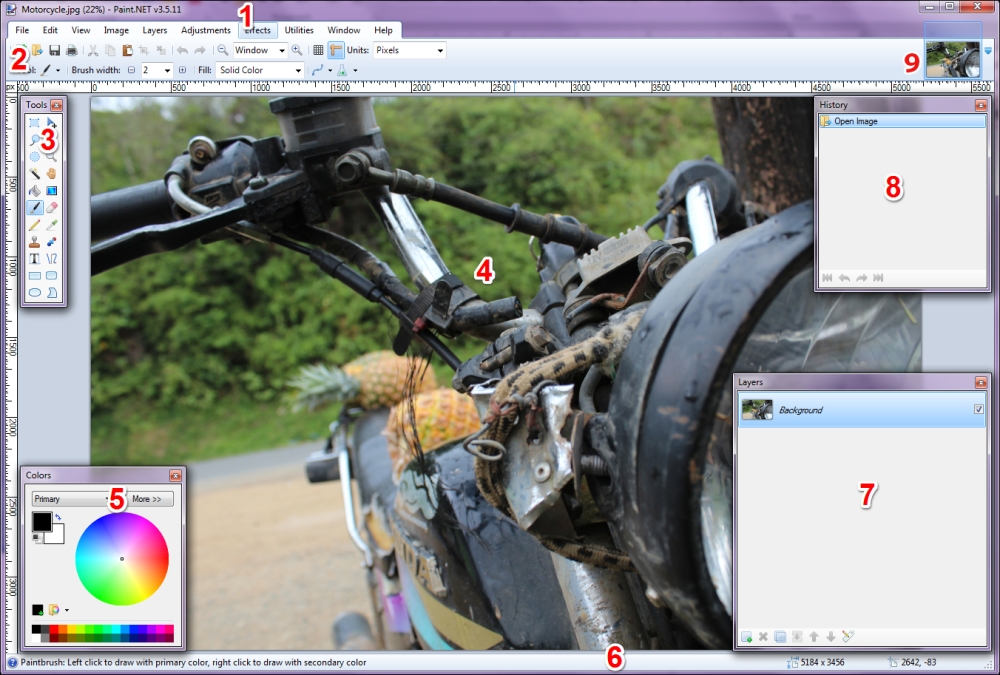
Let's take a look at the Paint.NET work area:
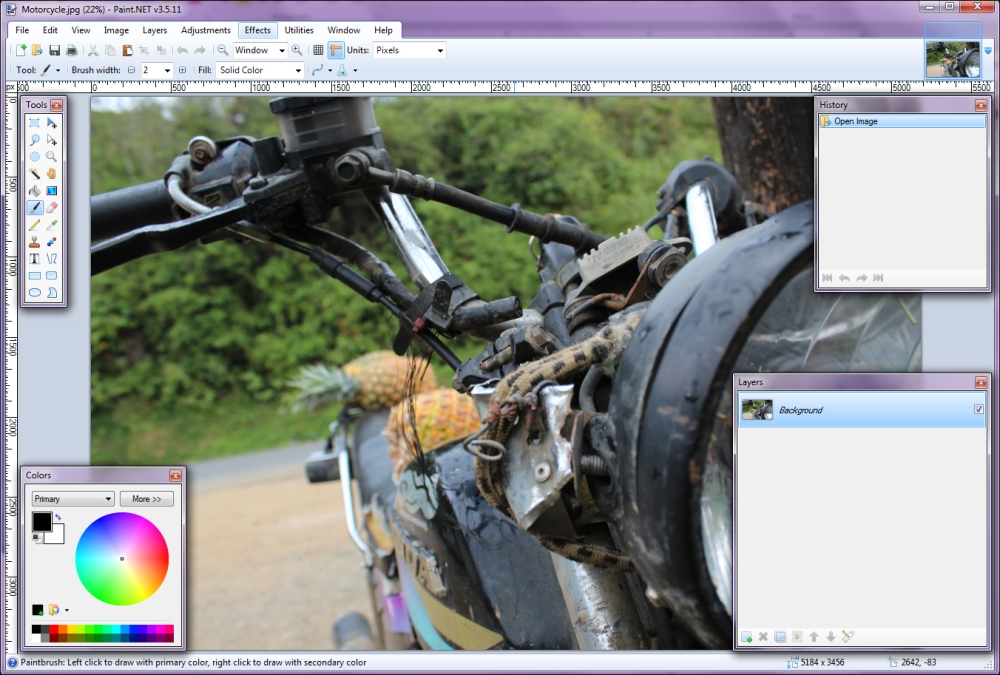
Paint.NET is comprised of a series of windows, each with their own function to help you with your workflow.
The following is a list of the various windows available on Paint.NET; the numbers correspond to the labels given in the previous screenshot:
- The title bar
- The menu bar
- The toolbar
- The image canvas
- The Colors window
- The status bar
- The Layers window
- The History window
- The image list
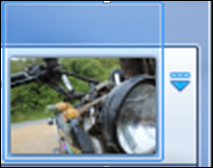
At the very top, we have the title bar. When you first open the program and before you import an image, the title bar will look like the following:
Once you open an image in Paint.NET, the title bar will look like the following:
The title bar will show you the name of the image that you're working on; in this case, that would be Motorcycle.jpg, the image we have imported here. The number in the brackets shows you the size of the image. Right now, this image is 22 percent of the actual size. This is followed by the version of Paint.NET you are working in. At the time of writing this, the newest version is 3.5.11.
Just below the title bar, we have the menu bar:

The menu bar gives you access to commands and menu items that you can use within the program. It's broken up into the menu and icons that represent common tools. We will go over the inner workings of the menu bar a little later.
The toolbar is the floating window that will first appear under the menu bar:
.jpg)
This is where you can select various tools that you will use to edit images. These tools are very similar to the ones that you will find in other image editing programs, such as Photoshop. Each tool has a different function and we will get into all of them a little later.
In the very center of the work area, we have the image canvas. This is the work area where you will view the image you are working on:
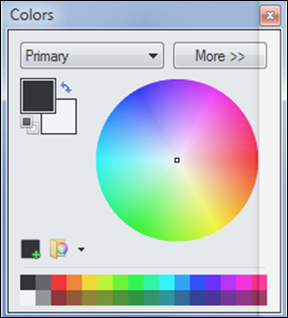
Below the Tools window is the Colors window. The Colors window allows you to select colors primarily when working with drawing and painting:
The status bar gives you quick information about the project you are working on. On the left-hand side, it will tell you which tool you are working with (in this case, we are using the Move Selected Pixels tool). To the right, we have the image size (800 x 600) followed by the coordinates of the pixel your pointer is on. This window will also show you the rendering status:
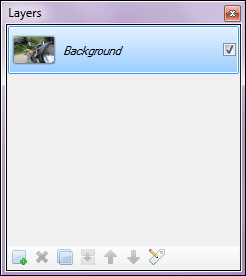
Next we have the Layers window. This window will allow you to work with various layers within any file you are working on. We will go into how layers work later on. The first layer you work with will start at the background image by default:
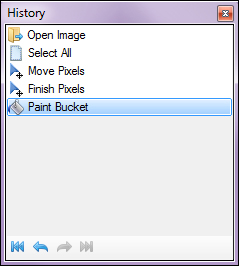
The History window allows you to look at various adjustments that you have made while working on your project. This is handy because it gives you the option to make changes to effects and adjustments you made several steps ago. As you work in Paint.NET, every action is recorded here, giving you the ability to go back in time and fix your mistakes: