Fill tools allow you to fill a particular area of the image with a specific color and pattern.
works similarly to other Paint Bucket tools in other graphics programs.
It works by selecting areas of similar color and filling them in with the color or pattern of your choice. The Paint Bucket tool has the Contiguous and Global flood modes, which work the same way as explained in the section Magic Wand.
Like the Magic Wand, it also has the Tolerance setting, allowing you to choose how sensitive the selected area will be.
Additionally, the Paint Bucket tool has three other settings not mentioned yet: Fill, Antialiasing, and Blending:
By default, you can fill an area with a color chosen in the Colors window. However, you can also choose various patterns to fill an area using the Fill drop-down menu. Using the toggle switch on the color wheel you can choose primary and secondary colors for these patterns. Using various colors and patterns you can create some very interesting effects.
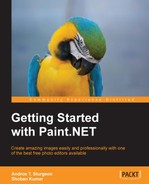
Antialiasing refers to how smooth your edges will be. With Antialiasing enabled, your Paint Bucket and Shapes selections will have much smoother edges by blending the edges with the neighboring pixels; however, the process will take longer to render due to the greater processing power it requires to do it:
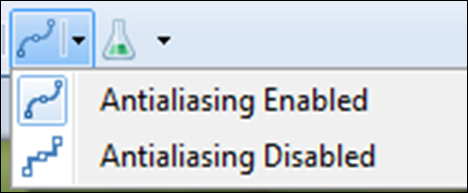
Next to Antialiasing, we have Blending. Normal Blending will blend each pixel into the new color if the chosen color has some transparency, but if the selected color is a solid color, the effect will be the same as that of Overwrite. This type of blending will replace the pixels with the new color you have chosen:
Gradients ![]() are gradual blends from one color to another. You can choose five different styles with the Gradient selection buttons.
are gradual blends from one color to another. You can choose five different styles with the Gradient selection buttons.
The Gradient tool has other controls: Color mode and Transparency. Color mode will put a gradient over your entire image and is best used as a background layer. The Transparency mode will allow you to fade in your photo into other layers.
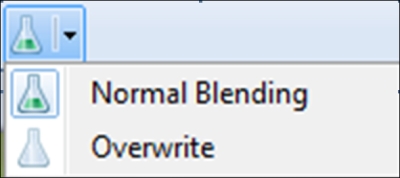
Start a gradient by left-clicking and dragging on a selected area. The gradient can be adjusted using handles that will appear in the form of small, moveable dots. The following screenshot shows a gradient with movable dots for adjustment:
The Gradient tool also has a Blending mode that works the same way as mentioned previously: