
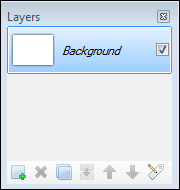
By default, Paint.NET will assume that the first layer you have opened is your background layer. The background layer will always be the one at the very bottom. This layer will also be a solid layer and by default, will not be transparent.
We are going to start a new project by using a simple background. Then, we are going to use the Paint Bucket tool to turn the entire canvas blue. This will serve as the background for our image:
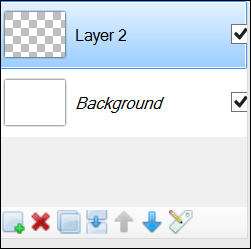
Next, we will hit the icon that adds a layer. This is the small square icon with a plus symbol at the extreme left-bottom of the screen. This will add another layer to the image we are working on, and our Layers window will look like the following:
Notice that it looks like nothing has happened? That's because the new layer is transparent. It will remain transparent until you start adding something to it. If you look at the Layer window, there are check marks next to each layer. This determines if the layer is visible or not. For now, we will uncheck the blue background layer, and when we do that, we will only see the new transparent layer.
The first thing we are going to do is use the Line tool to start creating a sunburst pattern. We don't want our line to be too big, so we will go for a line width of 10 pixels. We do this by drawing lines as if we were slicing a pie. We will also turn on the Ruler tool in the menu bar so we can get a better idea where each line should go:
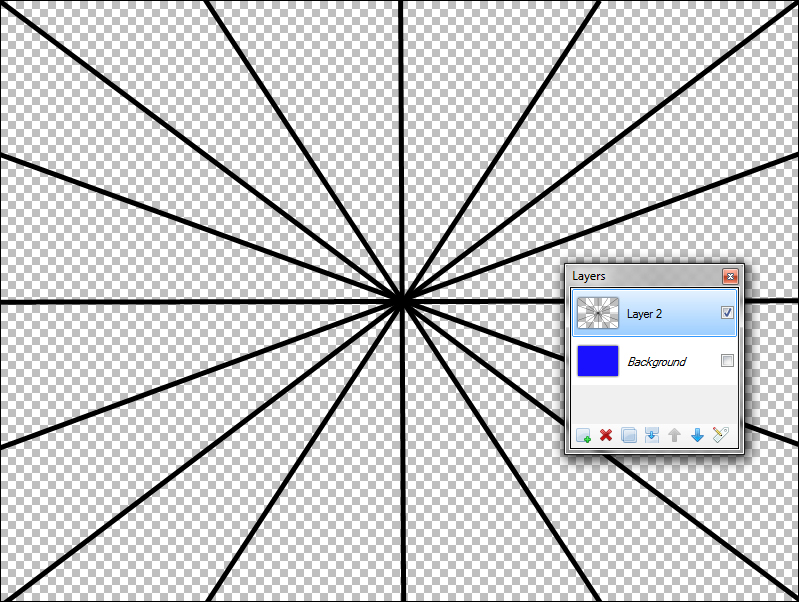
Because we are working on a specific layer (in this case Layer 2) anything that we do to this layer will not affect the blue layer underneath, which is currently invisible. This is great in case we mess up, because the layer underneath will not be touched and we won't have to start over.
Once this is done, we will use the Paint Bucket tool to fill every other section with color. This will give us a fairly good sunburst pattern. Reselect the blue layer and voilà!
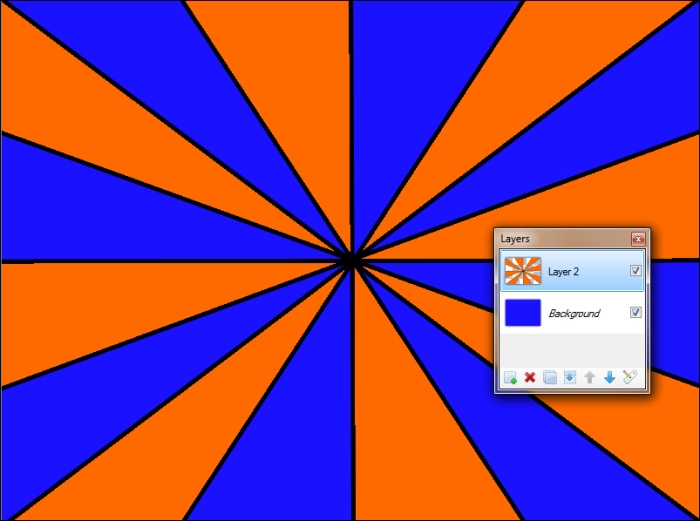
The only problem is that it looks a little too crisp and bright. In order for it to not overshadow the rest of the image, we will want to tone it down a bit. So we are going to add something else. A good way to do this is to add a bit of grunge, also known as a texture:
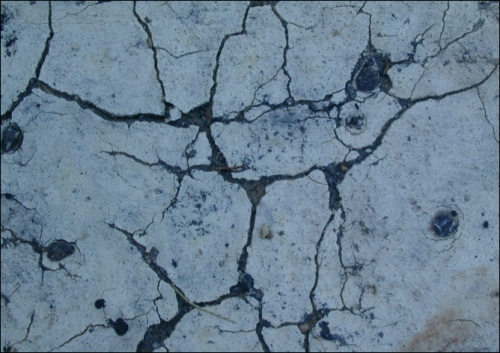
Textures are layers that add subtle elements to your images. Anything can be used as a texture. Concrete, brick walls, dirt, stones, and a rusty sheet of metal all work well. A texture can be anything that has some sort of consistency without pulling your focus to any one part of the image, and it's easy to create your own textures.
You can find all sorts of textures online. We are going to use this cracked paint texture and add it to the top layer:
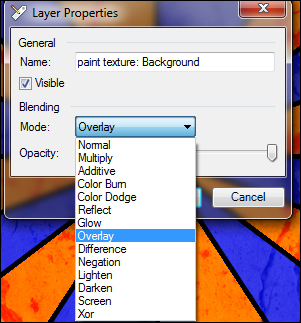
Double-clicking on any layer will show us the Layer Properties dialog.
The Layer Properties dialog allows us to change the name of the layer. While working with many layers, it's easy to get confused with different layers and their content; so it's better to rename every layer with a meaningful name that will help you quickly identify the content of the layer.
We can also change the Blending mode. Blending modes allow us to choose how the layer blends into the next layer. By default, this is Normal, meaning that the layer will just lie on top without any changes. But if we use the drop-down menu and change the Blending mode to Overlay, the Grunge layer will seem to blend into the bottom layers.
Each of these Blending modes will do this in different ways, and it would take more room than we have here to explain them all. To learn more about each blending mode, visit the Blend Modes page in Paint.NET's help guide at http://www.getpaint.net/doc/latest/BlendModes.html.
You will find that you can use different blending modes with different layers, giving you extra creative options.