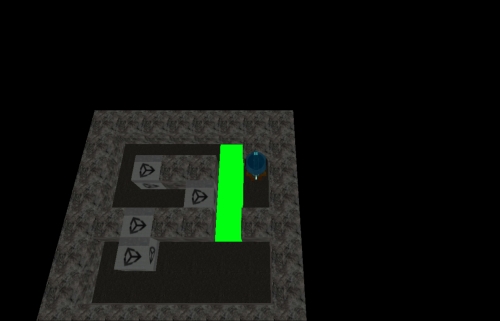
Our game is now playable, and you can progress from the title screen to the game. If you're patient enough, you have even worked out how to finish the level, but don't worry if not, we'll explain the solution shortly. In this chapter, we'll be adding some polish to our game, texturing the cubes, so they fit in more with the design of the main character you added in Chapter 4, Adding a Character and Making Them Move. We'll also be adding a new level or two, and also indicate when the player has finished the level by playing a fanfare sound.
While the mechanics of the game have been developed, we're still using our initial place holder prefabs. We can add a texture to the prefabs really easily and it should hopefully improve the look of the game immensely.
Import the package texturesAndMaterials.unitypackage from the files for this chapter, you should have the following new files:
Materials/crate.matMaterials/moonsurface.matMaterials/rock_seamless_256.matScripts/AstroDude.shaderSkyboxes/MoonReflection.cubemapTextures/astrod00d_selfillum.tifTextures/flag.pngTextures/moonsurface.tifTextures/moonsurface_normals.tifTextures/stars.tif
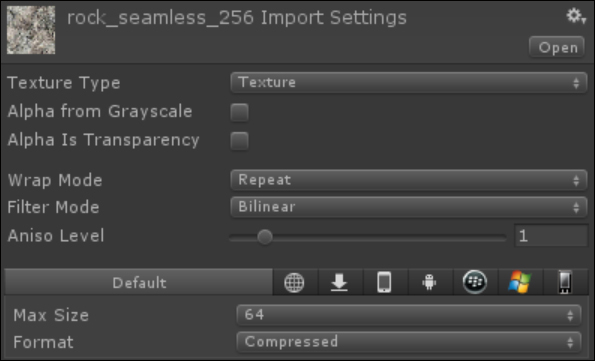
First things first, we need to update some of the materials and textures to be better suited to our prefabs. Click on Textures/ rock_seamless_256, and in the Inspector panel, change the Max Size to 64 as shown in the following screenshot. Do the same with rocks_normals, moonsurface, and moonsurface_normals:
It's because our materials and textures came from the same Astro Dude project that Unity supply that we need to adjust some settings. The next one to change is Materials/rock_seamless_256 as the old project had the texture being tiled multiple times, we only need it to be tiled the one time. Click on the material in the Project panel, and then in the Inspector panel, set the tiling for X and Y to 1.
Let's assign our new materials to our prefabs, by performing the following steps. Unity can be quite clever and may have already modified or assigned some of the materials based on their names and the prefabs names.
- Click and drag the
Cratematerial to theCrateprefab. - Click and drag the
moonsurfacematerial to theFloorprefab. - Click and drag the
rock_seamless_256material to theWallprefab. - Click on Prefabs | Player | Graphics | Materials | astrod00d_diffuse, and make sure the Shader option in the Inspector panel is set to AstroDude.
The scene is ready to test, but if you did it would be quite dark as we have changed all the materials from self-illuminating to Diffuse. To counter this, change the Ambient Light panel to 100, 100, 100, and 255. To bring up the Ambient Light panel click on Edit | Render Settings, and then click on Ambient Light in the Inspector panel.
Go ahead and click on the play icon at the top-middle of the Unity screen. Marvel at the wonder you have created for a short while, it's getting quite cool, isn't it?