
We are now going to make sure that the microphone is working correctly and especially check whether it can record voice levels, for example. I had a problem when I was testing the prototype of this project with a microphone that wasn't amplified; I just couldn't hear anything on the recording.
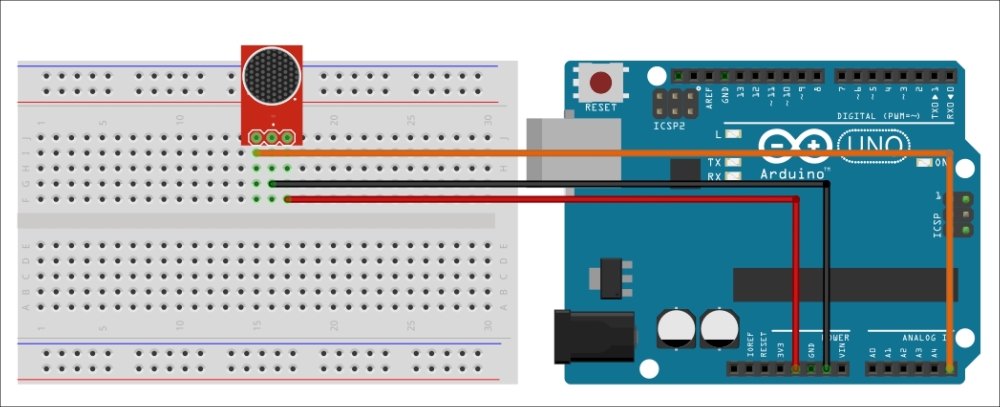
The first step is to plug the microphone into the Arduino board. There are 3 pins to connect the microphone: VCC, GND, and AUD. Connect VCC to the Arduino 5V pin, GND to the Arduino GND pin, and AUD to the Arduino analog pin A5.
The following is a schematic to help you out:
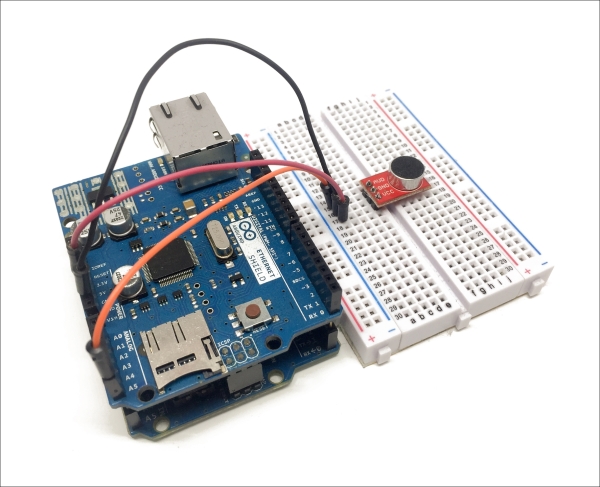
Here is an image of the final result:
We are now going to use a very simple sketch to read out the signal from the microphone and print it on the serial monitor:
// Microphone test

void setup() {

  // Start Serial
  Serial.begin(115200);
}

void loop() {

  // Read the input on analog pin 5:
  int sensorValue = analogRead(A5);

  // Print out the value you read:
  Serial.println(sensorValue);
  delay(1);        // delay in between reads for stability
}
This sketch, basically, continuously reads the data from the A5 pin, where the microphone is connected, and prints it on the serial monitor.
Now, copy and paste this sketch in the Arduino IDE and upload it to the board. Also, open the serial monitor.
The following is the result on the serial monitor:
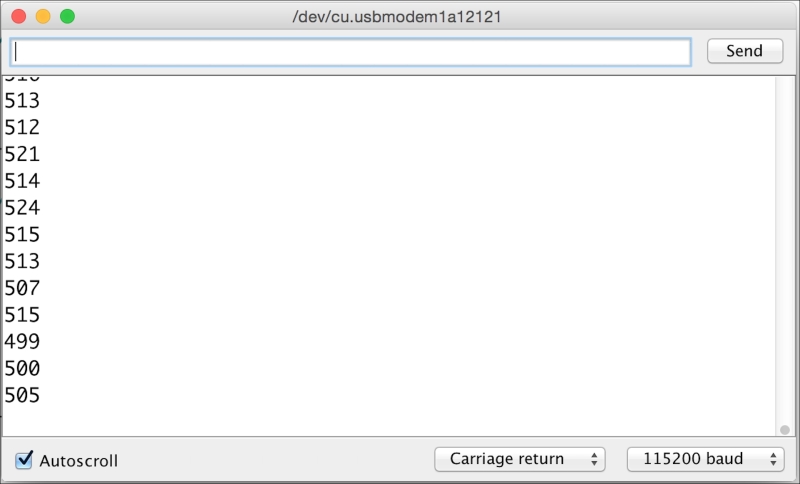
While looking at the serial monitor, speak around the microphone. You should immediately see some variations in the signal that is read by the board. This means that your voice is being recorded by the microphone and the amplification is sufficient for the microphone to record a normal voice level.