Now that your biped is up and mobile, is able to find barriers, and knows how to plan its path, you can now start to have it move around autonomously. However, you may want your robot to follow a color or motion.
In this chapter, you will be learning:
- How to add a webcam to your biped robot
- How to add RaspiCam to your biped robot
- How to install and use OpenCV, an open source vision package
- How to follow motion with your biped robot
Having vision capability is a real advantage for your biped robot; you'll use this functionality in lots of different applications. Fortunately, adding hardware and software for vision is both easy and inexpensive. There are two choices as far as vision hardware is concerned. You can add a USB webcam to your system, or you can add RaspiCam, a camera designed specifically for Raspberry Pi.
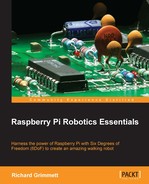
Connecting a USB camera is very easy. Just plug it into the USB slot. To make sure that your device is connected, type lsusb. You should see the following:
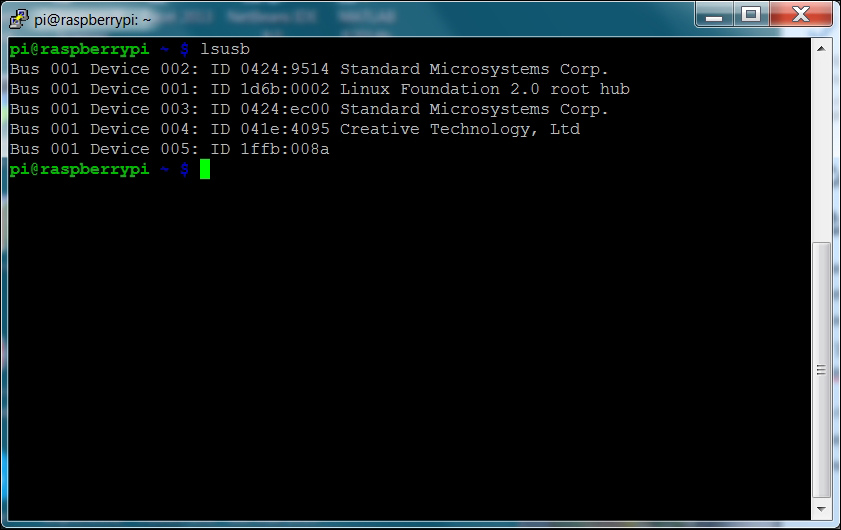
This shows a Creative Webcam located at Bus 001 Device 004: ID 041e:4095. To make sure that the system sees this as a video device, type ls /dev/v* command and you should see something like the following:
The /dev/video0 is the webcam device. Now that your device is connected, let's actually see if you can capture images and video. There are several tools that can allow you to access the webcam, but a simple program with video controls is called luvcview. To install this, type sudo apt-get install luvcview. Once the application is installed, you'll want to run it. To do this, you'll either need to be connected directly to a display or able to access Raspberry Pi via a remote VNC connection, such as vncserver, as displaying images will require a graphical interface.
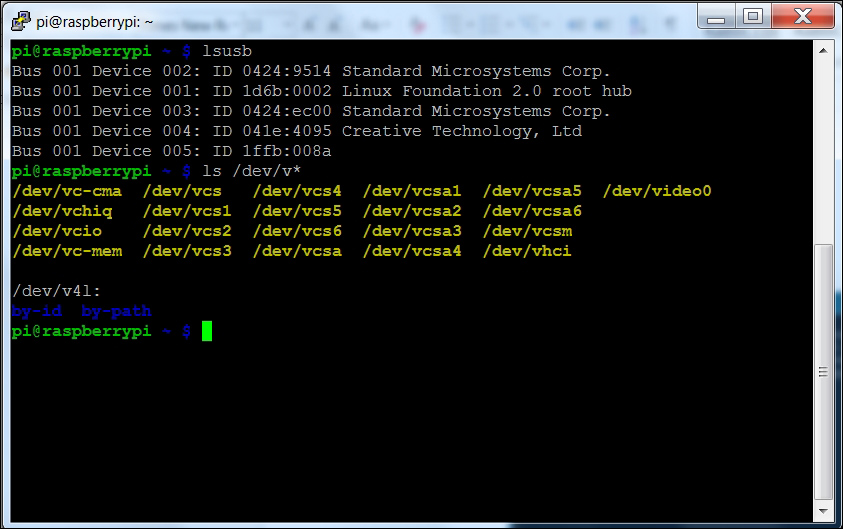
Once you are connected in this manner, open a terminal window on Raspberry Pi and run luvcview. You should see something like the following:
Don't worry about the quality of the image, you'll be capturing and processing your images inside of OpenCV, a vision framework.
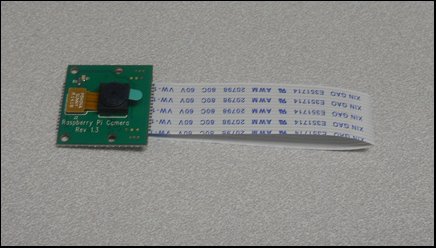
The other choice for seeing the outside world on Raspberry Pi is to use the RaspiCam. Installing this camera is a bit more involved; you are going to connect it to a special connector on the Raspberry Pi. The following is a picture of the camera with its special connector:
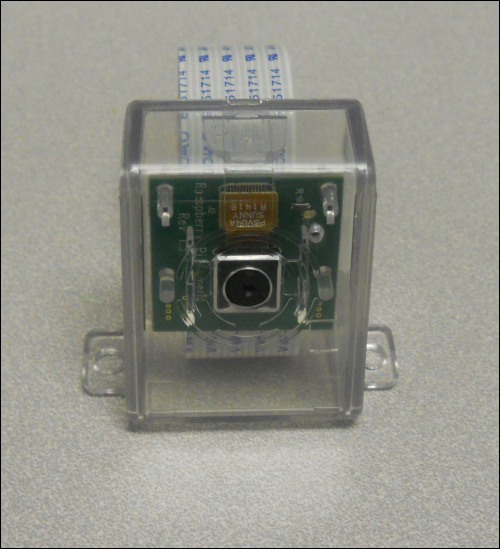
You may also want to add the protective cover for the camera; assembling it looks like the following:
Now you are ready to connect the camera to Raspberry Pi. The camera connects to the Raspberry Pi by installing it into the connector marked Camera on the Raspberry Pi. To see how this is done, see the video at http://www.raspberrypi.org/help/camera-module-setup/.
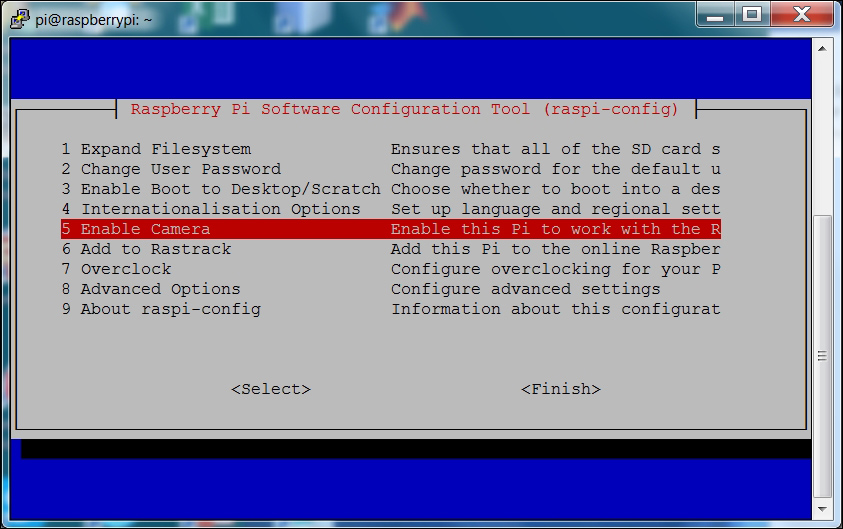
Now that the camera is connected, you'll want to enable the camera using the raspi-config utility. Type sudo raspi-config, then select the Enable Camera, as shown in the following screenshot:
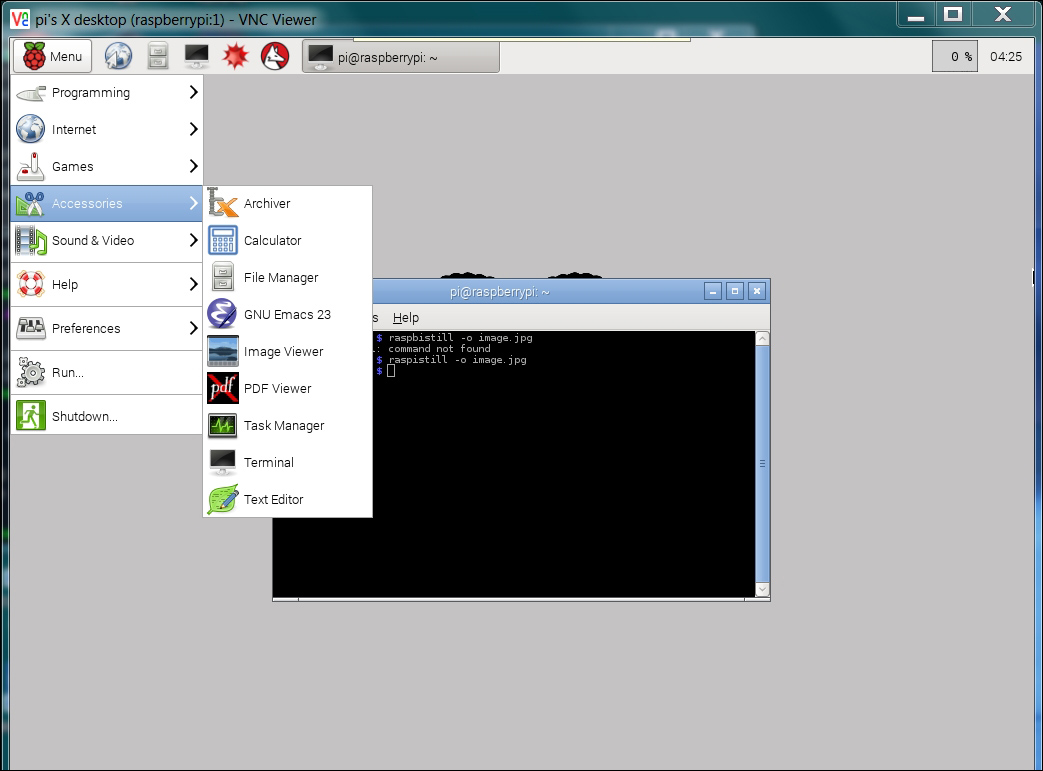
Now reboot Raspberry Pi. If you are developing from a remote computer and want to see your images, you will want to open a vncserver connection between your computer and the Raspberry Pi. For details, see Chapter 1, Configuring and Programming Raspberry Pi. To take a picture with the camera, simply type raspistill -o image.jpg. This will take a picture with the camera, and then store the image in the image.jpg file. Once you have the picture, you can view it by opening the Raspberry Pi image viewer by selecting the lower left icon for Menu, then Accessories, and then Image Viewer, as shown in the following screenshot:
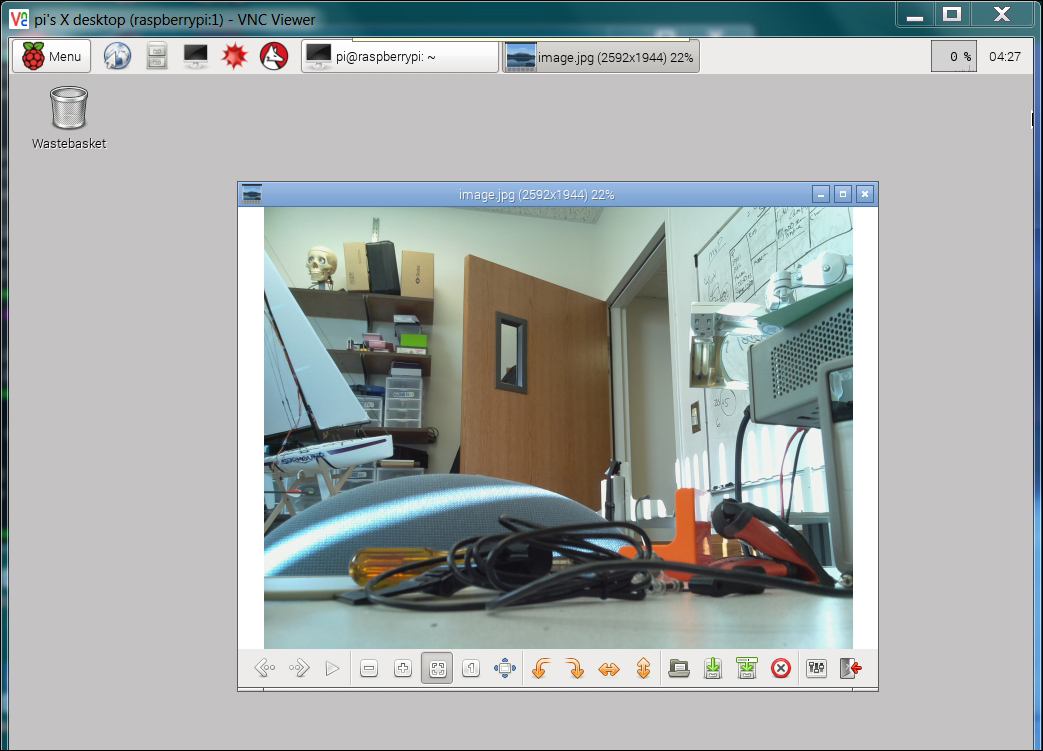
Open the image.jpg file, and you should see the results of your picture:
Before you can access OpenCV with the Raspberry Pi camera, you'll need to do two things. First, you'll need to add a Python library; it is called picamera. To get this, and the required libraries, type sudo apt-get install python-picamera python3-picamera python-rpi.gpio. Second, you'll need to type sudo modprobe bcm2835-v4l2. The Raspberry Pi camera can now be used in the OpenCV examples in the next section.