In order to access the compass capability, you'll need to enable the I2C library on Raspberry. If you used the IR sensor and ADC additional hardware in Chapter 4, Avoiding Obstacles Using Sensors, you will have already done this. If not, follow these instructions to enable the I2C interface:
- Run
raspi-config. Select the Configure advanced settings, as shown in the following screenshot: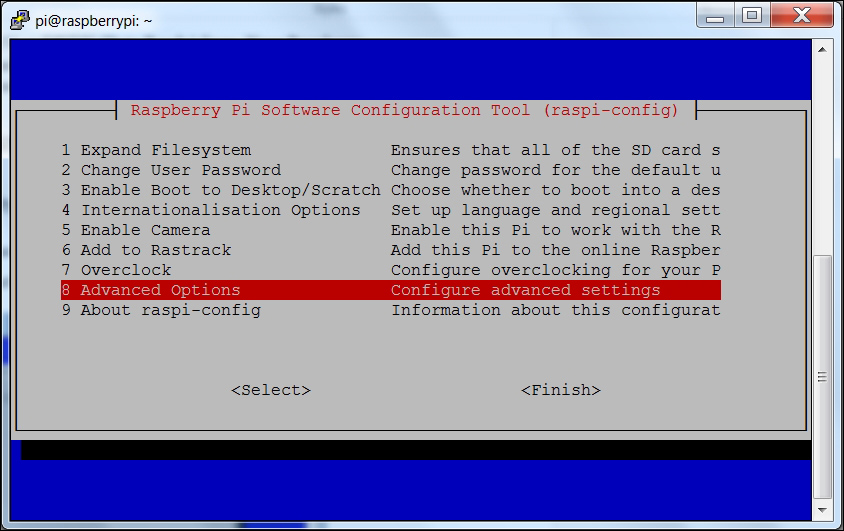
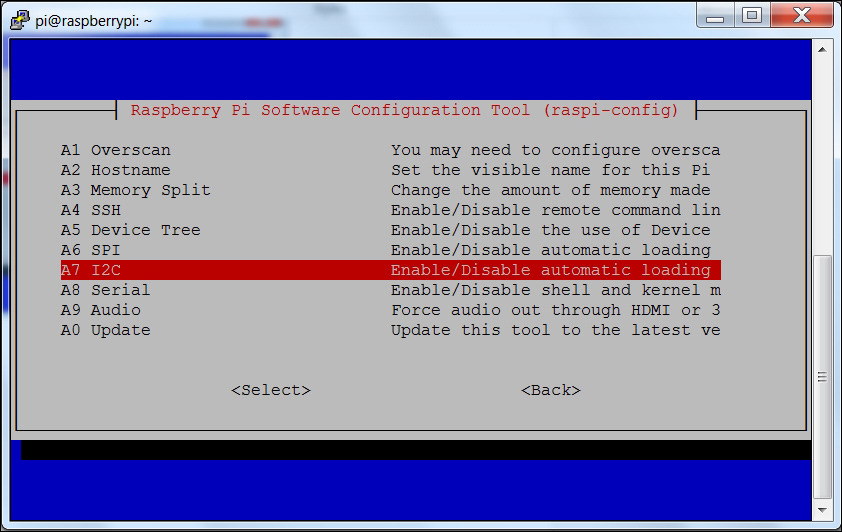
From the next selection page, select the Enable/disable automatic loading of the I2C interface, as shown in the following screenshot:
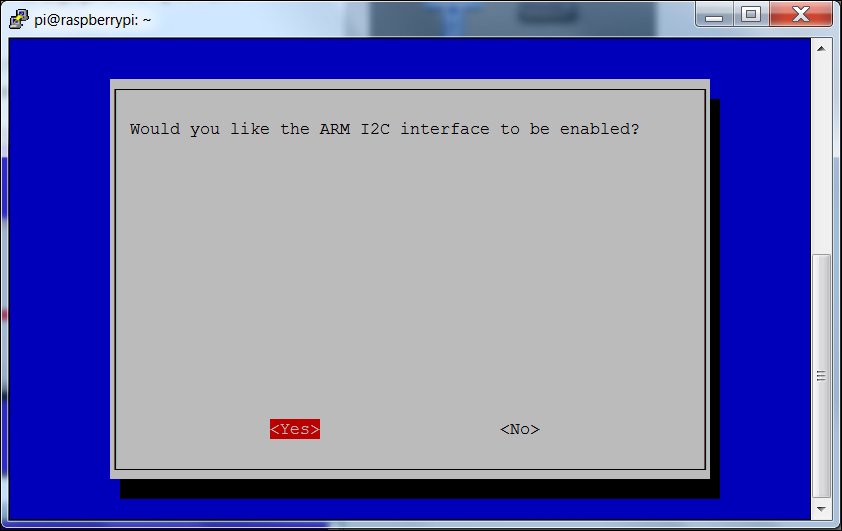
Then select yes, as shown in the following screenshot:
You'll also want to edit the file
/etc/modulesand add the linesi2c-bcm2708andi2c-dev, as shown in the following screenshot: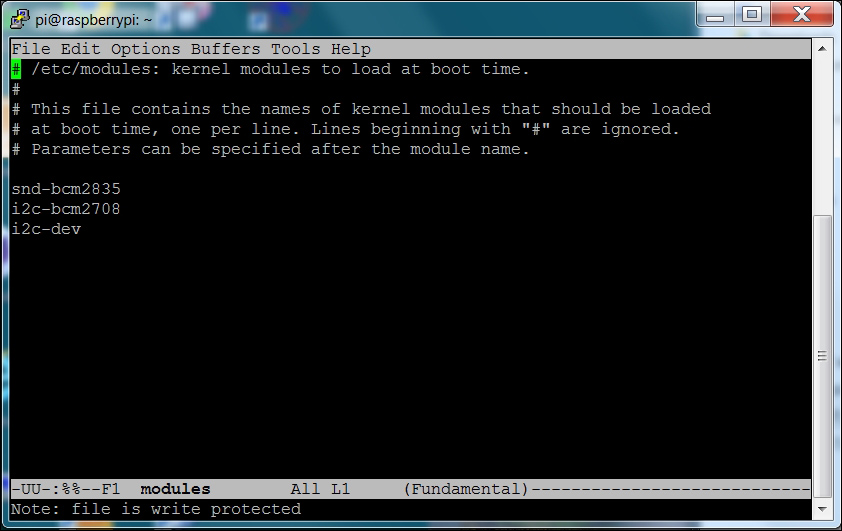
And one final edit, change the last line in
/boot/config.txt, as shown in the following screenshot: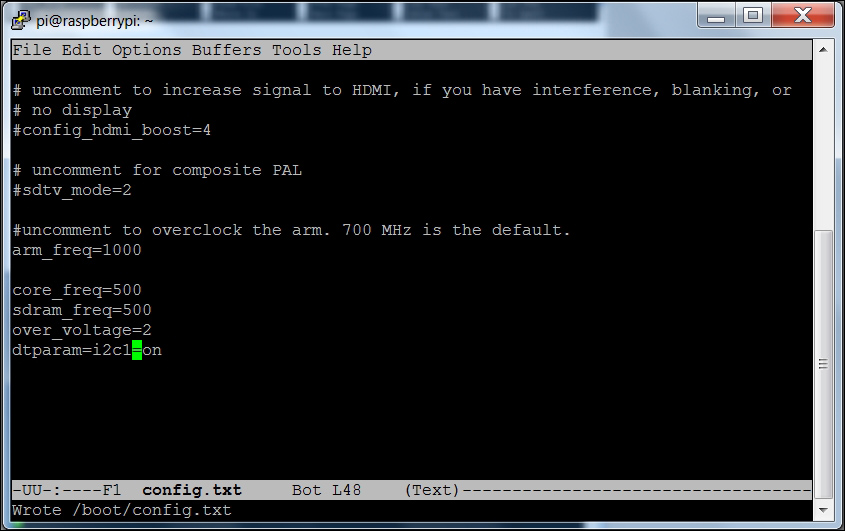
Now, reboot Raspberry Pi.
- With the device connected, you can see if the system knows about your device. To do this, type the following command:
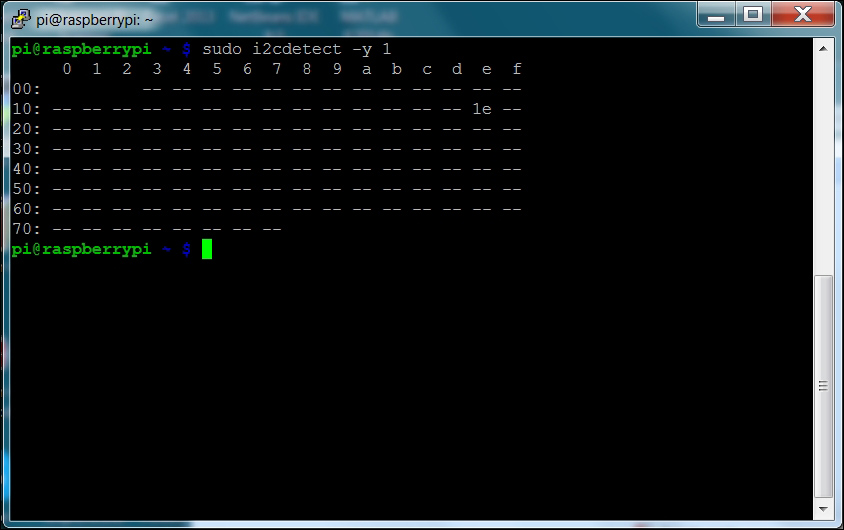
You can see the device at 1e.
- Now you communicate with your digital compass. To do this, you'll need to create a Python program. But before you create your Python code, you'll want to download a library that will make this all much easier. To do this, first create a directory a directory called
compassandcdto that directory. Then, typegit clone https://github.com/quick2wire/quick2wire-python-api.gitto download thequick2wire-python-apilibrary. Finally, typegit clone https://bitbucket.org/thinkbowl/i2clibraries.gitto get the i2clibraries.You'll also need to set some environment variables. Do this by going to your home directory and editing the
.bashrcfile, adding these two lines at the end:
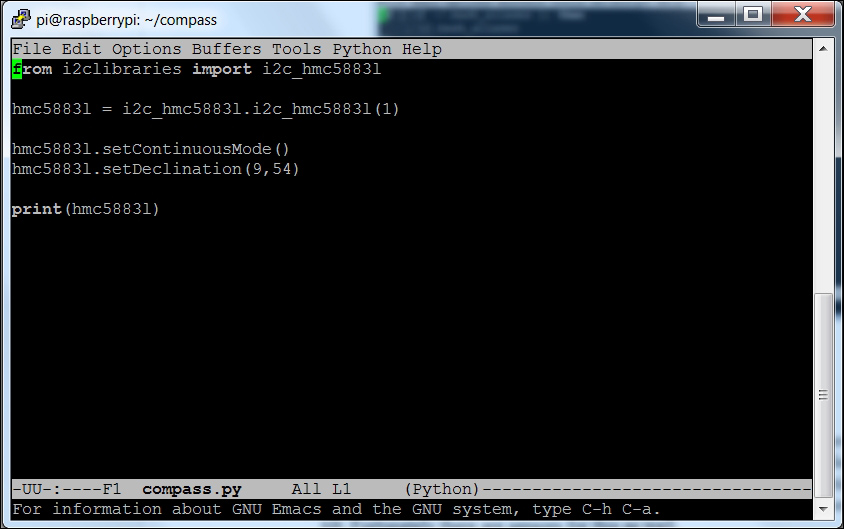
- Now, you can create the following Python code:
- Now, run the code by typing
python3 compass.pycommand and you should see:
Now, you can add direction to your project! As you move the device around, you should see the Heading value change.
Note
This is a basic program; you can find out more about other features that are available with this library at http://think-bowl.com/raspberry-pi/i2c-python-library-3-axis-digital-compass-hmc5883l-with-the-raspberry-pi/.
One final step in developing your compass code is to make it a file where the functions can then be imported to a different Python program. To do this, edit the file so that all of the code is in functions, as shown by the following:
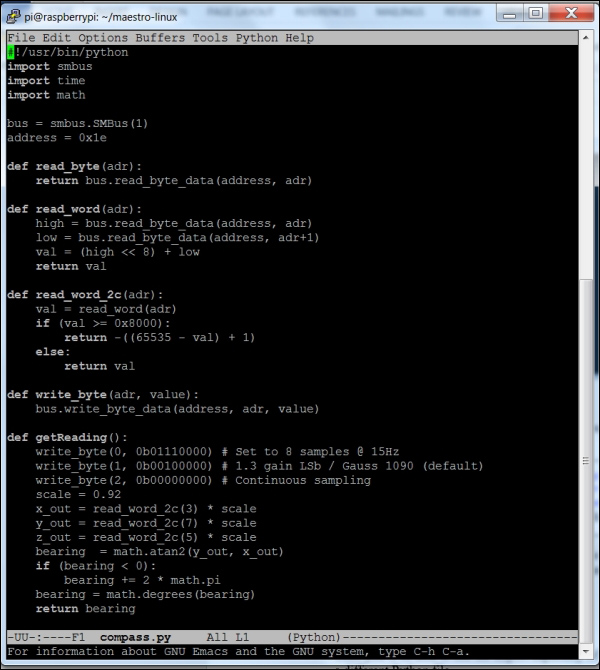
Then you'll be able to use the import capability of Python to import this functionality into a different Python file.