
You can add an LCD screen to your newly built water meter to display readings, rather than displaying them on the Arduino serial monitor. You can then disconnect your water meter from the computer after uploading the sketch on to your Arduino.
Using a Hitachi HD44780 driver compatible LCD screen and Arduino Liquid Crystal library, you can easily integrate it with your water meter. Typically, this type of LCD screen has 16 interface connectors. The display has two rows and 16 columns, so each row can display up to 16 characters.
The following image represents the top view of a Hitachi HD44760 driver compatible LCD screen. Note that the 16-pin header is soldered to the PCB to easily connect it with a breadboard.
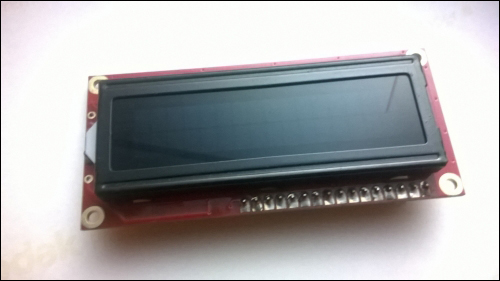
Hitachi HD44780 driver compatible LCD screen (16 x 2)—Top View
The following image represents the bottom view of the LCD screen. Again, you can see the soldered 16-pin header.
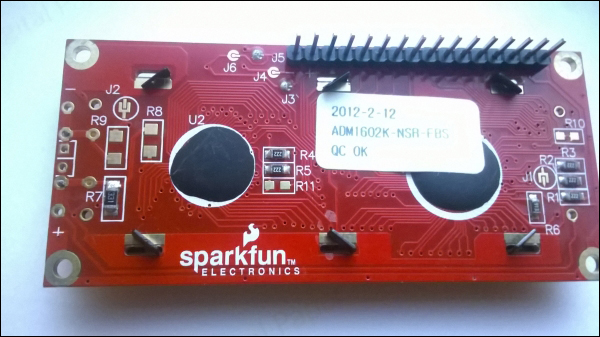
Hitachi HD44780 driver compatible LCD screen (16x2)—Bottom View
Wire your LCD screen with Arduino as shown in the next diagram. Use the 10k potentiometer to control the contrast of the LCD screen. Now, perform the following steps to connect your LCD screen with your Arduino:
- LCD RS pin (pin number 4 from left) to Arduino digital pin 8.
- LCD ENABLE pin (pin number 6 from left) to Arduino digital pin 7.
- LCD READ/WRITE pin (pin number 5 from left) to Arduino GND.
- LCD DB4 pin (pin number 11 from left) to Arduino digital pin 6.
- LCD DB5 pin (pin number 12 from left) to Arduino digital pin 5.
- LCD DB6 pin (pin number 13 from left) to Arduino digital pin 4.
- LCD DB7 pin (pin number 14 from left) to Arduino digital pin 3.
- Wire a 10K pot between Arduino +5V and GND, and wire its wiper (center pin) to LCD screen V0 pin (pin number 3 from left).
- LCD GND pin (pin number 1 from left) to Arduino GND.
- LCD +5V pin (pin number 2 from left) to Arduino 5V pin.
- LCD Backlight Power pin (pin number 15 from left) to Arduino 5V pin.
- LCD Backlight GND pin (pin number 16 from left) to Arduino GND.
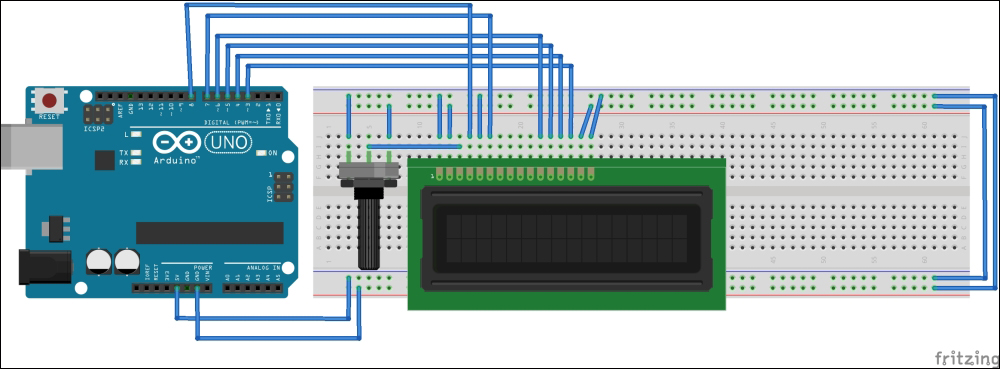
Fritzing representation of the circuit
- Open a new Arduino IDE and copy the sketch named
B04844_03_04.inofrom theChapter 3sample code folder. - First initialize the Liquid Crystal library using following line:
#include <LiquidCrystal.h>
- To create a new LCD object with following parameters, the syntax is
LiquidCrystal lcd (RS, ENABLE, DB4, DB5, DB6, DB7):LiquidCrystal lcd(8, 7, 6, 5, 4, 3);
- Then initialize number of rows and columns in the LCD. Syntax is
lcd.begin(number_of_columns, number_of_rows):lcd.begin(16, 2);
- You can set the starting location to print a text on the LCD screen using following function, syntax is
lcd.setCursor(column, row):lcd.setCursor(7, 1);
- Then, use the
lcd.print()function to print some text on the LCD screen:lcd.print(" ml/s"); - Verify and upload the sketch on the Arduino board.
- Blow some air through the water flow sensor using your mouth.
You can see some information on the LCD screen such as pulses per second, water flow rate, and total water volume from the beginning of the time:
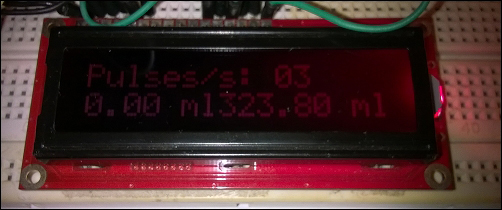
LCD screen output