Think, what if you want to control a device that hasn't any built-in infrared receiving functionality. Fortunately, you can do this by using an infrared socket. An infrared socket is a pluggable device that can be plugged into a electrical wall socket. Then, you can plug your electrical device into it. In addition, the IR Socket has a simple IR receiving unit, and you can attach it to a place where the IR signal can be received properly.
The following image shows the frontal view of the IR socket:
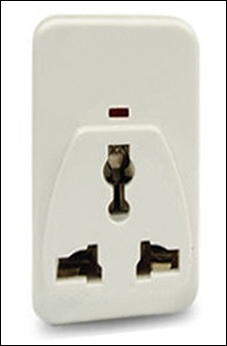
The infrared socket—front view
The following image shows the side view of the IR socket:
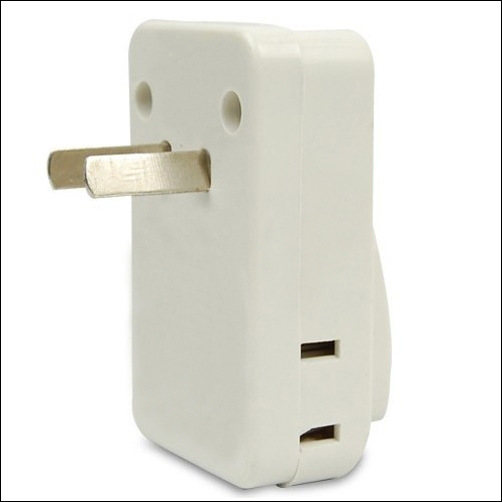
The IR socket side view
A generic type of IR socket comes with a basic remote control with a single key for power on and off:

The IR remote control for The IR socket
- Before you proceed with this project, trace the IR raw code for the power button of your remote control.
- Copy the Arduino sketch,
B04844_08_05.ino, from the sample code folder ofChapter 8, and paste it to a new Arduino IDE. Then, modify the following line with the IR raw code for the power button:unsigned int rawData[69] = {47536, 4700,4250, 750,1500, 700,1500, 700,1550, 700,400, 700,400, 700,400, 700,450, 650,450, 650,1600, 600,1600, 650,1600, 600,500, 600,500, 600,550, 600,500, 600,500, 600,1650, 550,1650, 600,1650, 550,550, 550,600, 500,600, 500,600, 550,550, 550,600, 500,600, 500,600, 500,1750, 500,1700, 500,1750, 500,1700, 500,1750, 500,0}; // POWER BUTTON - Also, modify the following line with the correct parameters:
irsend.sendRaw(rawData,69,32)
- Verify and upload the sketch on the Arduino board.
- Plug the IR socket into a wall power outlet and turn on the switch.
- Point the IR LED attached with the Arduino to the IR socket.
- Plug any electrical device (for this project, we used an electric fan for testing) into the IR socket and make sure that the power is available. Then, turn the power switch of the fan to the ON position.
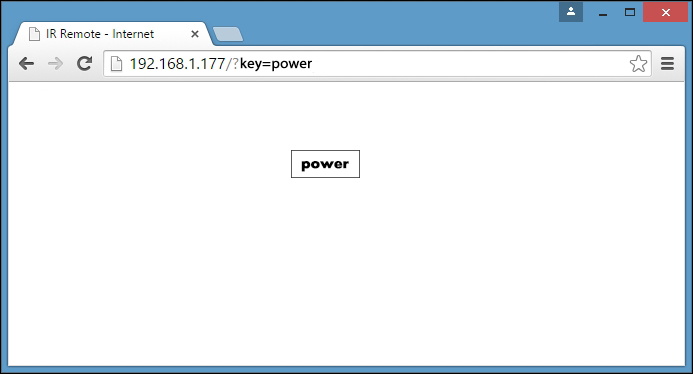
- Open a new web browser (or new tab), type the IP address of the Arduino Ethernet shield,
http://192.168.1.177/and then press Enter. - You will see the following web page with a simple button named Power:
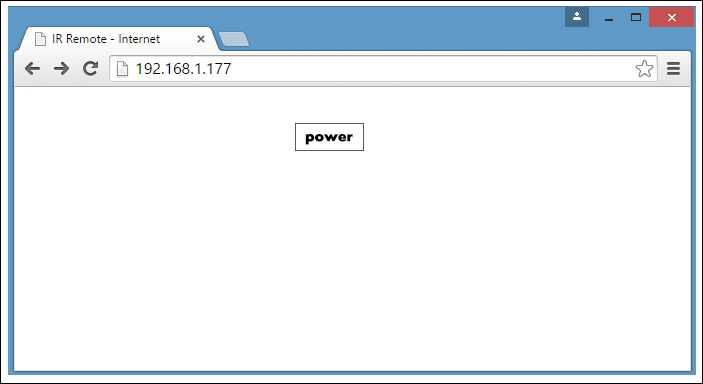
- Now, click on the Power button. The electric fan will turn on. Click on the Power button again to turn off the fan. Also, note that the address bar of the browser is changed to
http://192.168.1.177/?key=power.