
The Confluence dashboard
The first time you log in to Confluence you will see the dashboard. The Confluence dashboard will give the user a quick indication of the content that has changed recently. From the dashboard, users can navigate to spaces or sections within Confluence.
The default entry page of Confluence is the dashboard, but as a Confluence Administrator you can change this to any space home page you prefer. Keep in mind that the space must be accessible for all your users and if your Confluence installation allows anonymous access, the space should also be allowed to be viewed by anonymous users.
To change the default home page, perform the following steps:
- Browse to the Administration Console (Administration | Confluence Admin).
- Select General Configuration from the left-hand side menu.
- Click on the Edit link at the top-left corner.
- Select a space from the drop-down menu next to Site Homepage.
- Click on Save to save the change.
Users can also change their personal default home page, which will override the global setting.
To change your personal default home page, perform the following steps:
- Select your avatar in the top-right corner.
- Select Settings from the drop-down menu.
- Click on the Edit button.
- Select a space from the drop-down menu next to Site Homepage.
- Click on Submit to save the change.
The welcome message appears at the top-left corner of the Confluence dashboard, and can be used to display a common introduction to Confluence or some important company news.
Tip
Include a page as the welcome message
To change the content of the welcome message, a user has to be a Confluence Administrator. If you want to allow other users to change the welcome message, or just want to use the default Confluence editor, including a page is a perfect solution. We will learn how to set up this configuration in the later part of the chapter.
Perform the following steps to edit the welcome message:
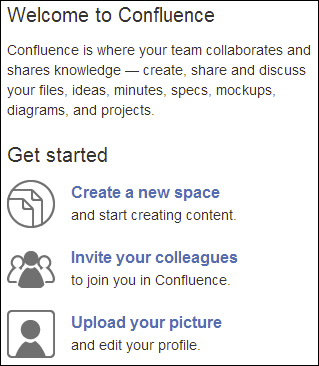
The default welcome message looks like the following screenshot. It is a common Welcome to Confluence and Get started text.
To restore the default welcome message, perform the following steps:
By default, the Confluence dashboard displays a quick-start guide for administrators under the site welcome message. This guide is only visible to Confluence administrators and system administrators. A system administrator can update or remove it by editing the site layout as follows:
- Browse to the Administration Console (Administration | Confluence Admin).
- Select Layouts from the left-hand side menu.
- Choose Create custom or Edit next to Global Layout. The Edit option will be available if the global layout has already been customized, otherwise you need to use the Create Custom link.
- Locate the following section in the code and remove or edit it accordingly:
#if($permissionHelper.isConfluenceAdministrator($remoteUser)) <div class="dashboard-item wiki-content"> <h2>$i18n.getText("getstarted.heading")</h2> <ol id="dashboard-get-started"> <li class="create-space"> <h3><a href="$req.contextPath/spaces/createspace-start.action">$i18n.getText("getstarted.add.space")</a></h3> <p>$i18n.getText("getstarted.add.space.desc")</p> </li> <li class="add-users"> <h3><a href="$req.contextPath/admin/users/browseusers.action">$i18n.getText("getstarted.add.users")</a></h3> <p>$i18n.getText("getstarted.add.users.desc")</p> </li> <li class="user-profile"> <h3><a href="$req.contextPath/users/editmyprofilepicture.action">$i18n.getText("getstarted.choose.profile.picture")</a></h3> <p>$i18n.getText("getstarted.choose.profile.picture.desc")</p> </li> </ol> </div> #end - Select Save.
In many cases, including another page as the welcome message gives you more flexibility, control, and allows you to regularly update the content. Using a normal Confluence page means that you can:
- Allow other people, who are not Confluence administrators, to edit the message
- Watch the included page, and get notified when something on the welcome message has changed
Make sure that the page you want to include is viewable by all the users, including anonymous users if your Confluence allows anonymous access.
If a user is not allowed to view a page, they will see the following message on their dashboard:
Unable to render {include} The included page could not be found.
To include content from another page, perform the following steps:
- Create a page in Confluence as you normally would.
- Click on the Create button in the top navigation.
- Select the space you want to create the page in.
- Select the Blank Page template.
- Give the page a title like
Confluence Dashboard. - Enter some basic content on the page.
- Click on Save to save the page.
- Change the page restrictions as you see fit. A commonly used setting is to restrict the editing of this page to a certain group of people.
- Use the preceding steps to edit the site's welcome message.
- Select Insert | Other Macros and search the Include Page macro.
- In the macro property panel, search for the page you just created.
- Select Insert.
- Click on Save to save the welcome message.
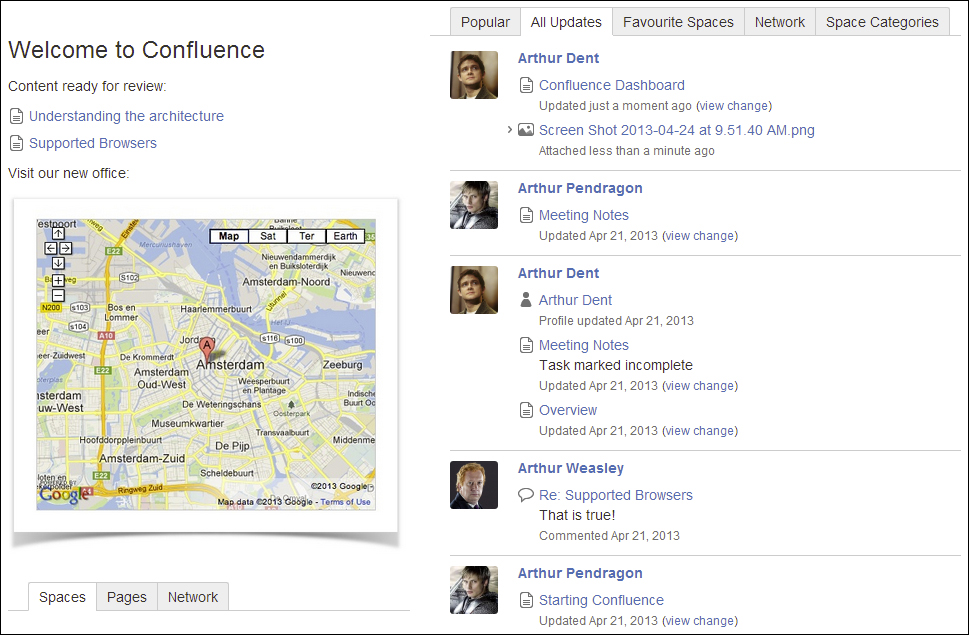
In the preceding example we added a Content by Label macro, which looks for content with a review label. We've also included an image with an effect that links to another page on Confluence.