Next, you’ll deploy the Netduino app to the Netduino and watch it run.
By default, Visual Studio runs projects in an emulator. This allows software developers to create and test programming logic for a new hardware product before the actual hardware is built. You won’t use the emulator since you have a real Netduino, so you must let Visual Studio know that you have physical hardware it should use instead.
Click on the Project menu and select your project’s properties (generally, the last item in the Projects menu, such as Blinky Properties). Next, do the following:
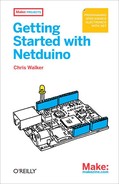
When the project properties appear, click on the .NET Micro Framework category on the left side.
Now you’re ready to change the deployment target from the Emulator to the Netduino. Change the Transport from Emulator to USB and then make sure that the Device selection box shows your Netduino, as shown in Figure 3-3. If it doesn’t, unplug and reattach your Netduino.
Note
If you’re using a Netduino Plus, the target name will be different. So if you need to switch between deploying to a Netduino and Netduino Plus, you’ll need to return to the project properties and change the Device setting to the device you want to deploy to.
Now, you’re ready to run the project. When you run the project, your code is deployed to the Netduino and then automatically started. To run your project, click the Start Debugging button in the toolbar at the top of the screen. It looks like the Play button on a music player. You could also press its keyboard shortcut, F5.
Note
You’ll just watch the program run for now, but when you start building sophisticated Netduino Apps, you may want to pause or step through your code line-by-line, peek at the values of data in the Netduino’s memory, and so forth. If you want to go through the code line-by-line, one way to do that is to start the program with Step Into (F11) instead of Start Debugging.
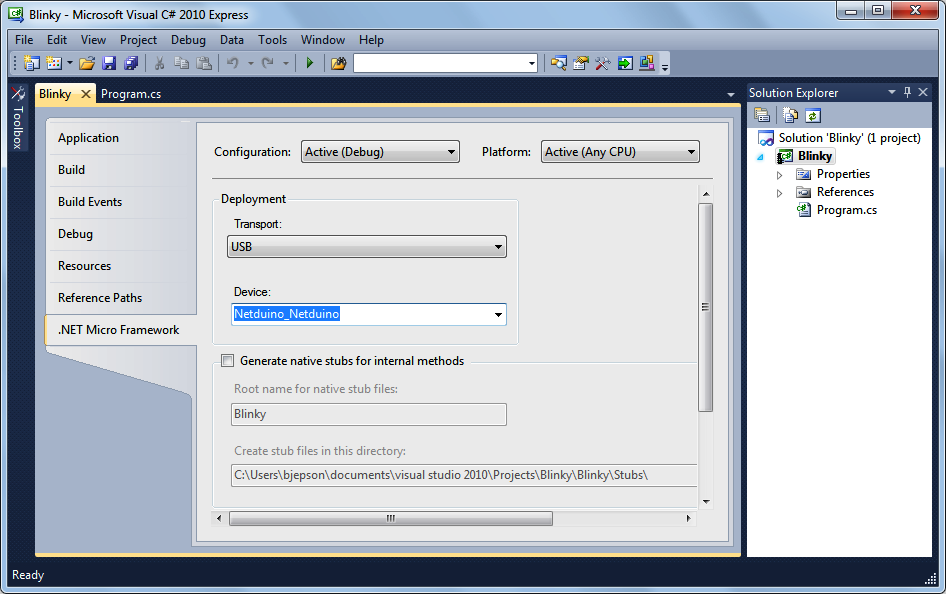
Visual Studio will now deploy your first Netduino app to the Netduino hardware. In a few seconds, you’ll see the blue LED (Figure 3-4) blinking on and off every half second.
Note
When you started your Netduino app, it was written into the Netduino’s microcontroller chip’s flash memory, so all you have to do to run the program again is plug it in via a MicroUSB cable or with a power adapter (using the power barrel jack). You can write over your Netduino App. Visual Studio will automatically stop and erase your current Netduino App whenever deploying a new one.
Now that you’ve successfully written a simple Netduino app and controlled an LED by sending it digital output of high (true) and low (false) voltages, you’re ready to learn how to read digital input signals.