
A gorgeous spring day when the sun is out and the flowers are in bloom is practically an invitation to sketch a landscape! But when I seek subject matter, I’m looking for more than a pretty spot—I also search for a scene with features that will help me portray depth. A distinctive foreground, middle ground, and background will help me portray atmospheric perspective—the tendency of objects to appear less detailed as they recede from the viewer. And overlapping elements are another key to creating a sense of three-dimensional depth in a two-dimensional drawing. Look for both in your composition.

Finding Inspiration It’s hard to resist the Tuscan countryside, but you can find beautiful landscapes in your backyard, too. Keep an eye out for overlapping elements, such as a tree in the foreground or a mountainside in the distance. Then take many photos. Don’t worry if your landscape isn’t naturally “picture perfect”—just change it in your sketch.
Eliminating Distractions Detailed landscape scenes can be very distracting. I recommend simplifying the scene before you start by zeroing in on the main shapes and values of the design. A quick value study that focuses on four to five key value “notes” will help you think “big picture.”

Step One Earlier I mentioned improving the composition at the sketch stage: I do so by moving the foreground tree and cropping into my photo. I’m still thinking big picture here, blocking in a big oval for the tree and horizontal lines for foreground grass. The main hills I depict with curving lines, paying attention to overall shape and proportion.
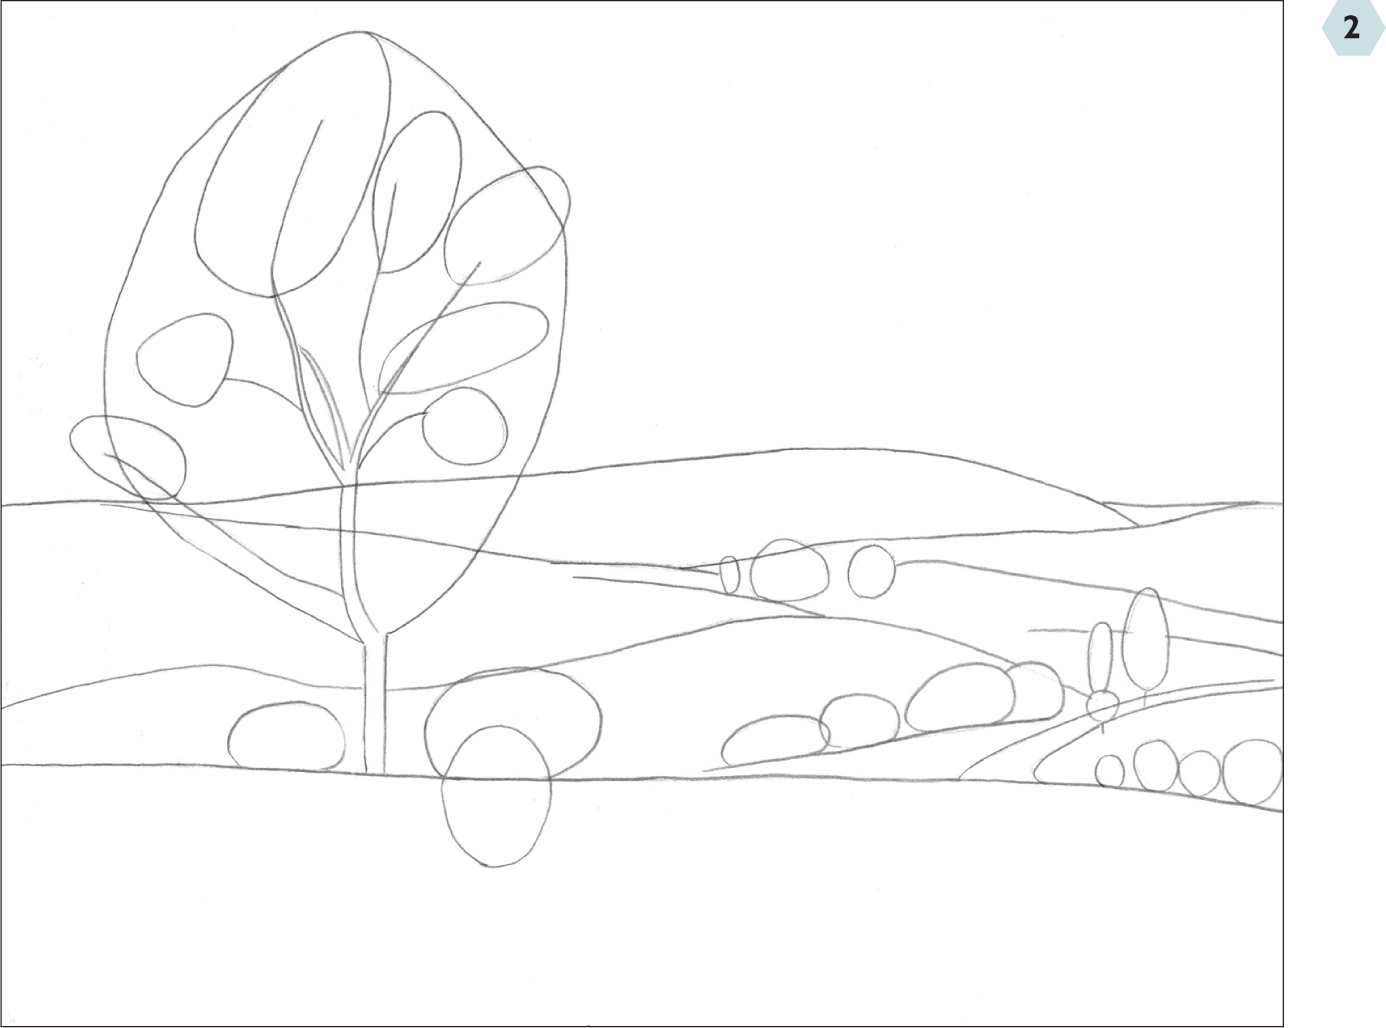
Step Two Taking small steps toward adding detail to the drawing makes it very approachable. Next I add the main branches of the tree, placing them inside the larger oval of the tree. I use smaller ovals for large masses of leaves. At this time, I also draw the road, again using ovals to represent bushes, trees, and even a house in the distance.
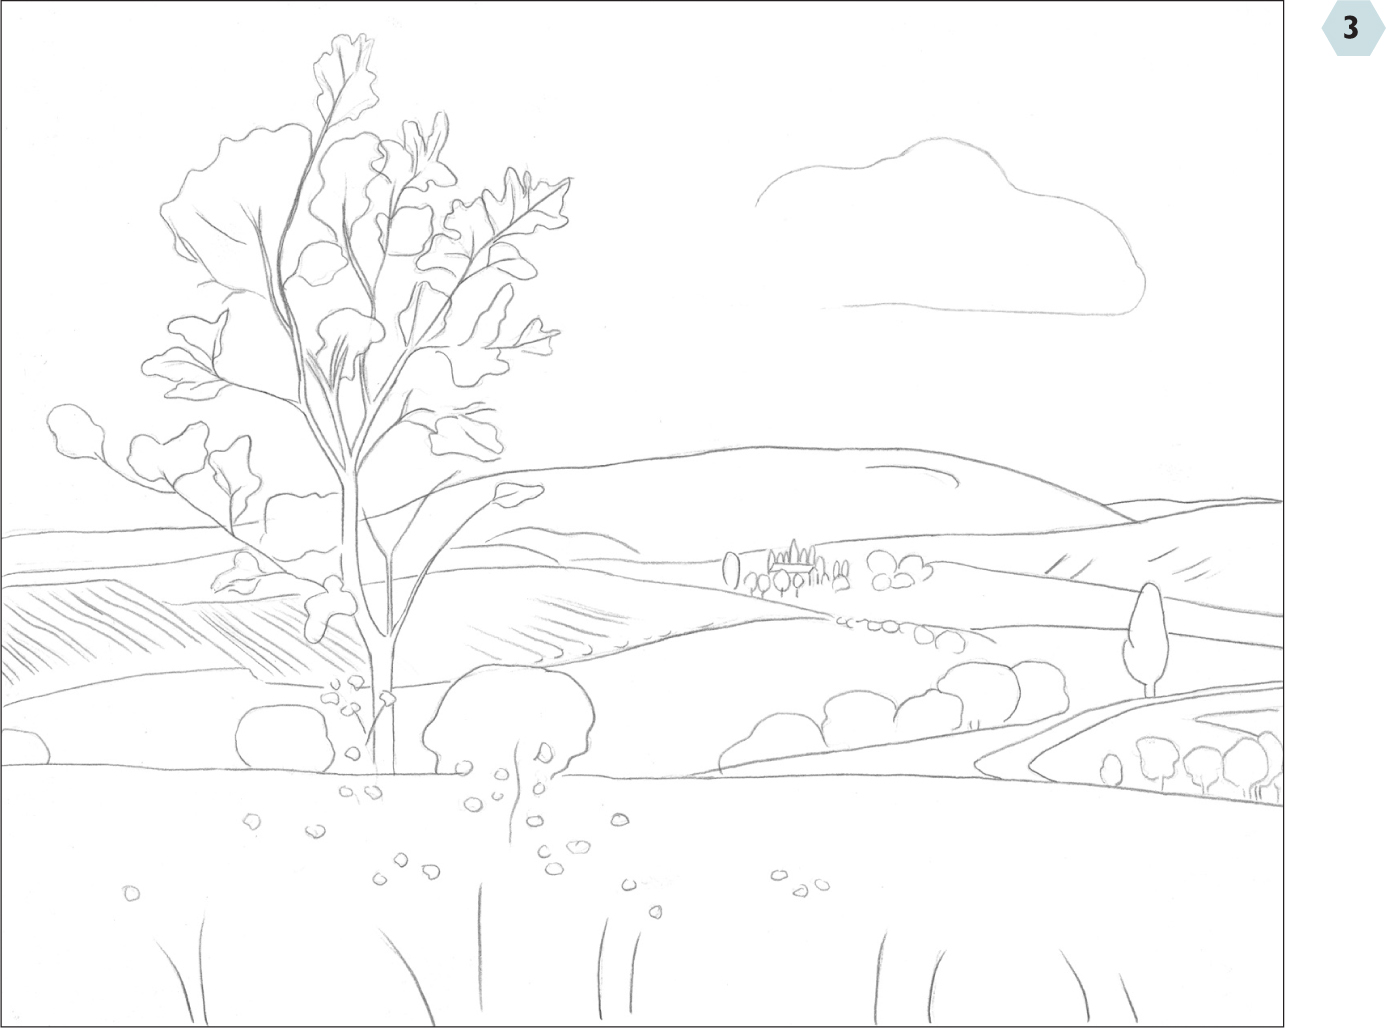
Step Three I tape tracing paper to my sketch and redraw my scene with more detail, using the sketch as a guide. I establish the trunk and main branches of the foreground tree. I also map in the shapes of the various tree masses and bushes, as well as a cloud. Small circles indicate flowers. I add crop lines to the hills, and a few grass blades to establish the direction of growth.
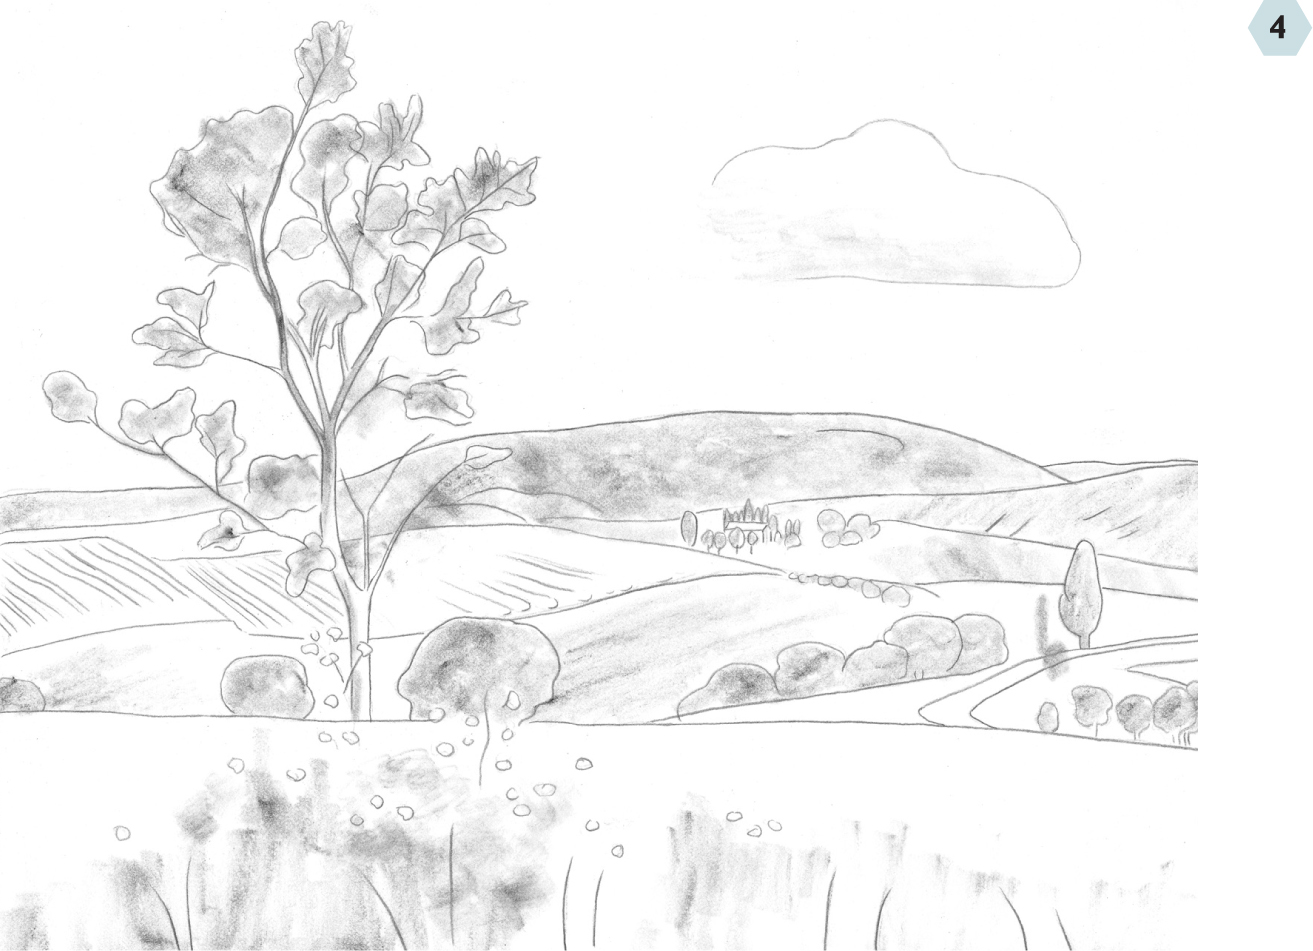
Step Four I transfer my new drawing to cold-pressed BristoI paper. (The slightly rougher finish adds texture.) With the side of a large stump, I loosely stroke tone on masses of leaves and then, with a circular motion, bushes and smaller trees. I switch to the point for the main tree, also making vertical strokes for grass. On the hills, long strokes follow the direction of the form.
Step Five I lightly apply the side of an HB to the sky, lifting out clouds with a kneaded eraser. I use the side of an 8B for leaves, pressing harder in shadows. Switching between the 8B and a stump, I work the bushes, trees, and distant hill with small circular strokes. Then with a 2B, I apply long strokes to the hills and left-side crops, and short, curved strokes to distant crops on the right. In the foreground, I alternate between a stump and the side of a 4B, working around flowers. With the 2B and 4B, I add grass and shadows.

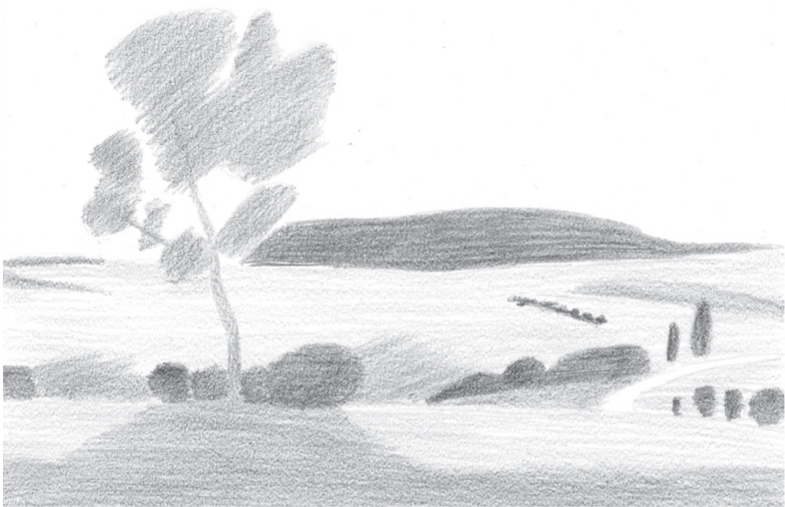
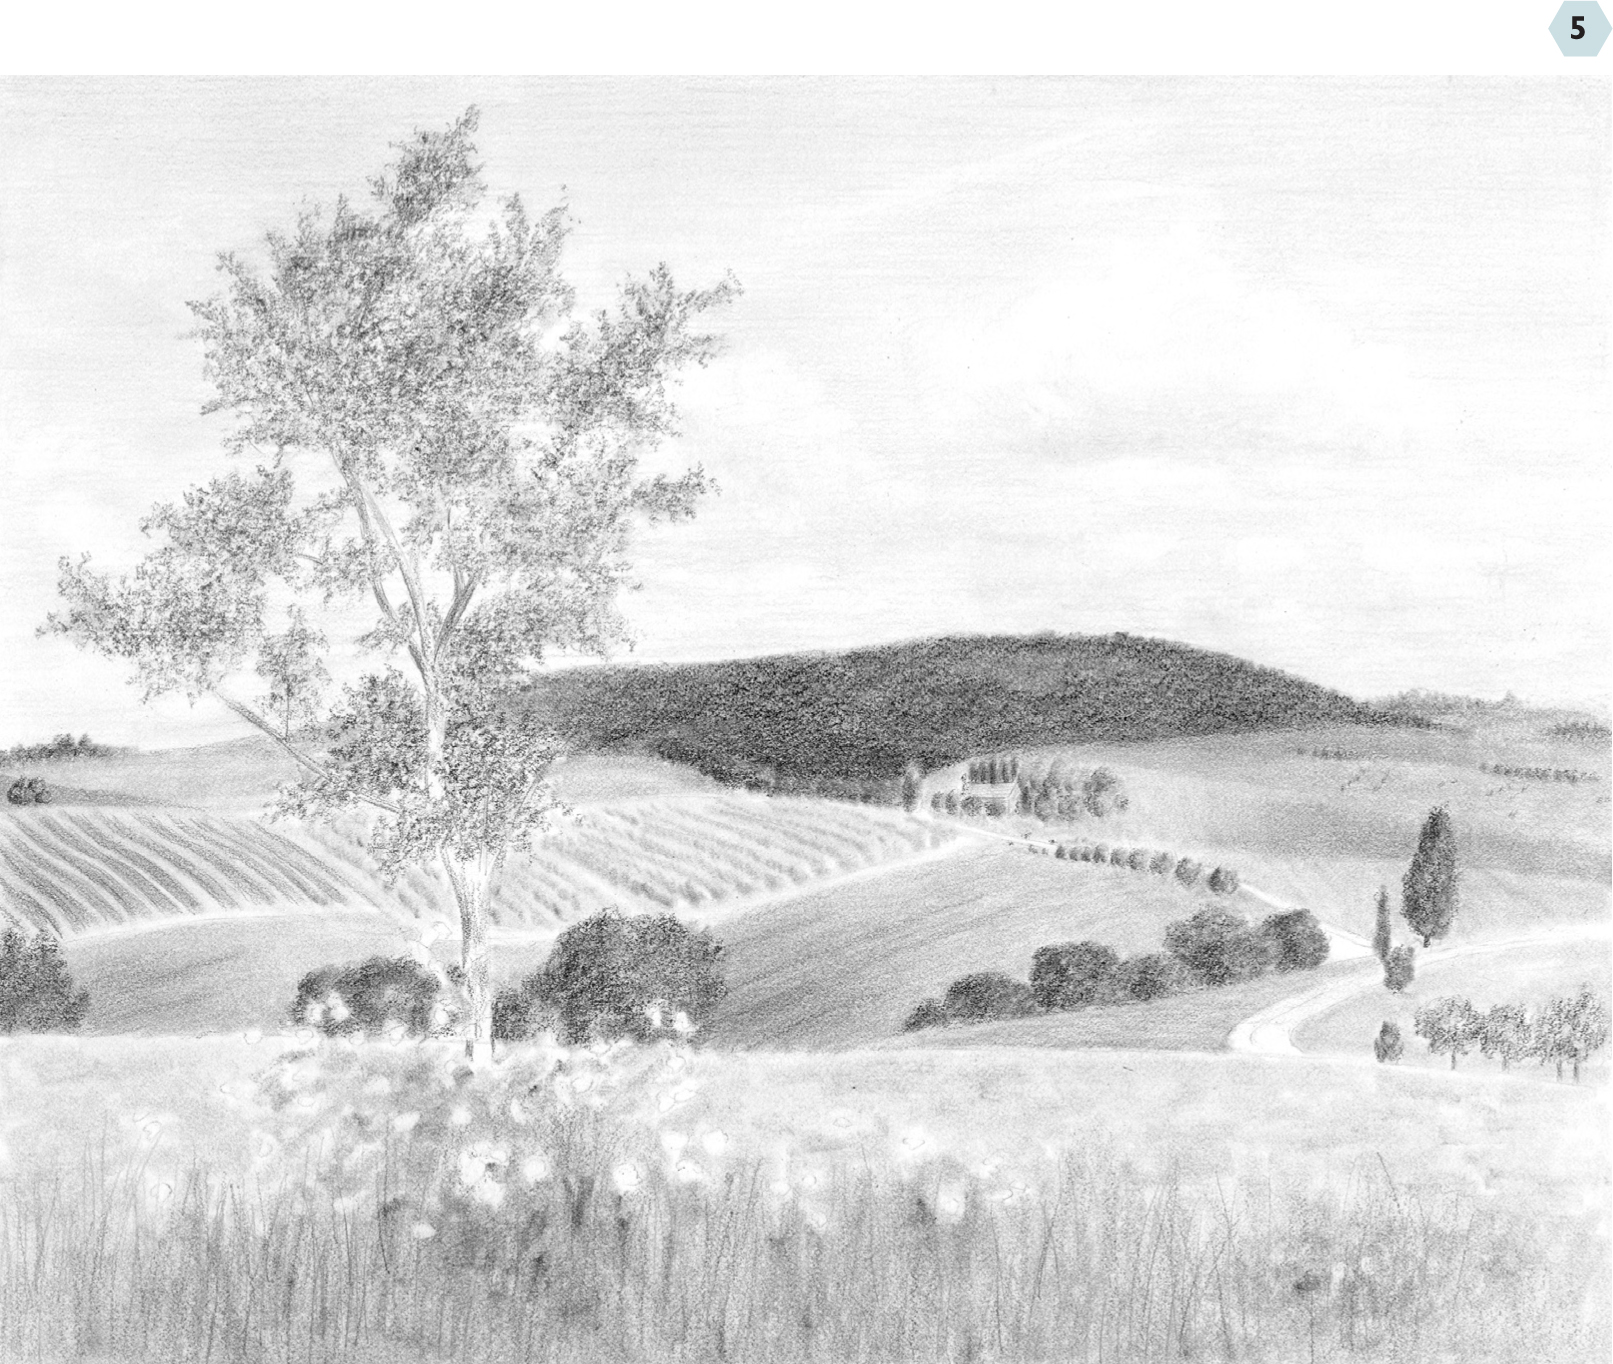
Step Six Next I build dark tones on the hill, bushes, and tree with the 8B’s side, refining the hill’s shading and tree trunk with the 2B’s point. I build leaf texture with the 6B’s side. I revisit the crop areas. Then with a 2H, I lightly shade clouds. I build foliage beneath the tree using scribble strokes and a 6B, creating stems with the point. I lift out tone for the flowers, stippling in the centers. For grass, I alternate between long strokes with a sharp 4B and an eraser. I add texture in the foreground with the 6B’s side, also lifting out dabs of light. When I finish, there’s a distinct contrast between detail in the foreground and background that gives the drawing a clear sense of depth.
It’s important to remember that as objects recede into the distance, detail and contrast are both lost as a consequence of atmospheric perspective. If your photo doesn’t clearly capture this effect, feel free to emphasize it in your drawing to distinguish foreground from background. Doing so will prevent your drawing from appearing flat.
The same cactus can appear very different depending on where it’s located on the picture plane. The atmosphere blurs the detail and even lightens the tone when the object is placed farther in the distance.
