ReSpeaker is built with Arduino (ATmega32U4) and Linux-based OpenWrt with MCU MT7688 so that we can access GPIO pins in our program. We can develop a sketch program for the ReSpeaker board. Start by downloading the ReSpeaker library for Arduino from https://github.com/respeaker/respeaker_arduino_library. Download and extract it to the Arduino library with the name respeaker.
Now you can use the ReSpeaker library in your Arduino IDE. For testing, we'll try to access 12 RGB LEDs using the pixels library.
First, you should install Arduino software from this site: https://www.arduino.cc/en/Main/Software. Then, you can write the following sketch program:
#include "respeaker.h"

uint8_t offset = 0;
void setup() {
  respeaker.begin();
  // set brightness level (from 0 to 255)
  respeaker.pixels().set_brightness(128);
}

void loop() {
  respeaker.pixels().rainbow(offset++);
  delay(10);
}
This program starts to initialize the ReSpeaker library by calling begin() from the respeaker object. In the loop() function, we change colors of the RGB LEDs.
Save this sketch as ArduinoReSpeaker. In order to upload the sketch program to ReSpeaker, you should configure the target board to Arduino Leonardo and change the port to your ReSpeaker port.

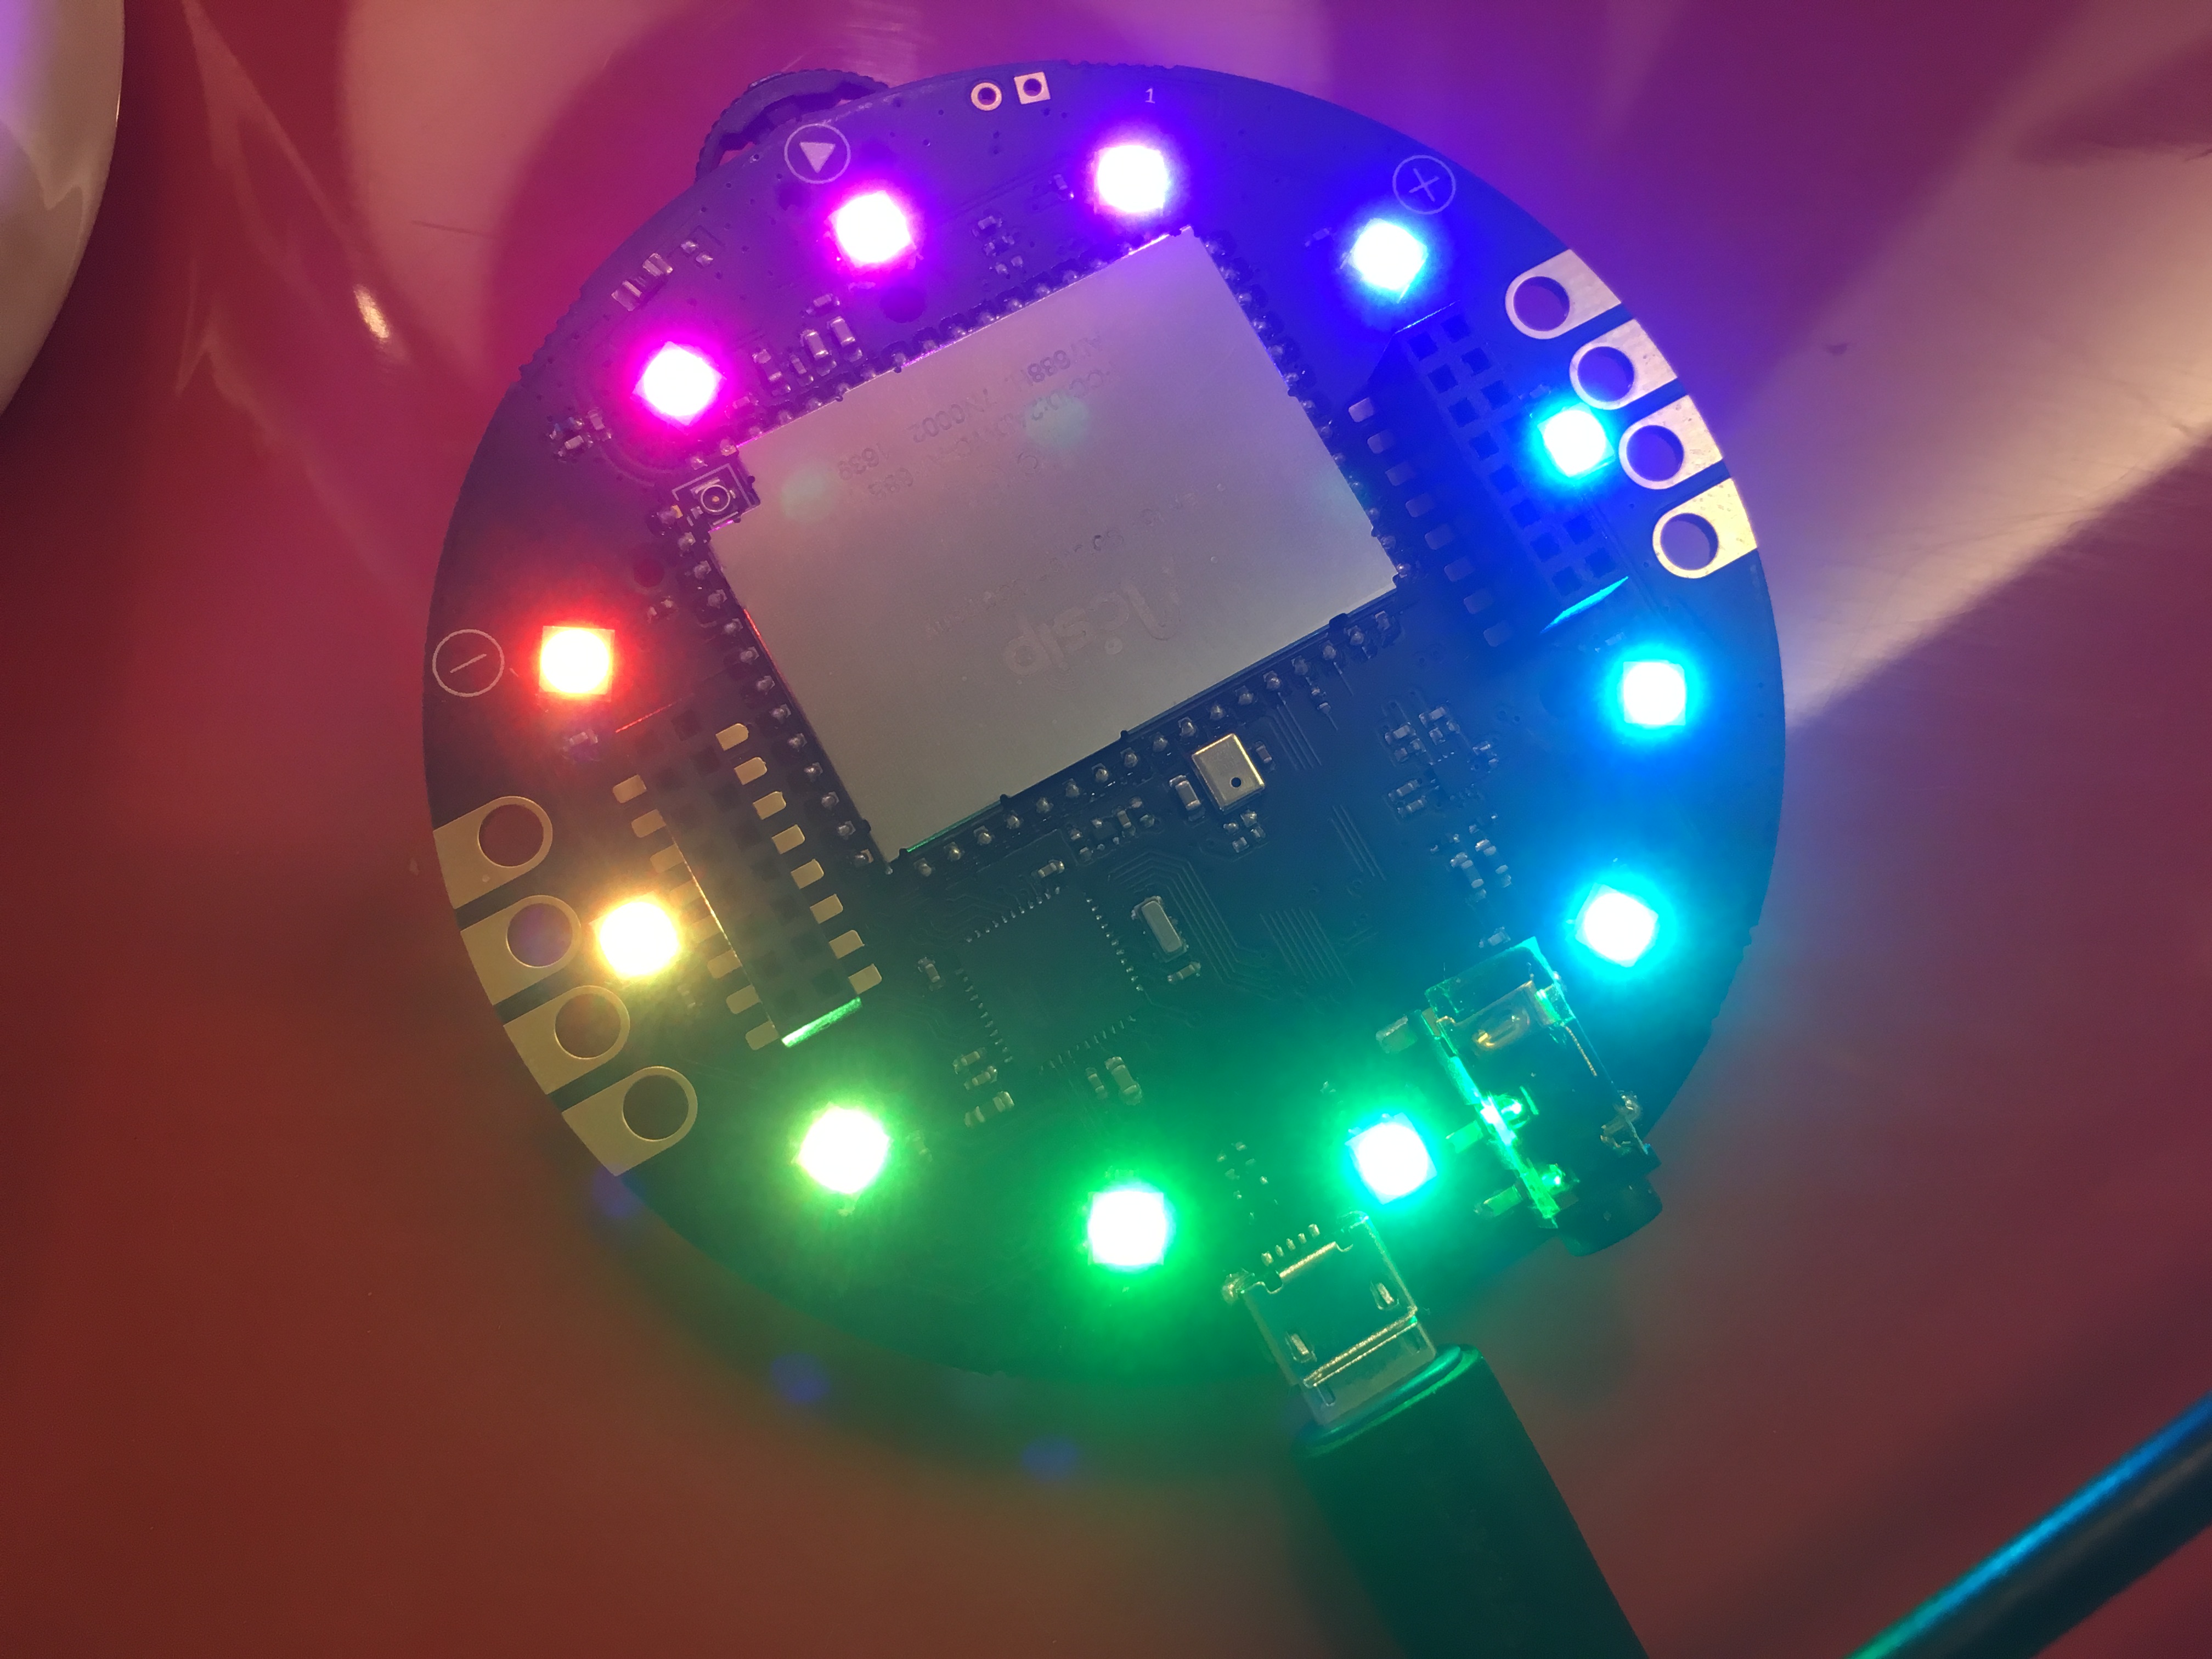
After uploading the program, you should see all RGB LEDs changing their color gradually. You can see it here: