
We have seen how to write a gadget and add it onto the JIRA dashboard. But have we made use of all the advantages of an OpenSocial gadget? How about adding them onto other OpenSocial containers such as Confluence?
In this recipe, we will see how to add a JIRA gadget into Confluence. The process is pretty much similar for other containers as well, except for the specific instructions of adding a gadget in the other container.
Make sure JIRA is connected to Confluence using Application Links, as described at https://confluence.atlassian.com/doc/linking-to-another-application-360677690.html.
The following is a quick step-by-step procedure to add a gadget to Confluence:
- Identify the gadget URL for the gadget that we are going to add. We can find this URL from the JIRA gadgets directory, as shown in the next screenshot. In the example, we choose to add the Favorite Filters gadget:
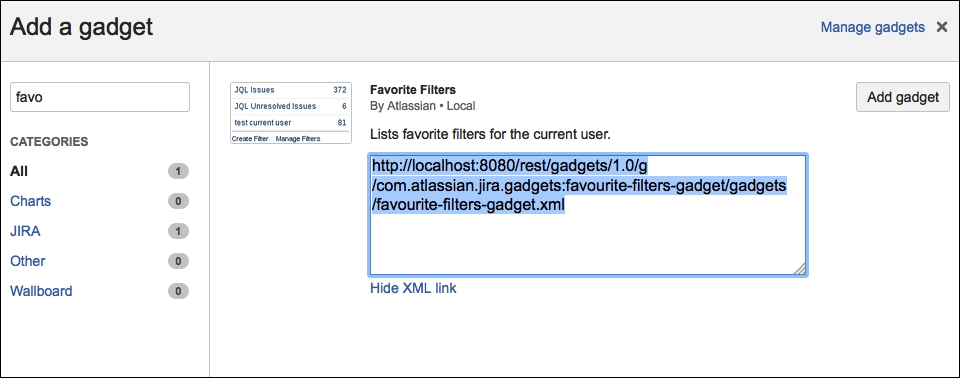
- In Confluence, navigate to Administration | General Configuration | External Gadgets. Enter the URL, as shown in the next screenshot:

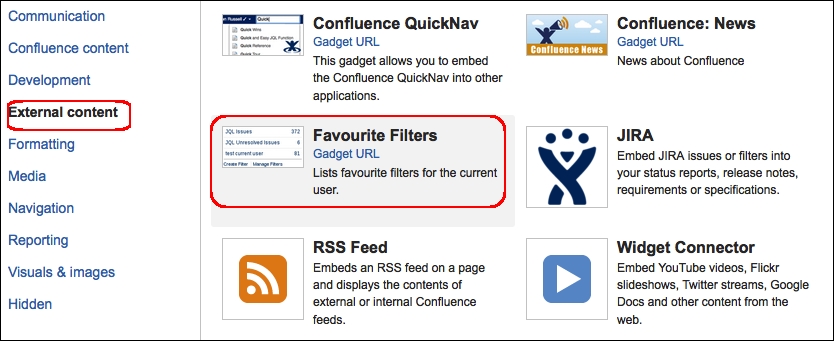
- Once added, the gadget is available for use in any Confluence page you want. You can pick the gadget from the list of macros, as shown here:
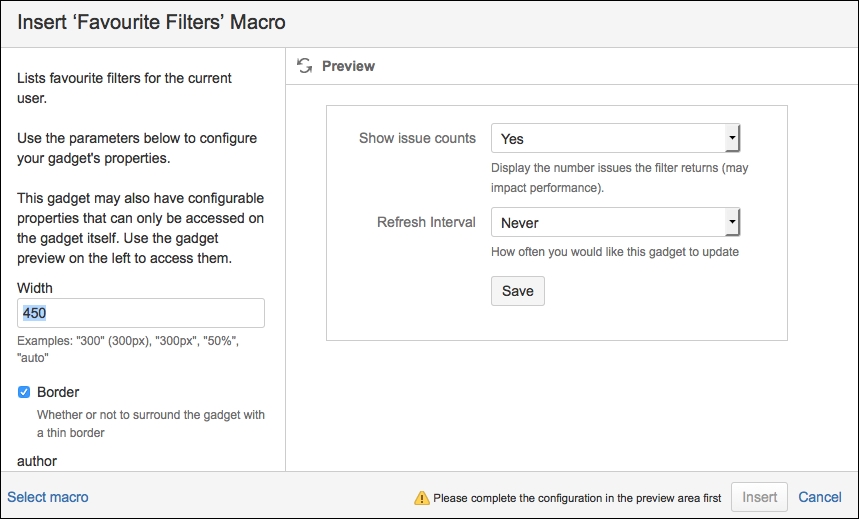
- When the gadget is added, you will have to configure the options, as shown here:
- After inserting the gadget in the page, it renders the gadget, as shown here:
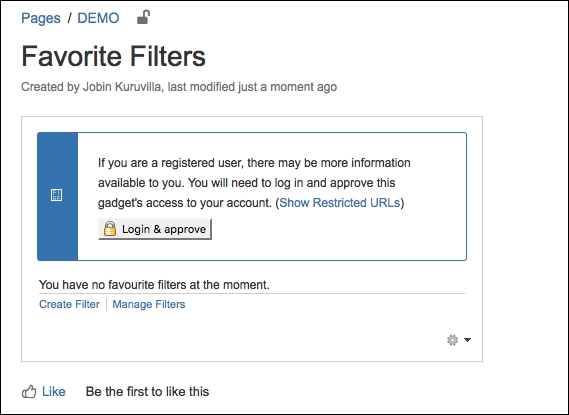
As you can see, Confluence prompts the user to log in to the JIRA application, to authorize the user to see JIRA data.
- Click on Login & approve to navigate to the JIRA authorization screen, as shown in the following screenshot:
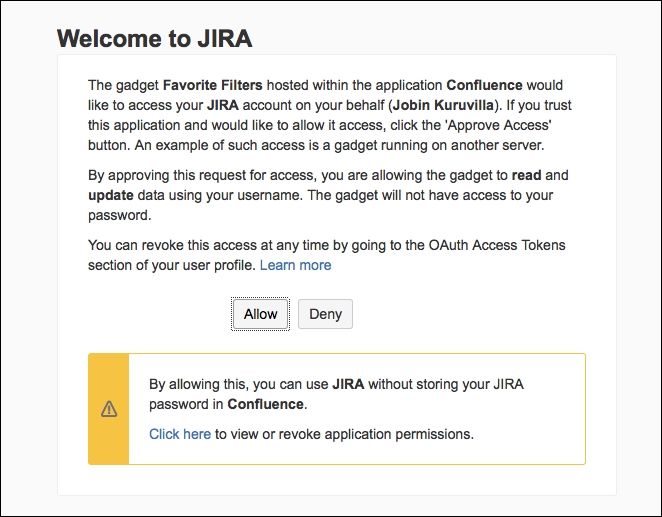
- Once you click on Allow, the approval is done. If you were not logged in prior to JIRA, you will be asked enter the username/password of your JIRA instance.
- After the approval, the gadget will start showing the actual data from JIRA, as shown here:
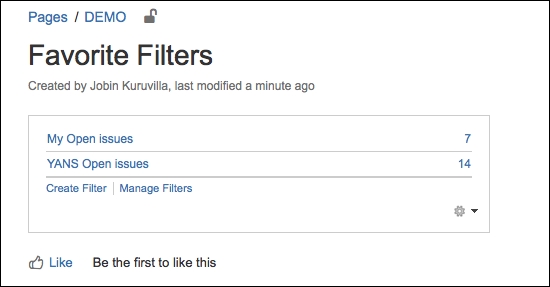
The way it works is identical to that of its behavior in JIRA dashboards. The gadget will communicate with JIRA using the REST APIs and the data is rendered using the HTML and JavaScript code under the view section in the gadget XML's Content element.
You can add other JIRA gadgets also using the above technique and it unleashes the power of JIRA reporting inside confluence.