
First, we will need to open the Nvidia website to download the CUDA toolkit. Navigate to https://developer.nvidia.com/cuda-downloads. You will see the following screen:

Then, select Linux | x86_64 | Ubuntu | 16.04 | runfile(local), as shown in the following screenshot:

Next, click on the Download (1.4 GB) button to download the installer. The installer size is 1.4 GB and it will take a while to finish downloading. After that, open your terminal, change the directory to the folder that contains the installer, and run the following command:
sudo sh cuda_8.0.61_375.26_linux.run
In the command-line prompts, you will see the End User License Agreement:
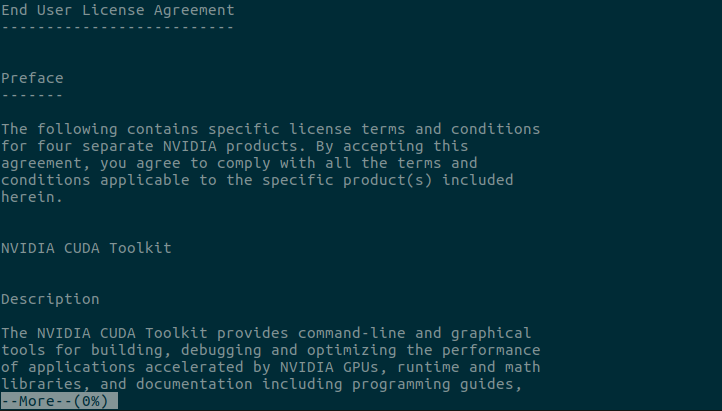
You can use your arrow keys to navigate through the agreement. Otherwise, you can press :q and see the following screen:

Now, you can type accept to accept the agreement. After that, you will need to answer some questions, as shown on the following screen:

You may notice that we will not install Nvidia drivers in this prompt since we already installed the latest driver in the previous section. When the installation completes, you will see a screen like this:

Now, open your ~/.bashrc file and add the following line at the end of the file:
export LD_LIBRARY_PATH=$LD_LIBRARY_PATH:/usr/local/cuda/lib64/
We have successfully installed the CUDA toolkit into the machine. You can try the following command to see your graphic card information:
nvidia-smi
The result on our machine looks like this:
