
In the previous sections, we implemented a trading system by interfacing with Interactive Brokers' Trader WorkStation X through the socket connections over a single port. However, many other brokers offer different choices of hooking up customized trading software over an API. In this section, we will learn how to interface our trading strategy with OANDA's REST API. OANDA is a major player in the foreign exchange (forex) business servicing retail investors. We will use a trend-following strategy to trade forex products.
REST stands for Representational State Transfer. It refers to web service APIs for transferring data over HTTP using the GET, PUT, POST, or DELETE methods.
With the REST API, we can stream the market data and trade the markets using any programming language that supports data transfer over HTTP connections along with a JavaScript Object Notation (JSON) parser.
Note that REST connections are stateless—the sender or receiver does not store information for future use. The sender does not expect an acknowledgement of data received; the receiver accepts the data packets without any prior connection setup.
OANDA offers a free practice account for testing your trading system. Once you are ready for the transit to trading on a live account, all that your trading system needs in order to be configured is the associated account identifier and the access token key.
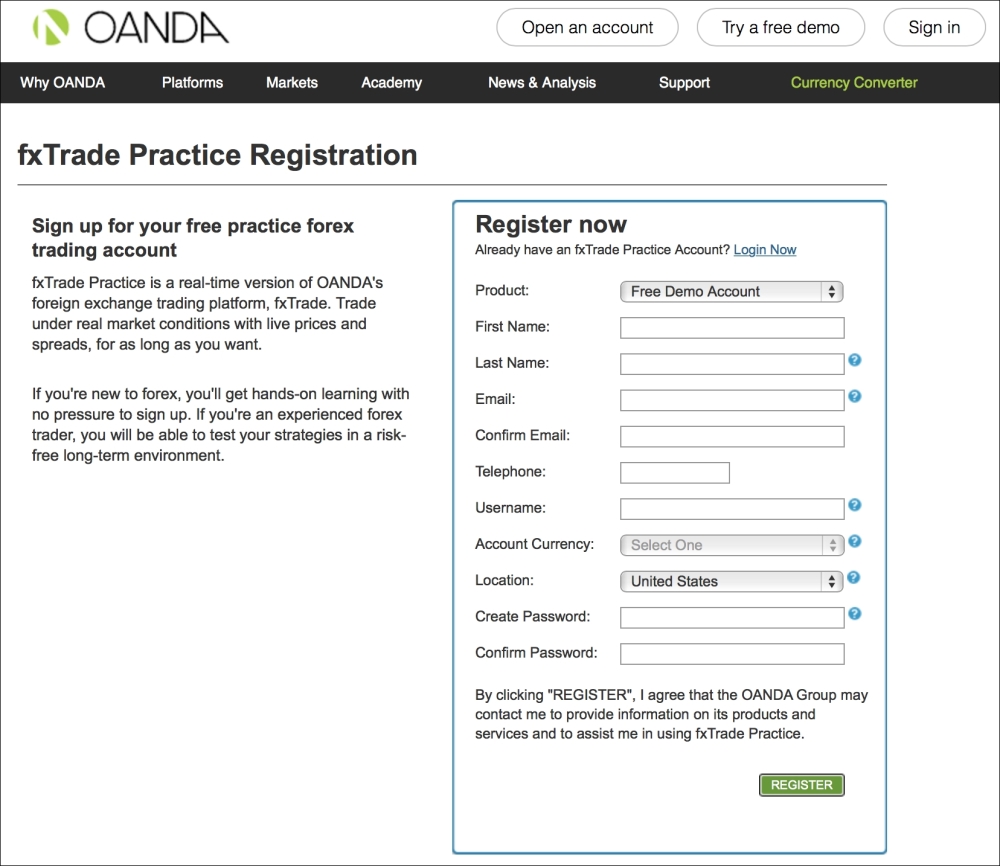
To create your practice account, simply navigate to http://www.oanda.com in your web browser and select Try a free demo. Alternatively, the direct sign-up link is https://fxtrade.oanda.com/your_account/fxtrade/register/game/signup. You should see a sign-up page similar to the following screenshot:
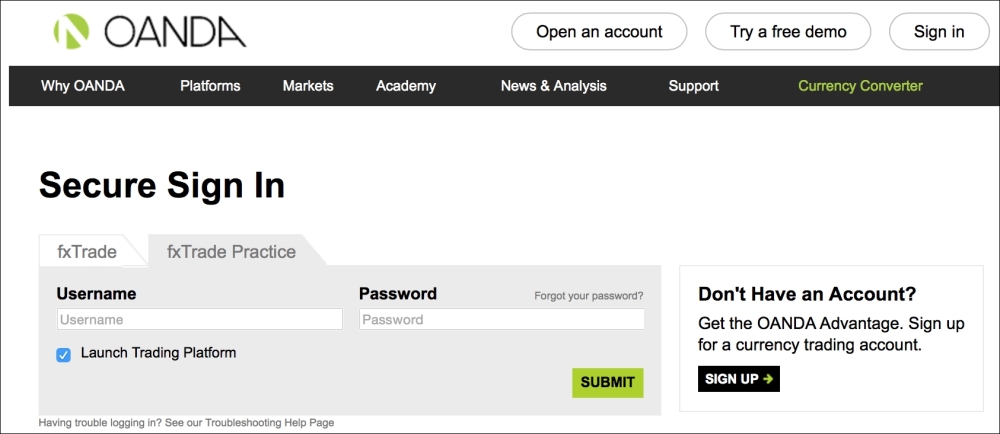
Once you have activated your account, you may click on Sign in to visit the login page. Before entering your login credentials, be sure to select the fxTrade Practice tab, as shown in the following screenshot:
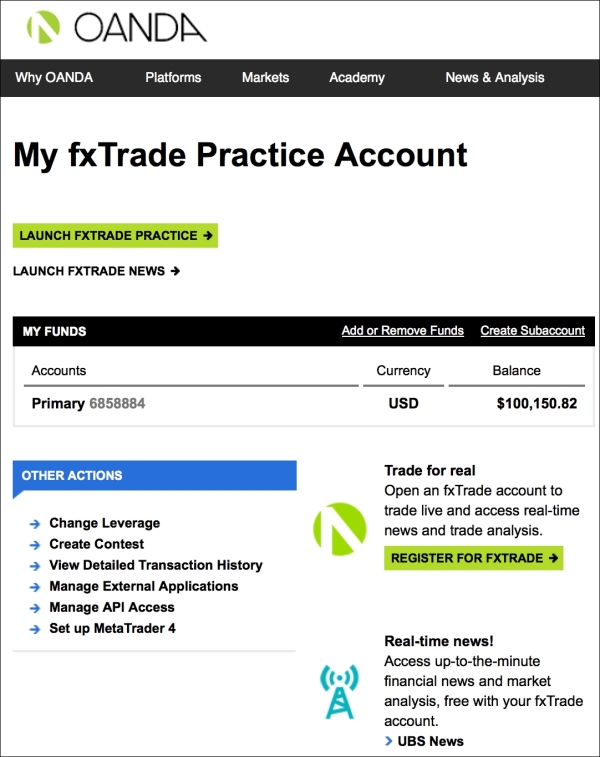
On successful sign in, you will be able to view your practice account management page, as shown in the following screenshot. Under the MY FUNDS section, take a note of the 7-digit number next to the primary account field. This will be your account identifier. The account identifier shown in this example is 6858884:
To obtain an API access token for your applications, under OTHER ACTIONS section, at the bottom-left of the page, select Manage API Access. You will be brought to a page similar to this:
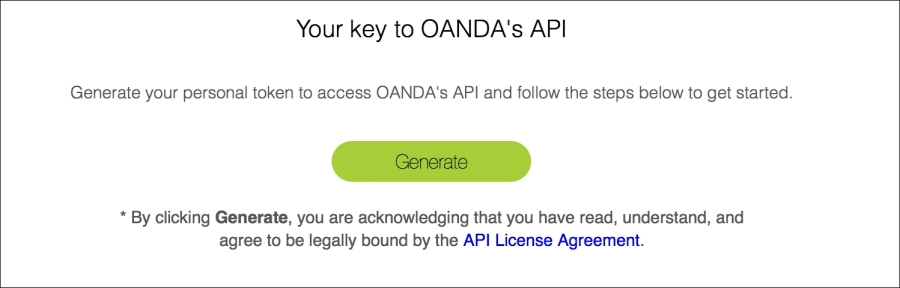
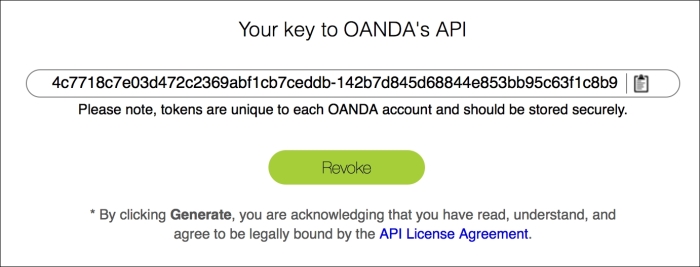
At this stage, click on Generate to obtain an API access token. An API access token is unique and can only be generated once. Make sure to note down this token for later use:
Return to the practice account management page. Here, you can also launch fxTrade Practice. fxTrade is one of the trading platforms offered by OANDA. It can be used on any operating system, such as Windows or Mac with Java installed. Once opened, you can begin to trade foreign currencies:
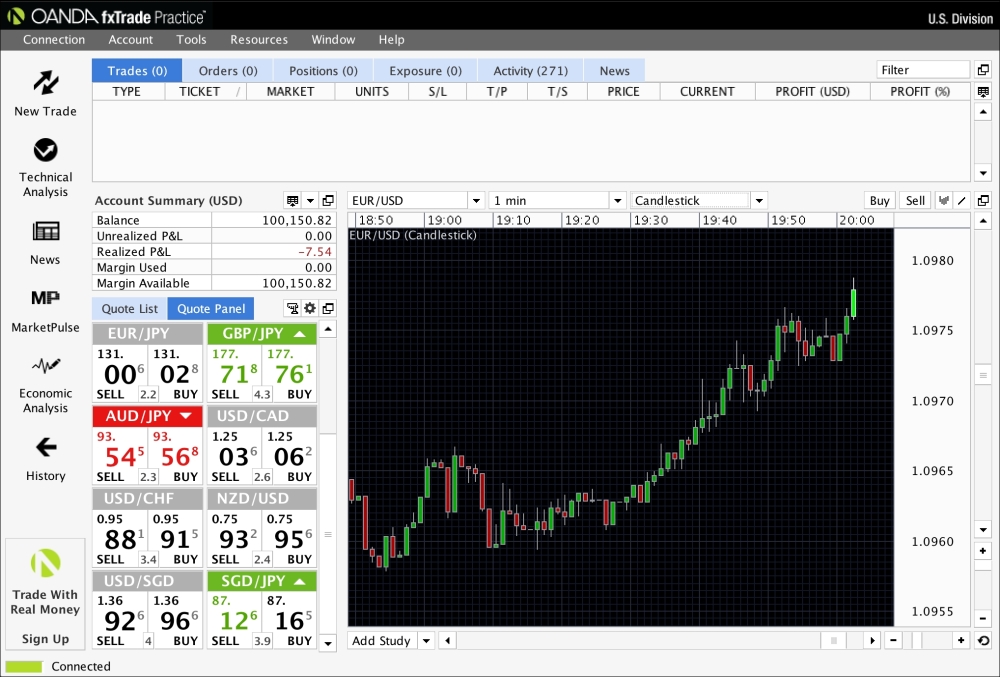
Let's keep this window open. As we learn to use the API to send orders to the server, the trades will be reflected in the fxTrade platform.
The developer page for OANDA is http://developer.oanda.com. This page contains a wealth of information related to the development of your trading system in interfacing with the API.
Since we will be using Python for our forex trading platform, let's obtain oandapy, the Python wrapper for the REST API at https://github.com/oanda/oandapy. Download the
oandapy.py file to your working directory.
The use of oandapy.py requires the python-requests module. Assuming that you have pip installed, run the following command in the Terminal:
$ pip install requests
Now we are ready to use Python to interface with OANDA's REST API.
We will get the current rates using the oandapy module. Let's begin by defining the account_id and key variables to store our account identifier and access token respectively:
>>> account_id = 6858884
>>> key = "4c7718c7e03d472c2369abf1cb7ceddb-"
>>>       "142b7d845d68844e853bb95c63f1c8b9"
Next, we will create an instance of the oandapy.API, as the oanda variable with the following code. The get_prices method is invoked by passing the instruments parameter with a string value of EUR_USD so that the rates of the EUR/USD currency pair are fetched:
>>> """ Fetch rates """
>>> import oandapy
>>>
>>> oanda = oandapy.API(environment="practice", access_token=key)
>>> response = oanda.get_prices(instruments="EUR_USD")
Let's view the returned response data:
>>> print response
{u'prices': [{u'ask': 1.0976, u'instrument': u'EUR_USD', u'bid': 1.09744, u'time': u'2015-03-26T02:15:30.015091Z'}]}
The returned data is of a dictionary object type with the prices key that contains a list of corresponding prices. Let's parse the data of the first item in the list with the bid, ask, instrument, and time keys, and assign them to separate variables:
>>> prices = response["prices"]
>>> bidding_price = float(prices[0]["bid"])
>>> asking_price = float(prices[0]["ask"])
>>> instrument = prices[0]["instrument"]
>>> time = prices[0]["time"]
We can output each variable to ensure that we have parsed the dictionary data correctly:
>>> print "[%s] %s bid=%s ask=%s" % (
>>>     time, instrument, bidding_price, asking_price)
[2015-03-26T02:22:54.776348Z] EUR_USD bid=1.09746 ask=1.09762
The current bid price and ask price for EUR/USD is 1.09746 and 1.09762 respectively.
Let's send a limit order to the server with the following code. Note that the expiry time is required for a limit order, stop order, or market-if-touched order. We will send a limit order to sell 1,000 units of EUR/USD at 1.105 with a one-day expiry period:
>>> """ Send an order """
>>> from datetime import datetime, timedelta
>>>
>>> # set the trade to expire after one day
>>> trade_expire = datetime.now() + timedelta(days=1)
>>> trade_expire = trade_expire.isoformat("T") + "Z"
>>>
>>> response = oanda.create_order(
>>>     account_id,
>>>     instrument="EUR_USD",
>>>     units=1000,
>>>     side="sell", # "buy" or "sell"
>>>     type="limit",
>>>     price=1.105,
>>>     expiry=trade_expire)
>>> print response
{u'orderOpened': {u'lowerBound': 0, u'stopLoss': 0, u'takeProfit': 0, u'upperBound': 0, u'expiry': u'2015-03-26T21:42:28.000000Z', u'trailingStop': 0, u'units': 1000, u'id': 910641795, u'side': u'sell'}, u'instrument': u'EUR_USD', u'price': 1.105, u'time': u'2015-03-26T02:42:28.000000Z'}
Note that the oanda and account_id variables are reused from the previous section. The response data is of a dictionary object type. When successful, the limit order trade will appear in the fxTrade Practice platform under the Orders tab, as shown in the following screenshot:
