In the previous chapters, you've modified an RC car to control it remotely using Raspberry Pi, you've modified a toy robot to respond to your voice commands and you've also built a tracked vehicle that uses sensors to avoid the barriers and arrive at a desired location. In this chapter, you'll leverage some of these capabilities and then add other capabilities so that you can build a pair of wheeled robots to play laser tag.
In this chapter you'll learn the following:
- Construct a simple two-wheeled platform
- Leverage the wireless LAN interface and a USB webcam to control your robot via a remote computer
- Add a joystick to your host computer
- Connect Raspberry Pi to a laser source
- Connect Raspberry Pi to a laser receiver
- Send and receive laser signals programmatically to enable the laser tag capabilities of your robot
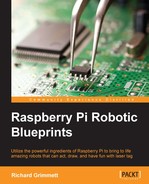
To build this project, you'll want to start with a simple wheeled vehicle. There are many possibilities. The following is a two wheeled vehicle available at many online retail outlets like https://www.amazon.com or http://www.ebay.com:
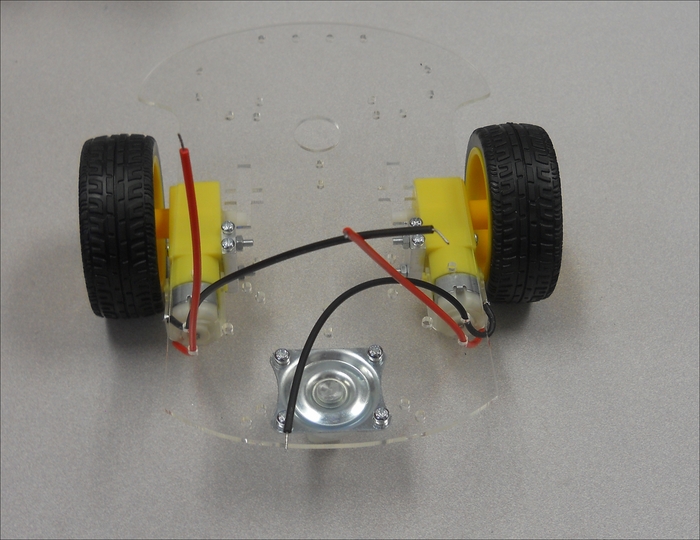
First, you'll build the vehicle using the instructions that come with it. The vehicle uses two DC motors, so you'll control the direction and speed of your robot using a DC motor controller. Since it is so flexible and you are already familiar with it, you'll use the RaspiRobot Board V2. The following is an image of the board:
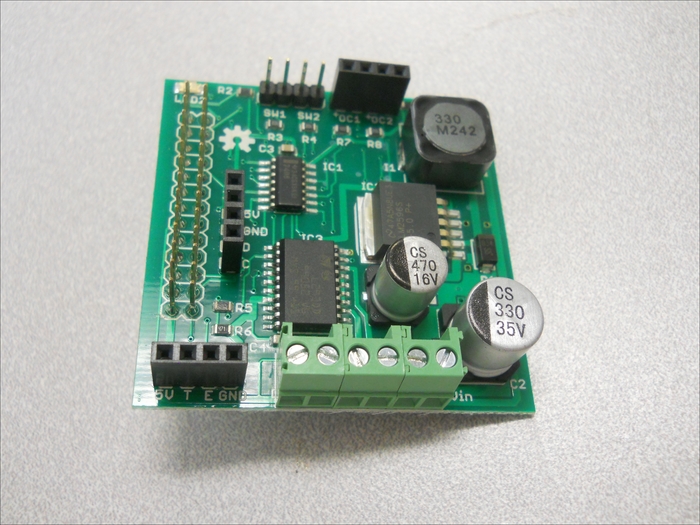
The specifics on the board can be found at http://www.monkmakes.com/?page_id=698. Connections to the board are very similar to the tracked vehicle connections that were described in Chapter 3, Building a Tracked Vehicle That Can Plan Its Own Path. You'll place the motor controller on top of the vehicle, connect the battery to the motor controller, and then connect both the motors, as shown in the following:
Two of each pair of the red and black connectors go to each one of the motors. The other red and black connectors come from the battery. Once the motors are connected, you are ready to start controlling the speed and direction of your wheeled robot.