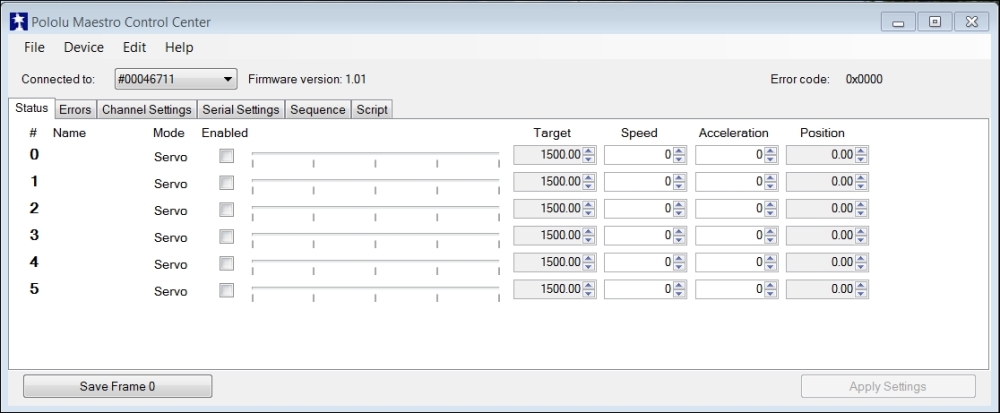
Now, you can connect the motor controller to your PC or Linux machine to see whether or not you can talk to it. Once the hardware is connected, you will use some of the software provided by Pololu to control the servos. Download the Pololu software from http://www.pololu.com/docs/0J40/3.a and install it using the instructions given on the website. Once it is installed, run the software; you should be able to see the window that is shown in the following screenshot:
You will first need to change the Serial mode configuration in Serial Settings, so select the Serial Settings tab; you will see the window that is shown in the following screenshot:

Make sure that USB Chained is selected; this will allow you to connect to and control the motor controller over the USB. Now, go back to the main screen by selecting the Status tab and you can now turn on the four servos. The screen will look as shown in the following screenshot:
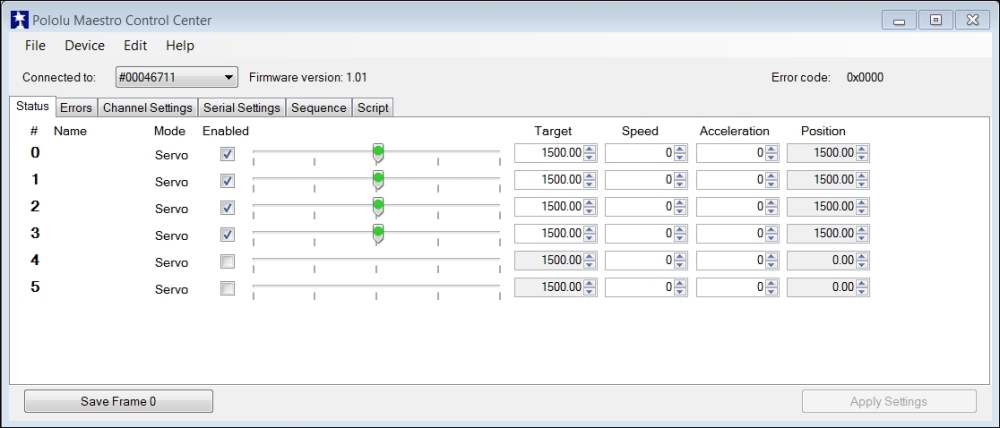
Now, you can use the sliders to control the servos. Enable the four servos and make sure that servo 0 moves the base; 1, the lowest servo; 2, the elbow of the arm; 3, the up and down motion of the wrist, 4, the roll of the wrist, and 5, open and close the claw.
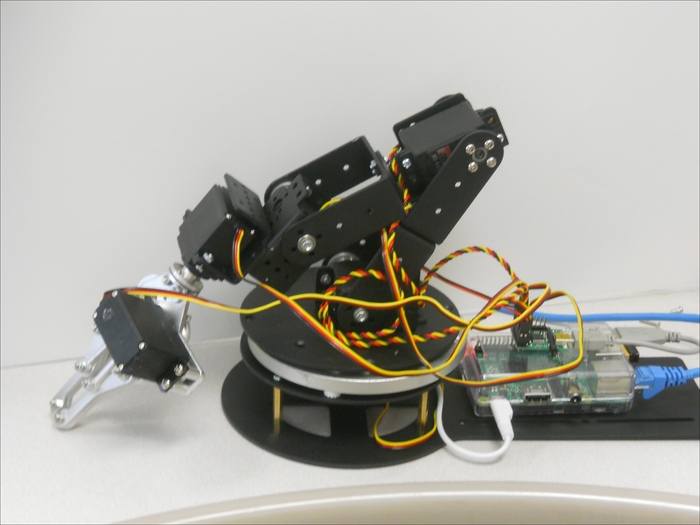
You've checked the motor controllers and servos, now you'll connect the motor controller to Raspberry Pi to control the servos from there. Remove the USB cable from the PC and connect it to Raspberry Pi. The entire system will look similar to the following image:
Let's now talk to the motor controller from your Raspberry Pi by downloading the Linux code from Pololu at http://www.pololu.com/docs/0J40/3.b. To do this, follow these steps:
- First log on to Raspberry Pi using PuTTY and download the
maestro_linux_150116.tar.gzfile. To do this, typewget http://www.pololu.com/file/download/maestro-linux-150116.tar.gz?file_id=0J315into a terminal window. - To move this file into a file that can be used, type
mv maestro-linux-150116.tar.gz?file_id=0J315 maestro-linux-150118.tar.gz. Unpack the file by typingtar –xzfv maestro_linux_150116.tar.gz. This will create a folder calledmaestro_linux. Go to this folder by typingcd maestro_linuxand then typels. You will see the output as shown in the following screenshot:
- The
README.txtdocument will give you explicit instructions on how to install the software. Unfortunately, you can't run Maestro Control Center on your Raspberry Pi. The version of Maestro Control Center that is considered doesn't support the Raspberry Pi graphical system, but you can control your servos using the UscCmd command-line application. First, type./UscCmd --list; you will see the following screenshot: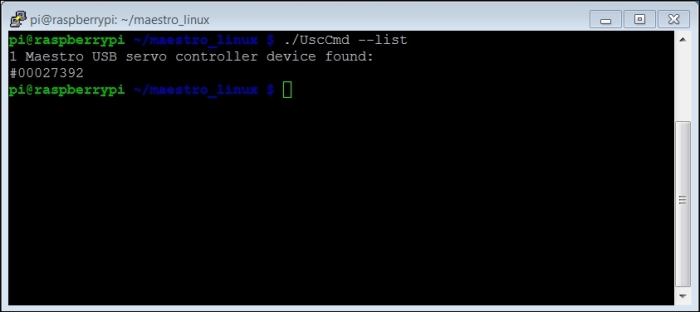
The software now recognizes that you have a servo controller. If you just type ./UscCmd, you can see all the commands that you could send to your controller. When you run this command, you can see the result that is shown in the following screenshot:

Notice that you can send a specific target angle to a servo, although if the target angle is not within the range, this makes it a bit difficult to know where you are sending your servo. Try typing ./UscCmd --servo 0, 10. The servo will most likely move to its full angle position. Type ./UscCmd --servo 0, 0 and it will stop the servo from trying to move. In the next section, you'll write software that will translate your angles into the electronic signals that will move the servos.
If you haven't run the Maestro Controller tool and set the Serial Settings setting to USB Chained, your motor controller may not respond.
