Now, its time to make our application more actionable. Let's begin by transforming our SimpleButton into a Create Note button. When the user clicks on the Create Note button, it transitions them to another screen to create notes. To do this, we need our button to be able to accept a function via props from index.ios.js to activate the transition. We will add some custom text as well for extra flair:
  import React, {
  Text,
  TouchableOpacity,
  View
} from 'react-native';

export default class SimpleButton extends React.Component {
  render () {
    return (
      <TouchableOpacity onPress={this.props.onPress}>
        <View>
          <Text>{this.props.customText || 'Simple Button'}</Text>
        </View>
      </TouchableOpacity>
    );
  }
}

SimpleButton.propTypes = {
  onPress: React.PropTypes.func.isRequired,
  customText: React.PropTypes.string
};
Now, we have extended our SimpleButton component to be reusable with minimal changes. We can always pass different functions through the onPress prop and add custom text if we choose. This is all that we need to modify our SimpleButton; now to include the transition functionality to our index.io.js file.
The following image shows the validating props revisited page:

The Navigator component is a reimplementation of the UINavigationController provided by React Native to manage various screens. Similar to a stack, you can push, pop, and replace routes onto the Navigator. It is fully customizable on both iOS and Android, which we will cover in the next chapter. Import the Navigator into index.ios.js and replace the contents of the render method with:
import React, {
  AppRegistry,
  Navigator,
  StyleSheet,
  View
} from 'react-native';


render () {
  return (
    <Navigator
      initialRoute={{name: 'home'}}
      renderScene={this.renderScene}
    />
  );
}
Navigator receives a prop called initialRoute that accepts an object to be the first route to be put on the stack. The route object can contain any attribute that you need to pass to the screen components. All we need for now is the name of the screen we want to transition to. Next, we need to create the function to pass to the renderScene prop. In the ReactNotes component, we are going to create a function that takes route and navigator as parameters, as shown:
class ReactNotes extends React.Component {
  renderScene (route, navigator) {
     ...
  }
  render () {
    ...
  }
}
When we first load our application, the parameter route will be the object we pass into initialRoute. Using a switch statement and looking at the values of route.name allows us to choose the component we want to render:
renderScene (route, navigator) {
  switch (route.name) {
    case 'home':
      return (
        <View style={styles.container}>
          <SimpleButton
            onPress={() => console.log('Pressed!')}
            customText='Create Note'
          />
        </View>
      );
    case 'createNote':
  }
}
Here, under the home case, you can see our slightly modified code from the original render method in ReactNotes; we have included the onPress and customText props we created earlier. You can add another component to App/Componets/ named NoteScreen.js; this screen will contain the functionality to create a new note:
import React, {
  StyleSheet,
  Text,
  View
} from 'react-native';

export default class NoteScreen extends React.Component {
  render () {
    return (
      <View style={styles.container}>
        <Text>Create Note Screen!</Text>
      </View>
    );
  }
}

var styles = StyleSheet.create({
  container: {
    flex: 1,
    justifyContent: 'center',
    alignItems: 'center',
  }
});
For now, we are only going to use this screen when we press the Create Note button. In the onPress prop arrow function, we are going to push a new route onto the stack using navigator.push:
import NoteScreen from './App/Components/NoteScreen';
class ReactNotes extends React.Component {
renderScene (route, navigator) {
switch (route.name) {
case 'home':
return (
<View style={styles.container}>
<SimpleButton
onPress={() => {
navigator.push({
name: 'createNote'
});
}}
customText='Create Note'
/>
</View>
);
case 'createNote':
return (
<NoteScreen />
);
}
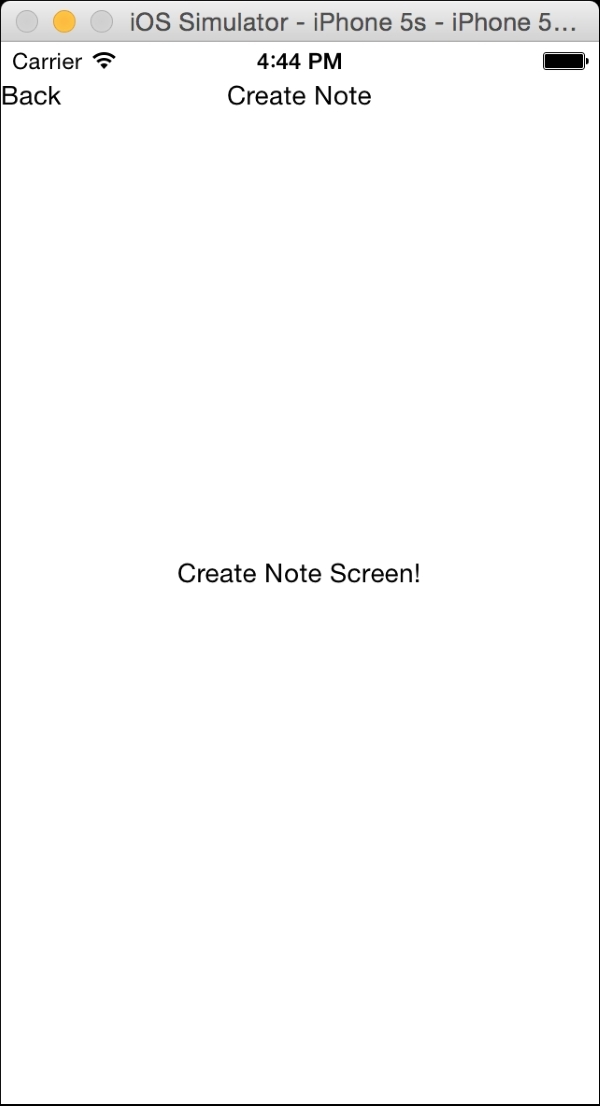
}Note that push also takes a regular JavaScript object, so we need to include the name attribute for our NoteScreen; reload the application in the simulator and press on the Create Note button. A smooth animated transition between the two screens will occur without adding any extra code.
At this point you must be thinking A button is OK, but is there a better, more native way to do navigation? Of course, as a part of the Navigator component, you can pass a navigationBar prop to add a persistent top navigation bar across every screen. The Navigator.NavigationBar is a subcomponent that accepts an object that defines the left and right buttons, a title, and styles (although we are going to leave it unstyled until the next chapter). Modify the ReactNotes render function to include the navigationBar, as shown:
render () {
  return (
    <Navigator
      initialRoute={{name: 'home'}}
      renderScene={this.renderScene}
      navigationBar={
        <Navigator.NavigationBar
          routeMapper={NavigationBarRouteMapper}
        />
      }
    />
  );
}
The routeMapper prop accepts an object containing functions for the LeftButton, RightButton, and Title attributes. Let's insert this object after the imports at the top of index.ios.js:
var NavigationBarRouteMapper = {
  LeftButton: function(route, navigator, index, navState) {
    ...
  },

  RightButton: function(route, navigator, index, navState) {
    ...
  },

  Title: function(route, navigator, index, navState) {
    ...
  }
};
Advancing the flow of our application to the CreateNote screen will require displaying a right-hand button in the navigator bar. Luckily, we already have our simple button set up to push the state onto the navigator. In the RightButton function, add:
var NavigationBarRouteMapper = {
  ...

  RightButton: function(route, navigator, index, navState) {
    switch (route.name) {
      case 'home':
        return (
          <SimpleButton
            onPress={() => {
              navigator.push({
                name: 'createNote'
              });
            }}
            customText='Create Note'
          />
        );
      default:
         return null;
    }
  },

  ...
};
Similar to our previous renderScene method, we can switch on the value of route.name. The default expression in the switch statement is there to ensure that different screens do not return a button unless we include them. Let's also go ahead and add a LeftButton to the NavigationBar when it's on the NoteScreen to return to the home screen.
var NavigationBarRouteMapper = {
  LeftButton: function(route, navigator, index, navState) {
    switch (route.name) {
      case 'createNote':
        return (
          <SimpleButton
            onPress={() => navigator.pop()}
            customText='Back'
           />
        );
      default:
        return null;
    }
  },

  ...
};
The navigator.pop() will remove the route on the top of the stack; thus, returning us to our original view. Finally, to add a title, we do the exact same thing in the Title attributes function:
var NavigationBarRouteMapper = {
  ...

  Title: function(route, navigator, index, navState) {
    switch (route.name) {
      case 'home':
        return (
          <Text>React Notes</Text>
        );
      case 'createNote':
        return (
          <Text>Create Note</Text>
        );
    }
  }
};
Now, let's update the original renderScene function to get rid of the button and include the home screen as a component. Create a new component called HomeScreen; the contents of this screen won't matter much, as we will come back to it later:
import React, {
  StyleSheet,
  Text,
  View
  } from 'react-native';
export default class HomeScreen extends React.Component {
  render () {
    return (
      <View style={styles.container}>
        <Text>Home</Text>
      </View>
    );
  }
}
var styles = StyleSheet.create({
  container: {
    flex: 1,
    justifyContent: 'center',
    alignItems: 'center',
  }
});
Then import it into index.ios.js or index.android.js:
import HomeScreen from './App/Components/HomeScreen';
...
class ReactNotes extends React.Component {
renderScene (route, navigator) {
switch (route.name) {
case 'home':
return (
<HomeScreen />
);
case 'createNote':
return (
<NoteScreen />
);
}
}
...
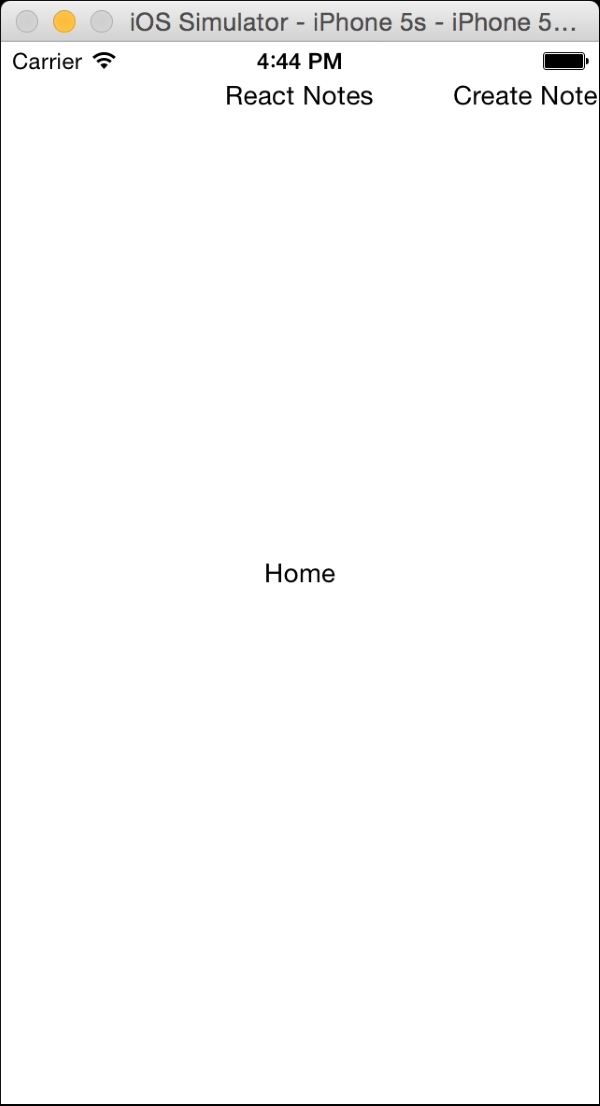
}Now, let's see how the navigation bar persists across each route:
That's it! Reload and take a look at how the static navigation bar persists across each route:
For a more detailed guide on Navigator, check out the React Native documentation at https://facebook.github.io/react-native/docs/navigator.html. We now have the proper infrastructure to go ahead and start adding the create note functionality to our application.
Now that we have a NoteScreen and can navigate to it, let's start making it useful. We'll need to add some TextInput components, one for the title of the note and one to capture the body. We'll want to automatically set focus on the TextInput for the title, so the user can start typing right away. We'll need to listen to events on the TextInput components, so we can keep a track of what the user has typed by updating the state. We'd also like to know when the user has finished editing the title of the note, so that we can automatically set focus on the TextInput for the body.
First, let's add the TextInput component to our list of dependencies and remove the Text component since we no longer need it:
import React, {
  StyleSheet,
  TextInput,
  View
}from 'react-native';
Before we add the TextInput components to the View, let's get a few style updates out of the way:
var styles = StyleSheet.create({
  container: {
    flex: 1,
    justifyContent: 'center',
    alignItems: 'center',
    marginTop: 64
  },
  title: {
    height: 40
  },
  body: {
    flex: 1
  }
});
Note that we've added a marginTop: 64 to the container. This is important because we want to make sure that the NavigationBar doesn't accidentally intercept the onPress events we want our TextInput to receive. We've also added styles for each of the TextInputs we're about to add. We'll talk more about styles in detail in Chapter 4, Working with Styles and Layout.
Now, in our render function, let's replace the Text component with two TextInput components, such as:
render () {
  return (
    <View style={styles.container}>
      <TextInput placeholder="Untitled"
        style={styles.title}/>
      <TextInput multiline={true}placeholder="Start typing" style={styles.body}/></View>
  );
}
Before we try this out, notice that the TextInput component has a placeholder property that allows us to tell the user what the TextInput is for without having to take up additional screen real estate by labeling our form fields. I've also specified multiline={true} on the second TextInput so the user can add as much text as they want.
Now let's refresh the application in the simulator and you should see something like this:
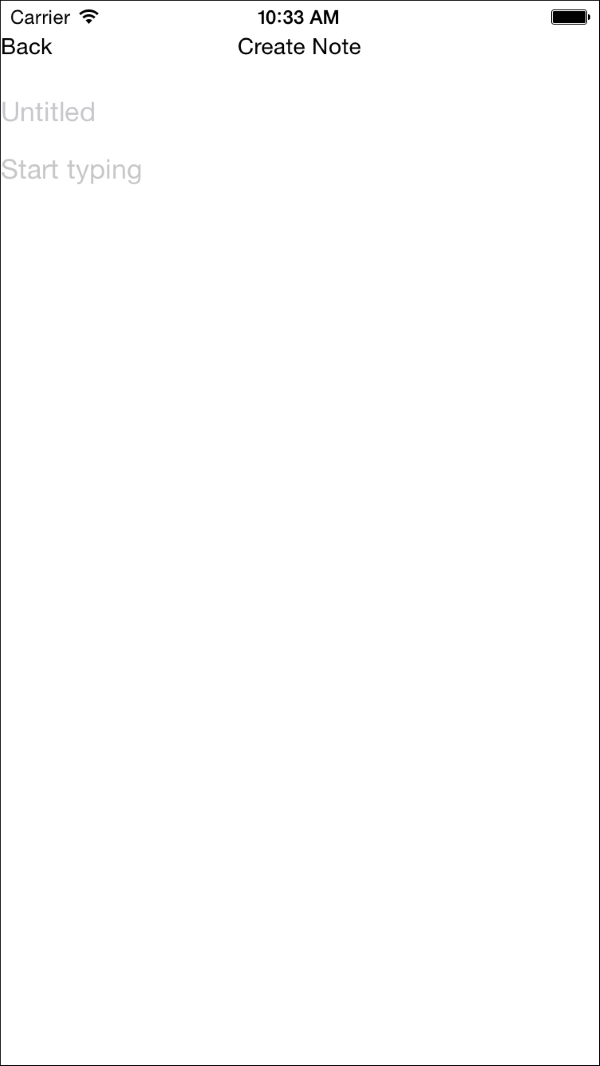
You should be able to click into TextInput and start typing. If you'd like to use the on-screen keyboard available in the simulator, you can press Cmd+K / Ctrl+K.
Let's improve the user experience a little bit by making the title TextInput focus automatically and show the keyboard when the user navigates to the NoteScreen:
<TextInput
  ref="title"
  autoFocus={true}
  placeholder="Untitled"
 style={styles.title}
/>
To be even more user friendly, let's listen for the event that tells us the user has finished editing the title and automatically set focus on the body TextInput. To do that we'll need to make a slight change to the body TextInput so that we can refer to it in our event handler:
<TextInput
  ref="body"
  multiline={true}
  placeholder="Start typing"
  style={styles.body}
/>
Notice the ref="body". Any React component can be given a ref so that it can be referenced in your javascript code. Now, in the title TextInput, we can add an onEndEditing event handler that sets focus on the TextInput body:
<TextInput
  autoFocus={true}
  placeholder="Untitled"
  style={styles.title}
  onEndEditing={(text) => {this.refs.body.focus()}}
  />
Note
Avoid using refs to set and get values on your components! That's what state is for and we'll learn all about state in Chapter 4, Displaying and Saving Data.
Now when you refresh the application in the simulator and navigate to the NoteScreen, you will see that the title TextInput has focus and you should be able to type something. Press Enter and see the focus automatically switch to the body and start typing there as well. If you're not seeing the on-screen keyboard when you try this, press Cmd + K / Ctrl + K and try again.