chapter 8
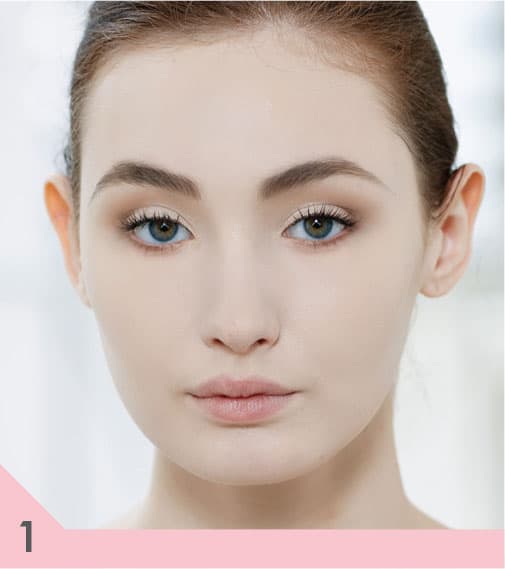
pout perfect
Who wouldn’t love to walk around with stunningly beautiful, full lips? It’s entirely possible, but a lot goes into getting the perfect pout. First, we’ve already talked about the importance of picking the right color. Color can make a big impact, so choose carefully. Then we can start to talk about application and technique.
Lip liner and lipstick are great tools for creating effects. You can create shading on red or nude lips that take them to a whole new level. The right shade of liner can ground a shade that feels a bit too bright. With the right lip liner and lipstick, you can create a gradation of color that will give the illusion of fullness or even add depth. The right combination of colors and techniques can be life changing.
lip service
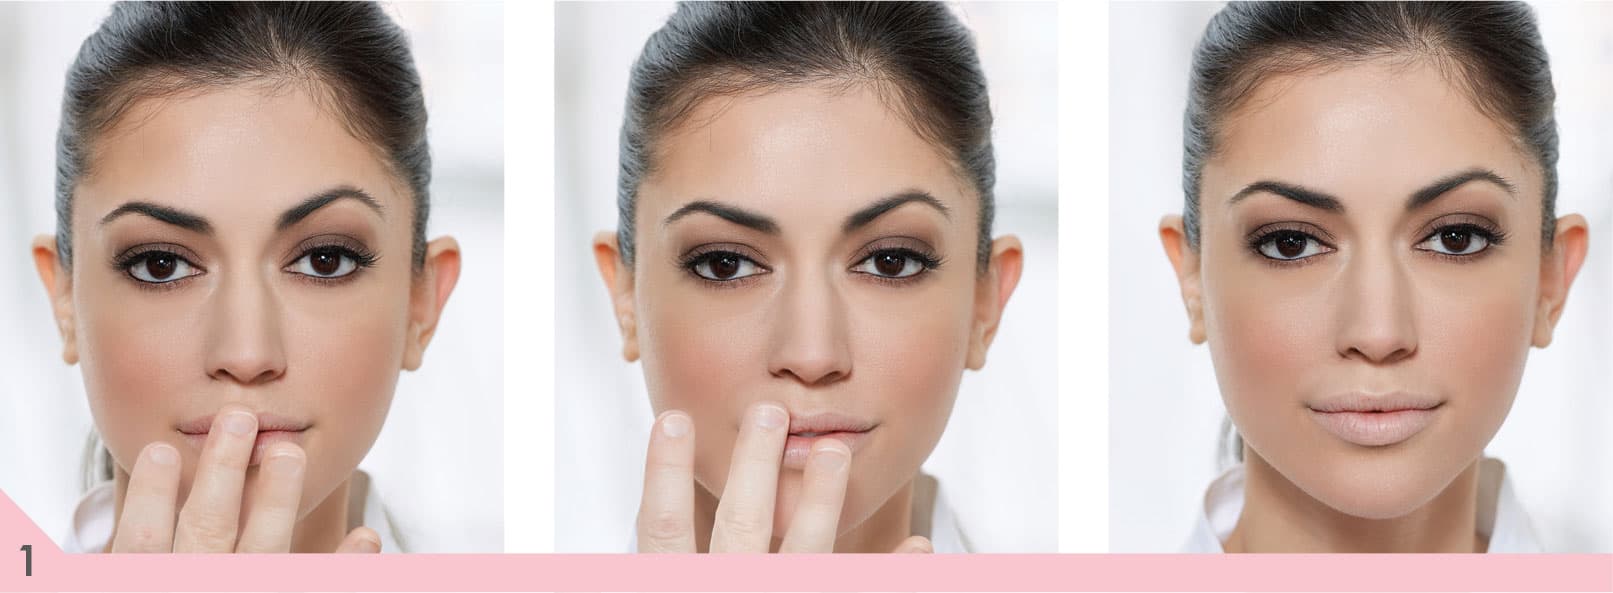
To keep your lips looking luscious and because color adheres better to a smooth surface, exfoliate your lips at least once a week. To exfoliate, simply apply a generous layer of lip balm to your lips, let it soak in for a few minutes, and then brush your lips with a soft baby’s toothbrush. (You could even brush them while you are brushing your teeth.) Rub them with a nubby-textured washcloth if you don’t have a toothbrush handy. The balm will soften the dry skin so that brushing or rubbing them will remove the dry layer of skin, leaving the lips soft and smooth.
I always like to use a little lip balm or moisturizer on the lips before I apply lip color, because it helps the lip liner and lipstick go on smoothly and more evenly. Just apply the lip balm when you first start doing your makeup, at the same time you apply your moisturizer. This will give the balm time to soak in. Then, right before you apply your lip color, blot off the excess so the balm won’t shorten your lip color’s wearing time.
apply lip liner
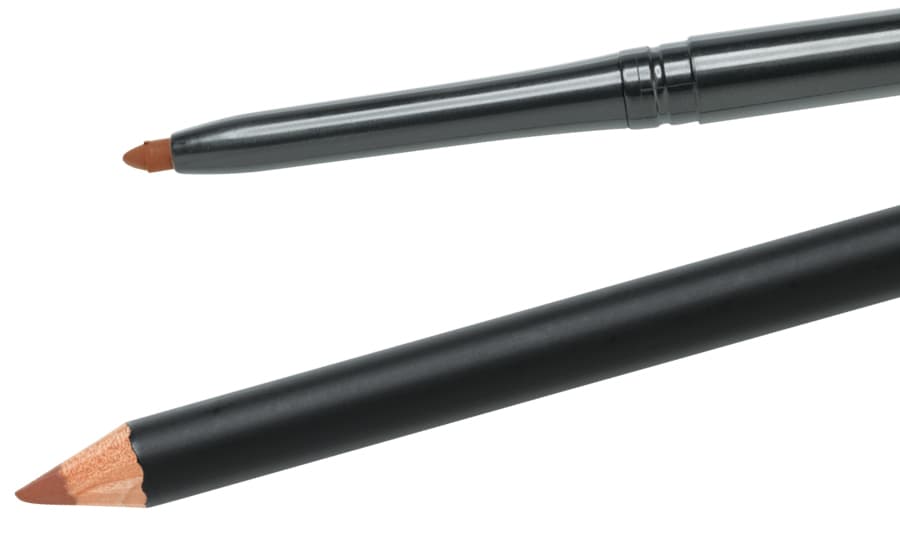
Lining your lips with lip pencil will help prevent lipstick from feathering and bleeding, but don’t stop there. Be sure to blend inward so that when your lipstick wears off, you aren’t left with just an outline. Your lip liner should never be visible after you have applied your lipstick and/or gloss. You’ll find that a lip brush will help give you a more precise application and help everything blend better.
Make sure to optimize your entire mouth. Most people don’t; they tend to draw inside their natural lip line. Most of the time, your lip line extends farther than the colored portion of the lip. Use your entire lip!
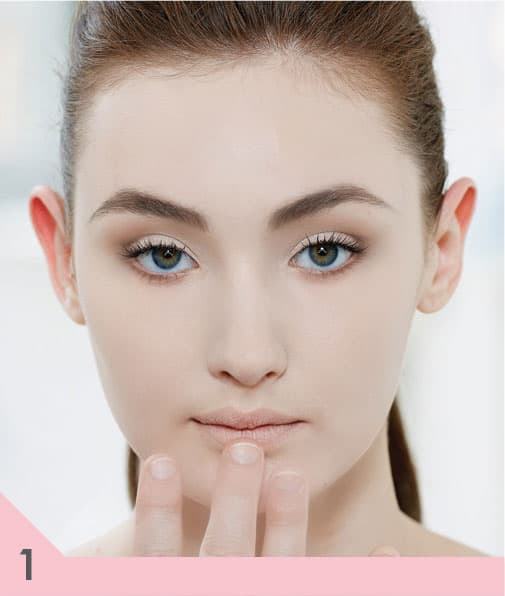
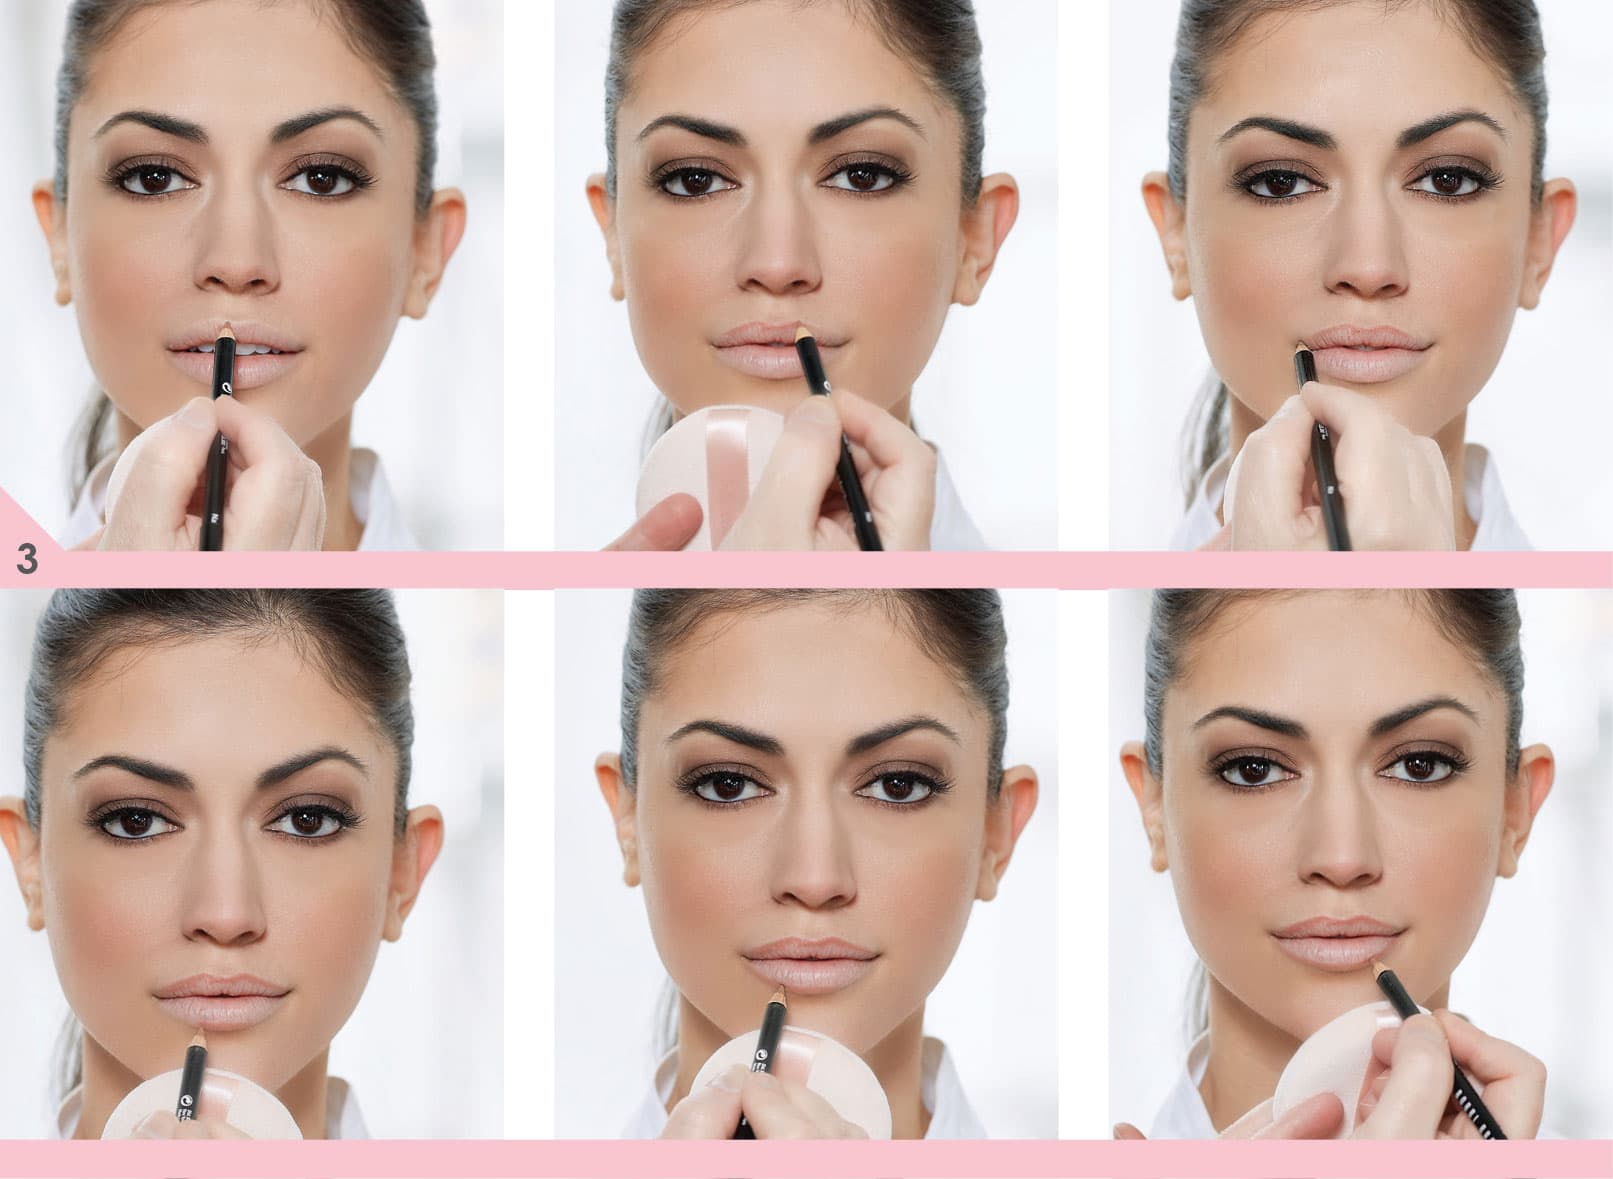
1. Optional: Use concealer or foundation to conceal your natural lip line, which creates a perfect canvas to draw back on your lip line.
2. Begin with a letter v in your “cupid’s bow,” or the center curve of your lips. Bring the liner up and around the curves of your bow.

3. Accentuate the lower curve of your lower lip.

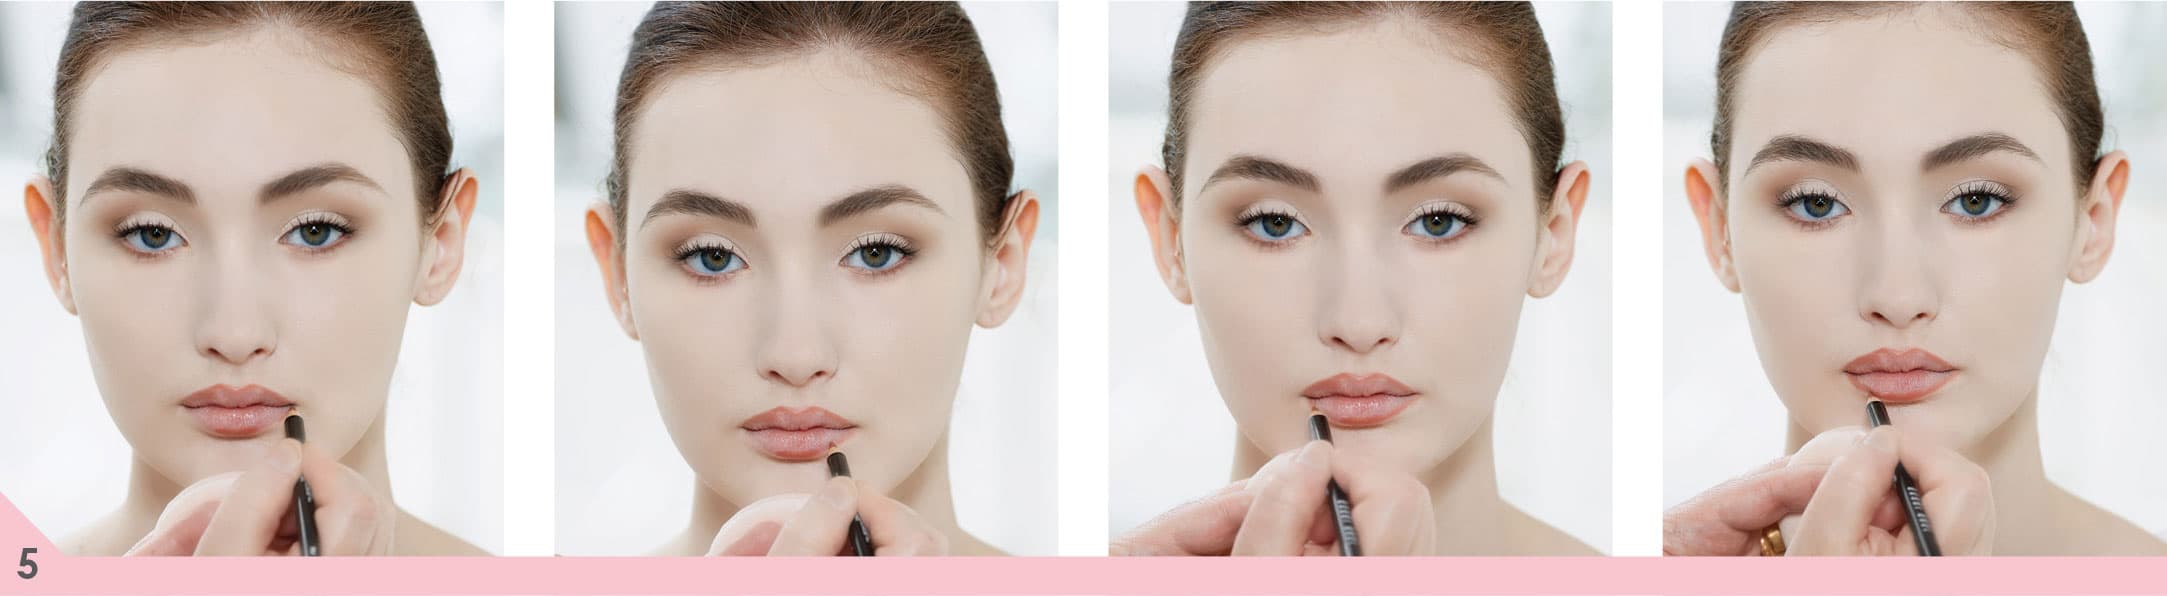
4. Starting at the outer corners, bring your pencil toward the center bow, connecting the lines. Repeat with the other side.
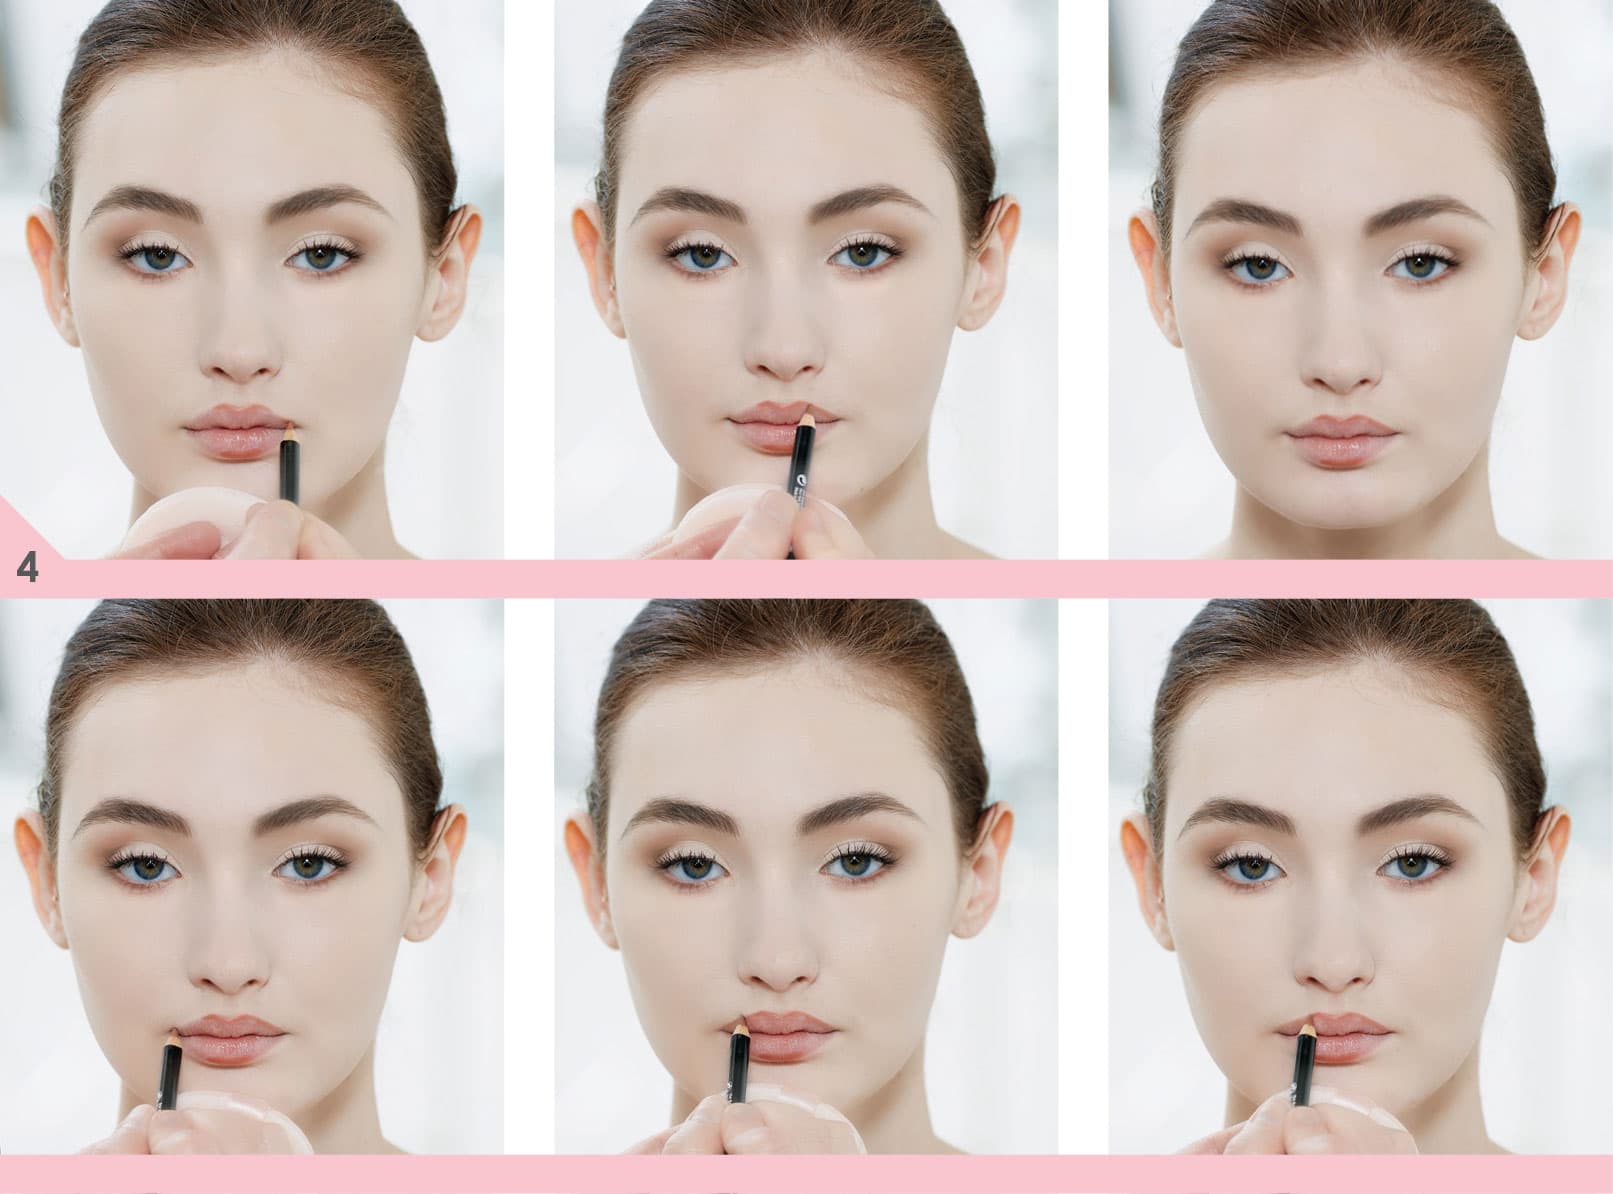
5. Starting in the outside corner of your lower lip, bring your pencil toward the center, connecting your lines. Repeat on the other side.
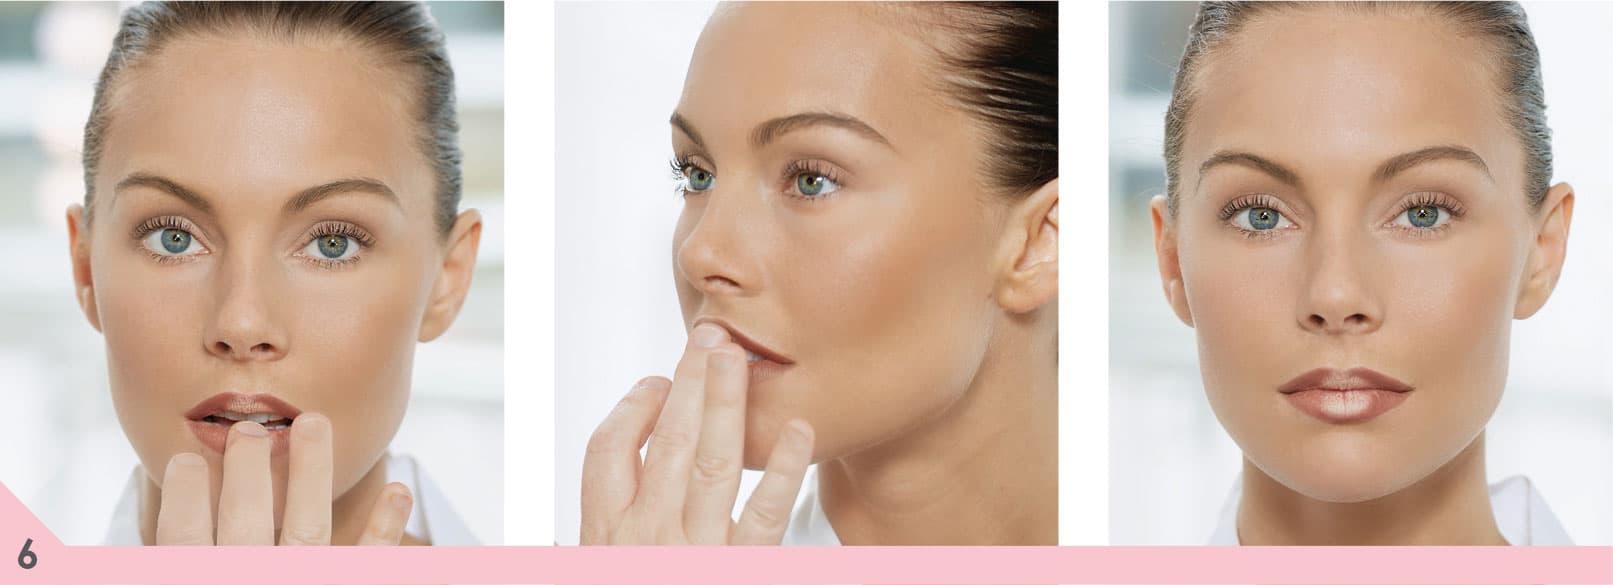
tip: To keep your lipstick from traveling, choose an intense shade and dab it on with your finger, using very little product.
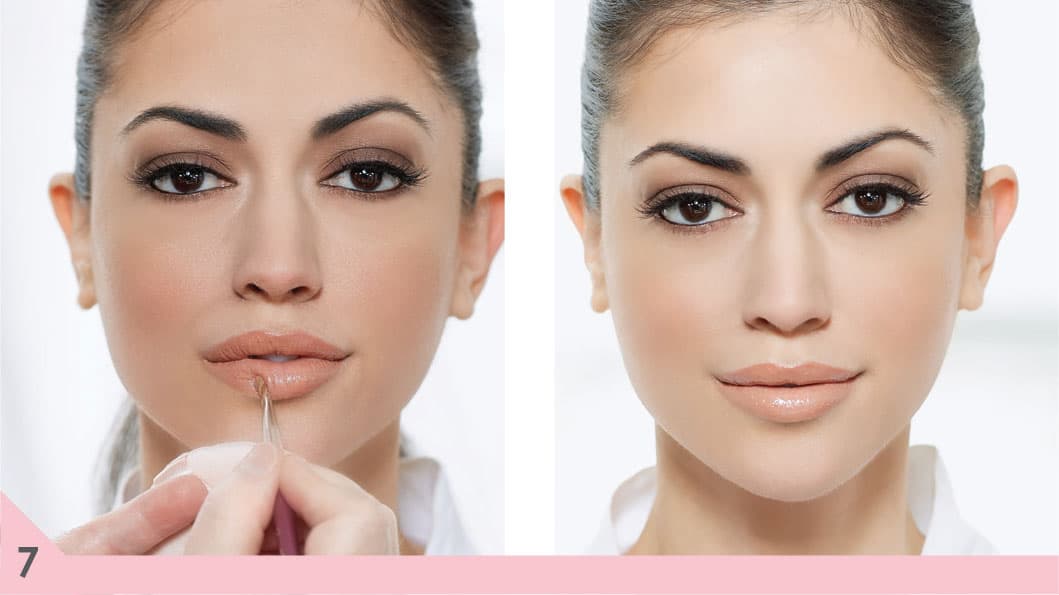
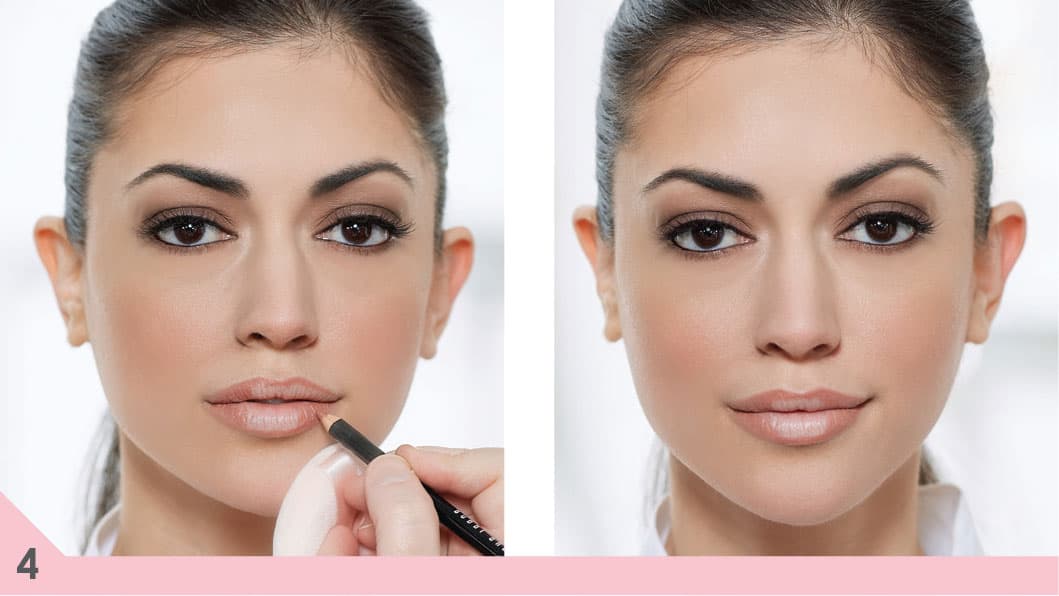
6. Remember to use your entire lip: Take the color to the nearly invisible line at the edge of the colored part of your lips. Blend with a lip brush to make it look its most natural.
7. Your lips are now ready for lipstick and gloss.

You can use a brush, your fingers, or a tube to apply your lipstick, but if it’s applied with a brush, it will usually look much more precise and last longer. For more intense color, you can apply it straight from the tube, but it will be harder to cover the smaller, detailed areas of your lips. Even if you do apply it straight from the tube, you could go back over it with a brush for a better blend. Similarly, if you apply your lip gloss with a brush, it will appear shinier than if you apply it with a sponge tip.
tip: Putting on lipstick straight from the tube will not blend your lip liner. You should always blend your lip liner with a brush toward the center of the lips.
tip: To keep lipstick from smearing onto your teeth, after application, stick your finger in your mouth and pull it out. This will remove any color on the inside of your lips, so it won’t smear onto your teeth.
fuller lips
One of the makeup effects with the biggest bang is making your lips look fuller. Not only do most people with thinner lips want their lips to look fuller, but fuller lips make you look younger, softer, and even friendlier. As we age, our lips lose some of their fullness, so this technique can come in handy. You need three tools to make this happen: a natural tone lip liner, a natural tone lipstick (if it is too dark it will only make your lips look smaller), and a shimmering lip gloss. It’s easy and effective, so let’s give it a try:
1. Exfoliate and moisturize your lips with lip balm to make sure they are smooth and ready for color.

2. Erase your existing lip line with concealer or foundation, creating a fresh canvas on which you can create your new improved lip.

3. Using a natural-toned lip pencil (not dark, but neutral and natural), draw a line just slightly above your natural lip across the top and slightly below your lip along your lower lip line. Don’t exaggerate the line.

4. Fill in your lips with lip liner, except for the very centers of your top and bottom lips.

5. Using a lip brush, blend in your lip liner.

6. Place a dab of concealer in the centers of your top and bottom lips.
7. Apply your lipstick. It will mix with the concealer, keeping the center of your lips lighter and making them appear fuller.

8. To finish, apply a light, shimmery lip gloss to the center of your lips over your lipstick (blending it outward). This will reflect light, helping your lips appear even fuller.

tip: For the most natural-looking lipstick, choose a shade close to your own lip color, just glossier and slightly deeper.
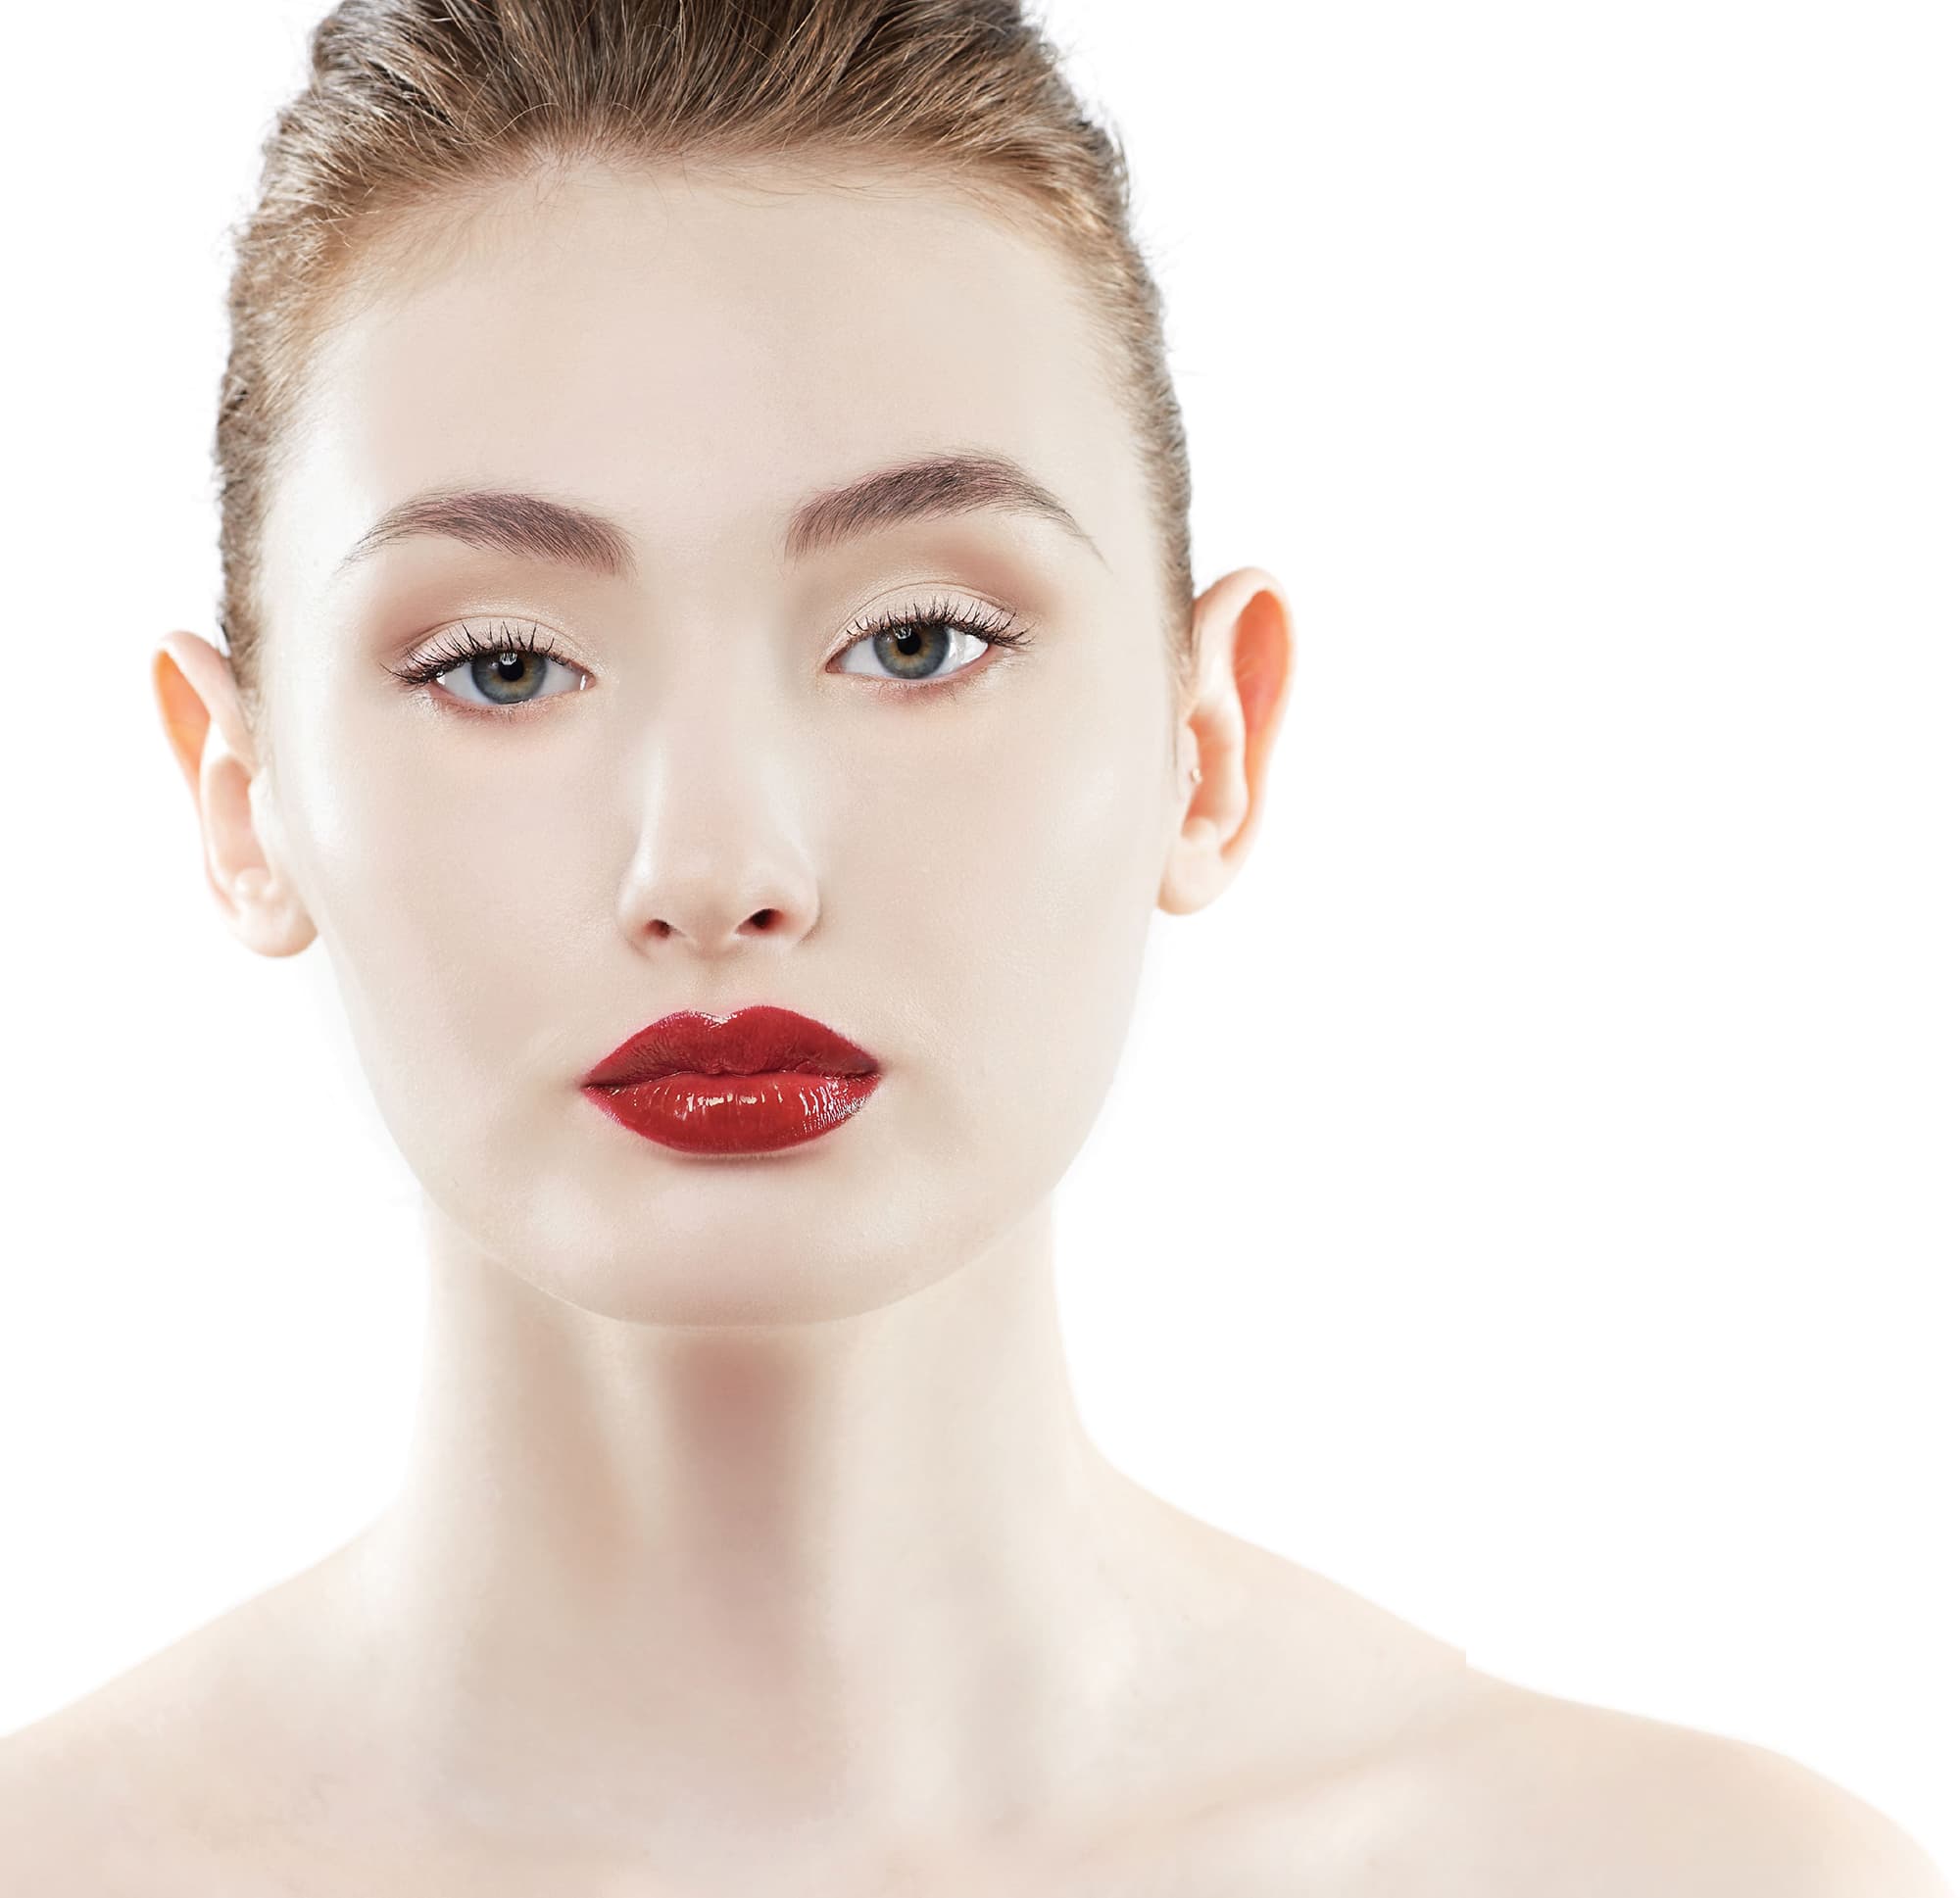
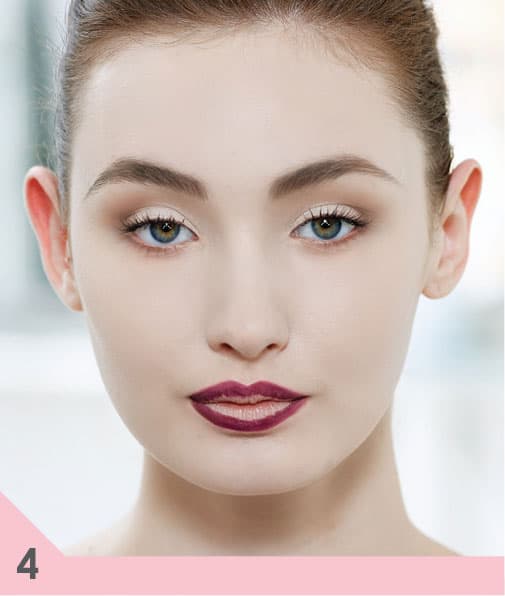
the perfect red lip
Creating the perfect red lip is all about grounding it because most red lipsticks tend to glow on the face without the grounding. You need a gradation of darkness on the outer edges slowly moving to a lighter red on the interiors. This not only makes the lip look fuller, but it gives the red lip a nice edge.
1. Exfoliate and moisturize your lips with lip balm to make sure they are smooth and ready for color.
2. Erase your existing lip line with concealer or foundation.
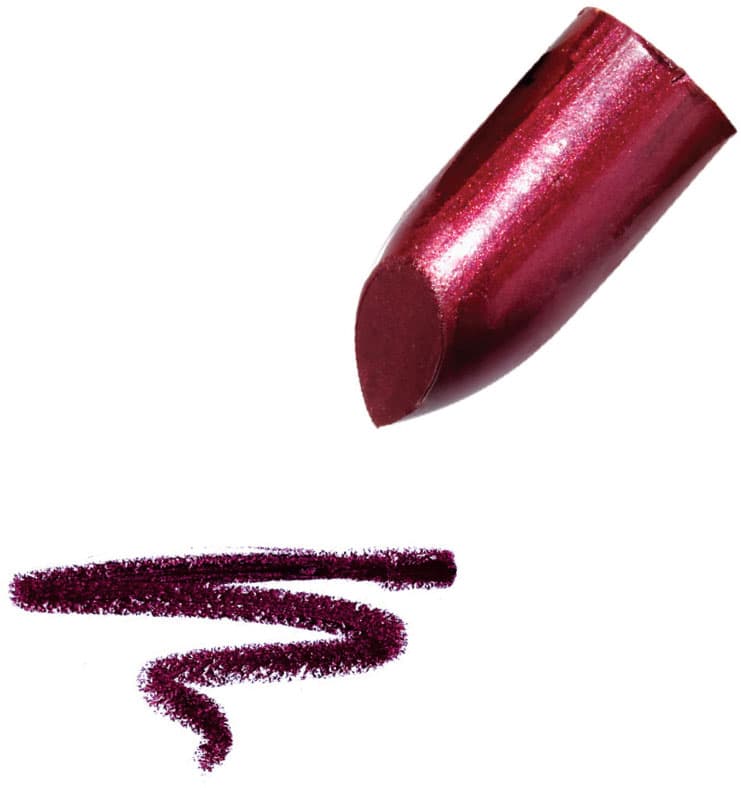
3. Using a burgundy (or if you prefer, chocolate) lip liner, line your lips.
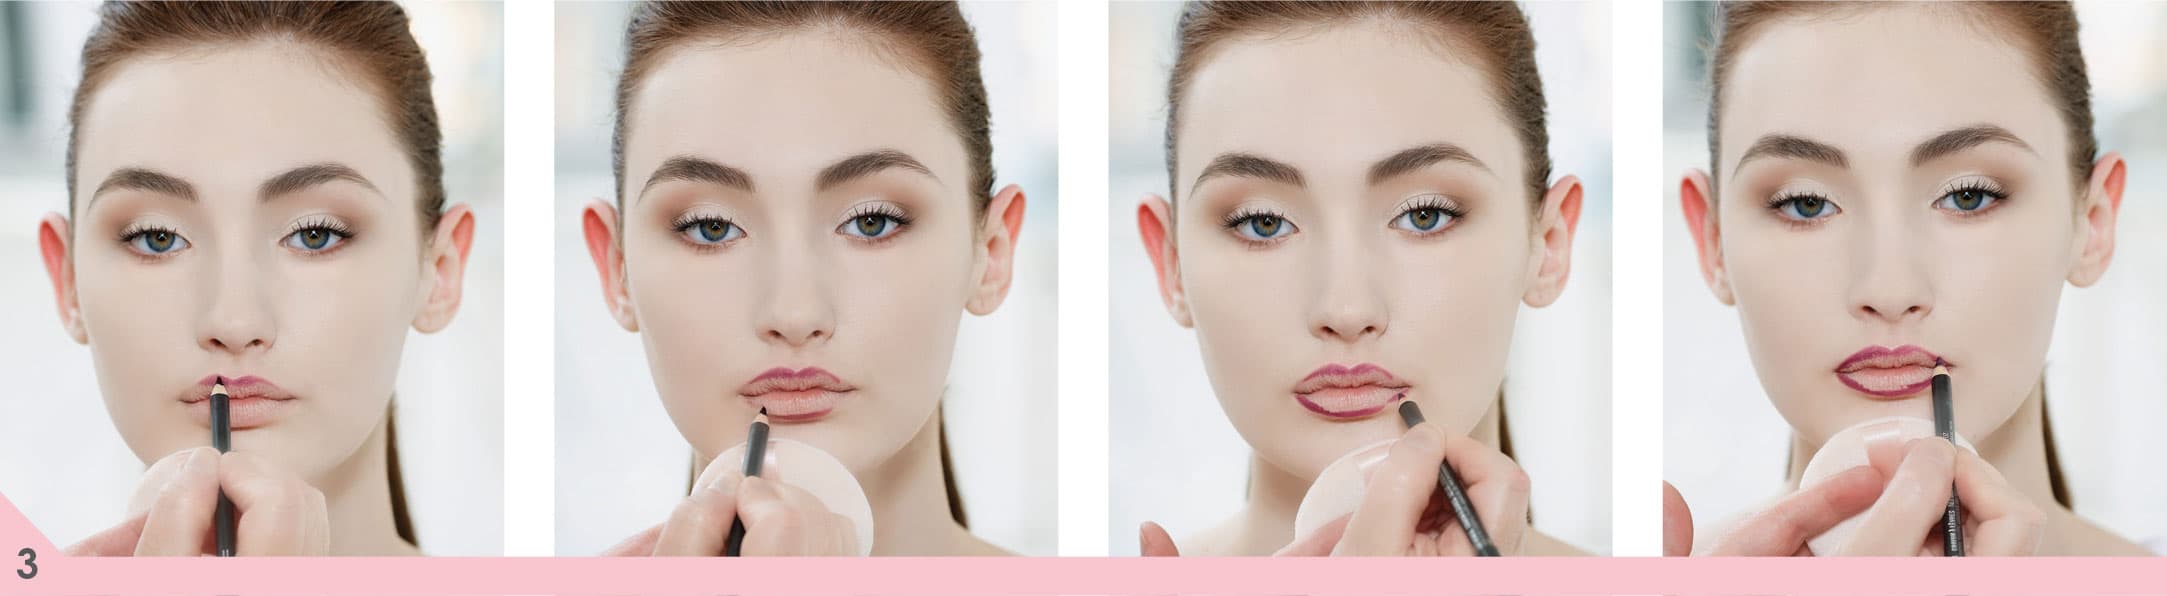
4. Now fill in your lips with that same lip liner, except for the center. This will create more depth in the outer edge of your lip while keeping the center slightly lighter.
5. Using a lip brush, blend in your lip liner.

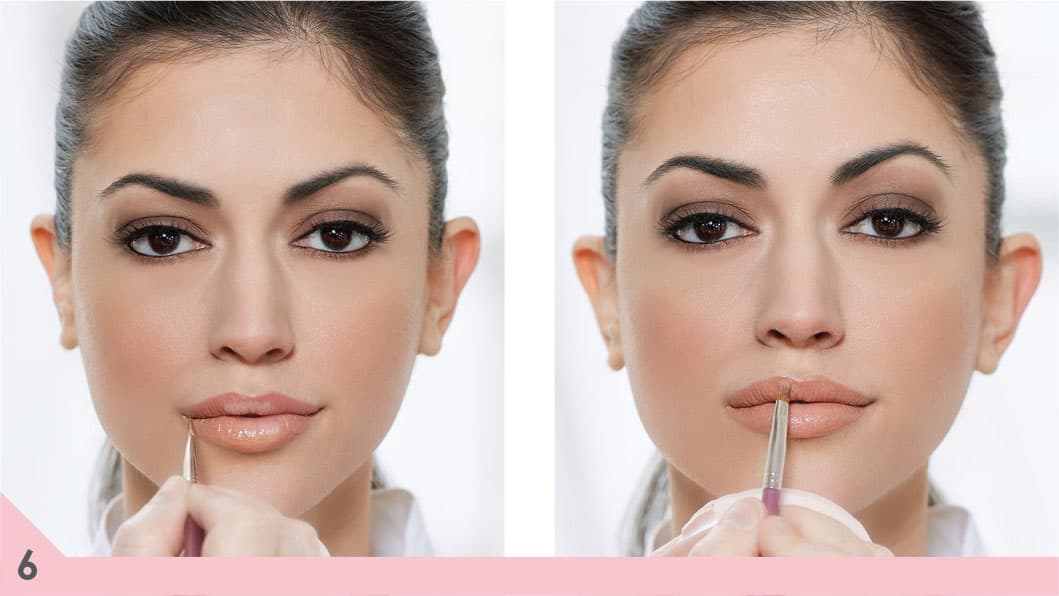
6. With a lip brush for an exact application, apply your favorite red lipstick. Start in the center and work toward the edges so you can get an exact edge. You can always go back with a concealer brush and some concealer and fix the edge if you make a mistake.

7. Finish with red or burgundy gloss, depending on the effect you want. Start your application in the center of the lip and keep the majority of the product there to help prevent bleeding.


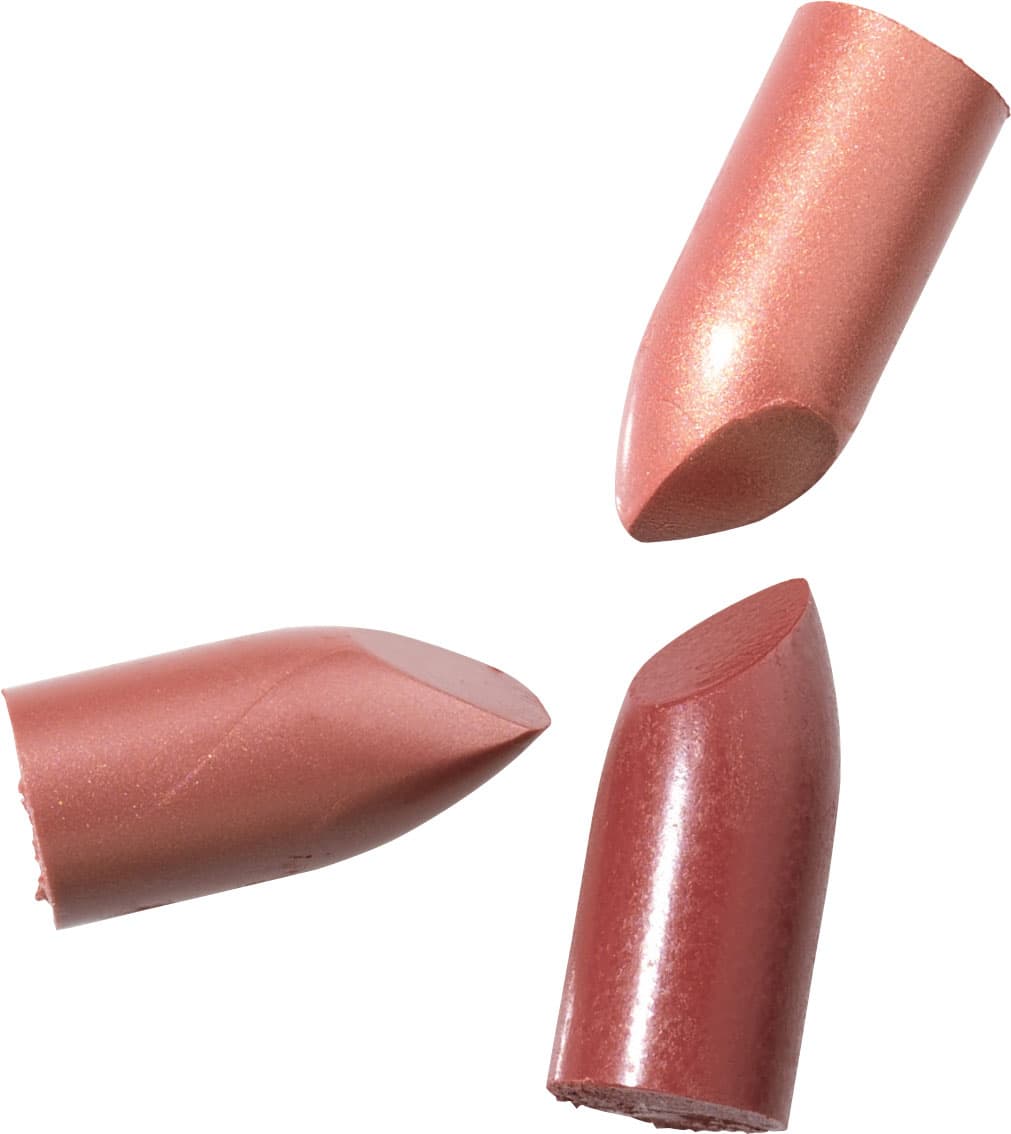
the perfect nude lip
Most people think the perfect nude lip is just about choosing the right shade, but it also requires the right application. Because it is such a pale color, it is about creating a gradation of color. It’s about creating a little bit more depth in the outer edge of the lip for definition.
Picking the exact shade you need may seem daunting, but with the right one, everyone looks great in a nude lip. If you have ivory skin, pick a shade with some pink or peach in it; anything too beige could make you look too washed out. If you have beige to dark beige skin, look for a nude with a peach, beige, or caramel tone. And if you have bronze or ebony skin, look for a nude with deep caramel and mocha tones for the perfect pucker.
1. Exfoliate and moisturize your lips with lip balm to make sure they are smooth and ready for all color.
2. Erase your existing lip line with concealer or foundation.
3. Using a nude lip liner that is one level deeper than your lipstick, line your lips.
4. Using the same lip liner, fill in all but the centers of your upper and lower lips.
5. Using a lip brush, blend in your lip liner.

6. With your lip brush for exact application, apply your favorite nude lipstick.
7. Finish with nude lip gloss for extra shine and shape.