
This book will cover setting up SDL 2.0 in Microsoft's Visual C++ Express 2010 IDE. This IDE was chosen as it is available for free online, and is a widely used development environment within the games industry. The application is available at https://www.microsoft.com/visualstudio/en-gb/express. Once the IDE has been installed we can go ahead and download SDL 2.0. If you are not using Windows to develop games, then these instructions can be altered to suit your IDE of choice using its specific steps to link libraries and include files.
SDL 2.0 is still in development so there are no official releases as yet. The library can be retrieved in two different ways:
- One is to download the under-construction snapshot; you can then link against this to build your games (the quickest option)
- The second option is to clone the latest source using mercurial-distributed source control and build it from scratch (a good option to keep up with the latest developments of the library)
Both of these options are available at http://www.libsdl.org/hg.php.
Building SDL 2.0 on Windows also requires the latest DirectX SDK, which is available at http://www.microsoft.com/en-gb/download/details.aspx?id=6812, so make sure this is installed first.
Getting SDL 2.0 directly from the constantly updated repository is the best way of making sure you have the latest build of SDL 2.0 and that you are taking advantage of any current bug fixes. To download and build the latest version of SDL 2.0 on Windows, we must first install a mercurial source control client so that we can mirror the latest source code and build from it. There are various command-line tools and GUIs available for use with mercurial. We will use TortoiseHg, a free and user-friendly mercurial application; it is available at tortoisehg.bitbucket.org. Once the application is installed, we can go ahead and grab the latest build.
Cloning and building the latest version of SDL directly from the repository is relatively straightforward when following these steps:
- Open up the TortoiseHg Workbench window.
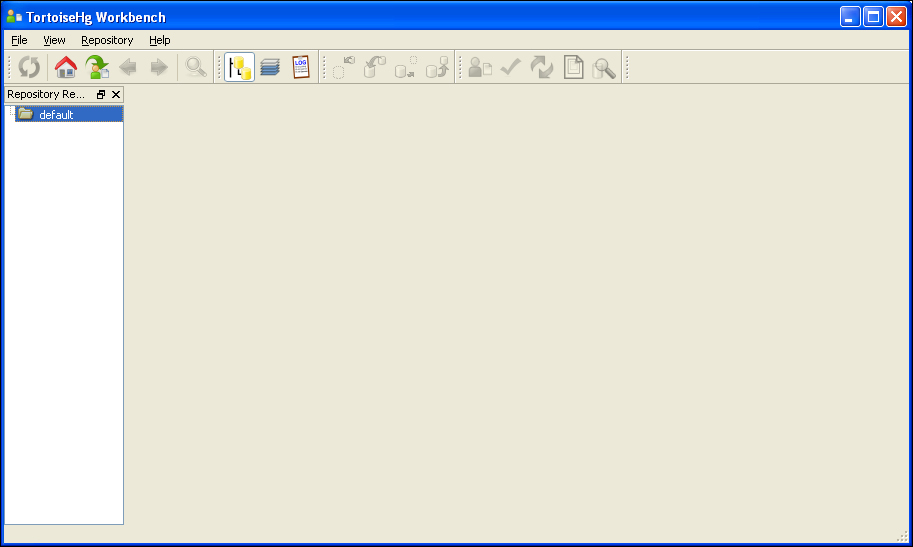
- Pressing Ctrl + Shift + N will open the clone dialog box.
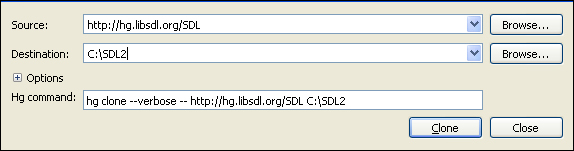
- Input the source of the repository; in this case it is listed on the SDL 2.0 website as http://hg.libsdl.org/SDL.
- Input or browse to choose a destination for the cloned repository—this book will assume that
C:SDL2is set as the location. - Click on Clone and allow the repository to copy to the chosen destination.
- Within the
C:SDL2directory there will be aVisualCfolder; inside the folder there is a Visual C++ 2010 solution, which we have to open with Visual C++ Express 2010. - Visual C++ Express will throw up a few errors about solution folders not being supported in the express version, but they can be safely ignored without affecting our ability to build the library.
- Change the current build configuration to release and also choose 32 or 64 bit depending on your operating system.
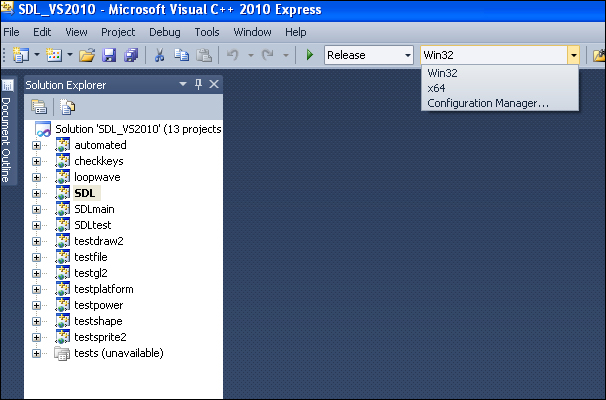
- Right-click on the project named SDL listed in the Solution Explorer list and choose Build.
- We now have a build of the SDL 2.0 library to use. It will be located at
C:SDL2VisualCSDLWin32(or x64)ReleaseSDL.lib. - We also need to build the SDL main library file, so choose it within the Solution Explorer list and build it. This file will build to
C:SDL2VisualCSDLmainWin32(or x64)ReleaseSDLmain.lib. - Create a folder named
libinC:SDL2and copySDL.libandSDLmain.libinto this newly created folder.
Now a Visual C++ 2010 project can be created and linked with the SDL library. Here are the steps involved:
- Create a new empty project in Visual C++ express and give it a name, such as
SDL-game. - Once created, right-click on the project in the Solution Explorer list and choose Properties.
- Change the configuration drop-down list to All Configurations.
- Under VC++ Directories, click on Include Directories. A small arrow will allow a drop-down menu; click on <Edit…>.
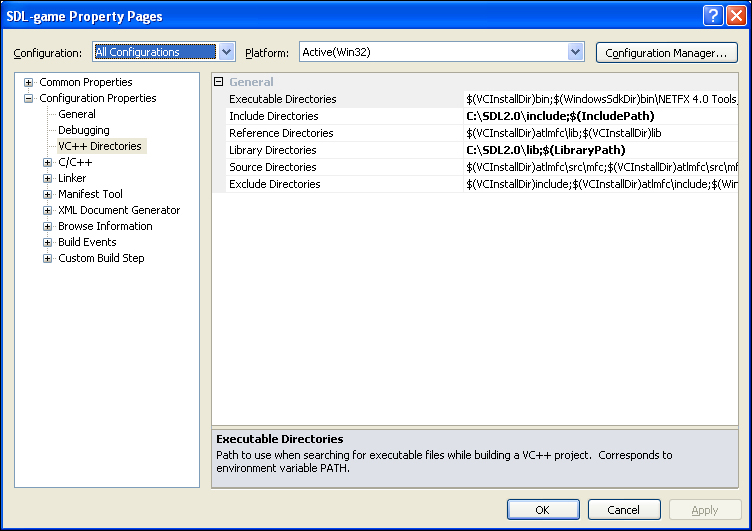
- Double-click inside the box to create a new location. You can type or browse to
C:SDL2.0includeand click on OK. - Next, do the same thing under library directories, this time passing in your created
libfolder (C:SDL2lib). - Next, navigate to the Linker heading; inside the heading there will be an Input choice. Inside Additional Dependencies type
SDL.lib SDLmain.lib: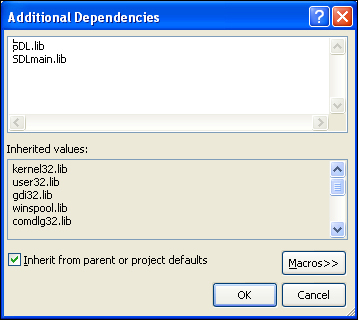
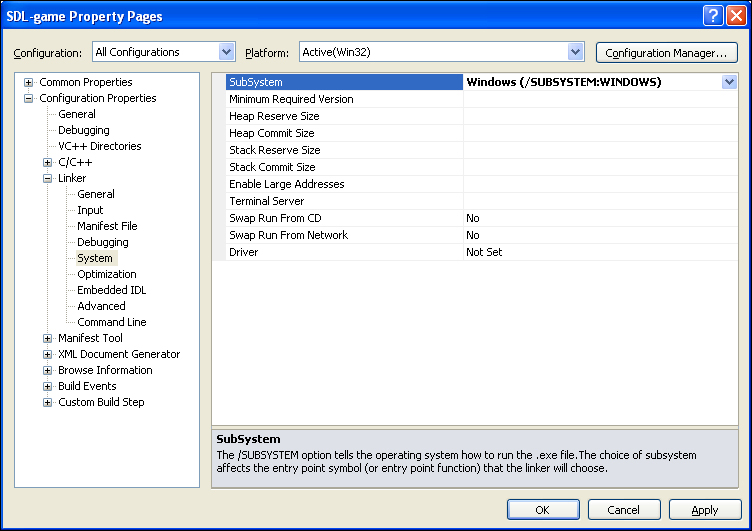
- Navigate to the System heading and set the SubSystem heading to Windows(/SUBSYSTEM:WINDOWS).
- Click on OK and we are done.