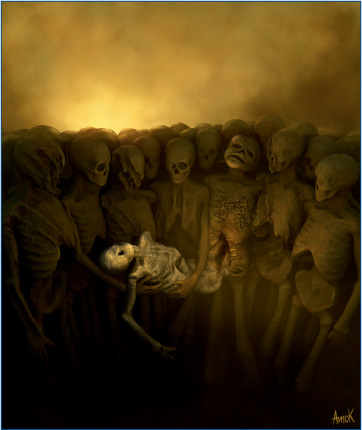
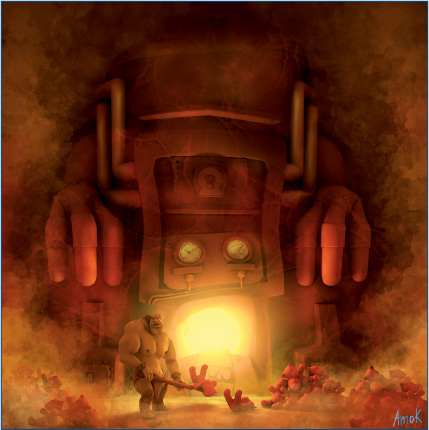
Q1: | Who/what are your inspirations and influences? |
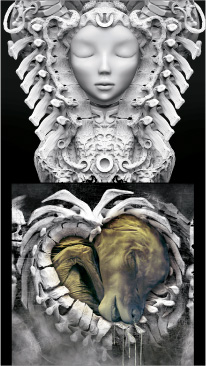
| Music is my most important inspiration. Sometimes it is just a short phrase from lyrics that triggers the creation process. I start to develop the ideas based on my own interpretation of the fragment. I always listen to music when I create. I love to trek through the wilderness of Scotland because nature is another inspiration for me. Beautiful colors and breathtaking landscapes influence my art. I look for ideas in faces of people I pass on a street, in shapes hidden on stained old walls, or in colors of corroded metal. The entire world around me is inspiration. I just see it in a different way when I close my eyes. |
Q2: | When did you start using ZBrush? |
| My first contact with ZBrush was about six years ago. It was ZBrush 2. I used it to detail meshes imported from Softimage XSI and to create displacement maps. I started to use ZBrush more and more after the ZBrush 3 release. Now ZBrush 4 is my main 3D tool—from creating initial meshes to rendering. |
Q3: | Describe your creative process and workflow. How does ZBrush fit? |
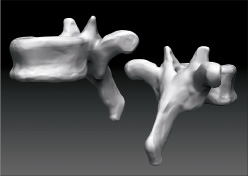
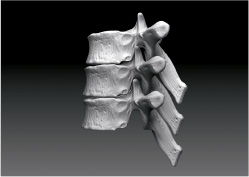
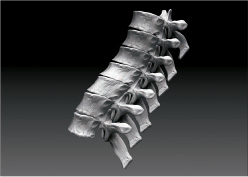
| I never sketch out my ideas. When I have the idea in my head, I start straight in 3D and then experiment and develop it in the 3D environment. I use references in a limited way. I don’t want to copy reality. Most of the time I start in ZBrush with ZSpheres. Then when I am happy with the result, I convert it to PolyMesh3D and start sculpting and adding details. ZBrush is great for developing ideas. I can explore new shapes and forms in a fast and efficient way without worrying about technical aspects. I use ZSpheres for organic shapes or import geometry from another package as a base mesh for hard surface objects. When it is more convenient for me to create a particular model in another 3D application, I do so and import it to ZBrush for further detailing. When a model is ready, I retopologize it and create UVs in ZBrush. Thanks to SpotLight, the texturing process is fast and intuitive. I can paint textures in ZBrush even before establishing UVs. Depending on the result I want to achieve, I render everything with Best Preview Render (BPR) as separate passes or export a decimated scene to Cinema 4D, where I use Advanced Renderer. I do post-production with Photoshop. |
Q4: | What are some of your favorite ZBrush features? How do you use them? |
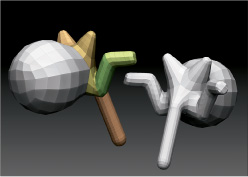
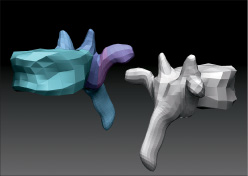
| One of my favorite ZBrush features is ZSpheres. They are a starting point for almost all my base meshes, allowing me to establish initial proportions and design sophisticated forms. I create a rig by connecting, moving, and scaling them. By pressing the A key, I can quickly preview how the final mesh will look. When I finish the construction stage, to further develop it and add details, I convert ZSpheres to Adaptive Skin and then low-res PolyMesh. I use the Move brushes to further develop the shape and proportions of the mesh and start adding details with Clay Brushes, gradually increasing the mesh Subdivision Resolution. |
Q5: | Are you using SpotLight to texture or for sculptural details? |
| Besides texturing, SpotLight lets me manipulate and combine images before projecting them onto my models. I can texture in a fast and intuitive manner without the need to use external 2D applications to prepare my images. SpotLight is also handy for sculpting details on model surfaces. When images are loaded into SpotLight, I adapt them to match the size and shape of the object by using the Rotate and Scale functions. To paint textures on the model’s surface, I press the Z button to enter Paint mode. I activate the RGB button, deactivate Zadd, and then adjust the RGB Intensity and Draw Size of the brush and start painting, switching back and forth by using the Z button when I need to change the size or rotation of the source image. When my texture is ready, I switch the SpotLight off by pressing Shift+Z. In the Masking menu, I choose Mask By Intensity and switch Polypaint > Colorize off. That allows me to add details to the surface with sculpting brushes. |
Q6: | Are you using ZSketch? How? |
| I use ZSketch to paint armatures. ZSketching can snap onto an existing surface and is good for prototyping and experimenting with new shapes. There are three workflows for ZSketching: I sketch freely in 3D space, use ZSphere’s structure as base, or sketch directly onto the SubTool. Usually I append a ZSphere as a SubTool to my model, activate EditSketch, and start painting structures. The A shortcut helps me preview how the final mesh will look. To finish, I create Unified Skin from it. Increasing Subdivisions Count and Skin Resolution allows me to keep fine details. |
Q7: | What are some of your time-saving tips when using ZBrush? |
| I keep old models, meshes, and custom alphas organized in Lightbox for further reuse. Doing that is a great time saver when I don’t need to start from scratch and can modify an existing mesh and build a new model based on it. |
Q8: | How has ZBrush helped you to successfully define your own graphic/artistic style? |
| Thanks to ZBrush, I don’t need to sketch out my ideas in 2D software; I can start straight in 3D. My imagination works much better in a 3D environment, where it is much easier for me to design. Tools like ZSpheres, ZSketch, Move, and the Sculpting Brushes allow me to experiment with forms and encourage improvisation. ZBrush eliminates time-consuming, technical aspects of the regular 3D packages and gives the artist an almost real-world clay sculpting experience. |
Q9: | What advice do you have for artists working with ZBrush? |
| My advice is to save often and as separate files. ZBrush is sophisticated software and uses a system at its maximum level, so it crashes sometimes. It can also corrupt a saved file, though that’s not as common. Experiment with forms, designs, and interesting shapes. ZBrush makes experimentation with forms, designs, and interesting shapes efficient and intuitive, so why not take advantage of it? |